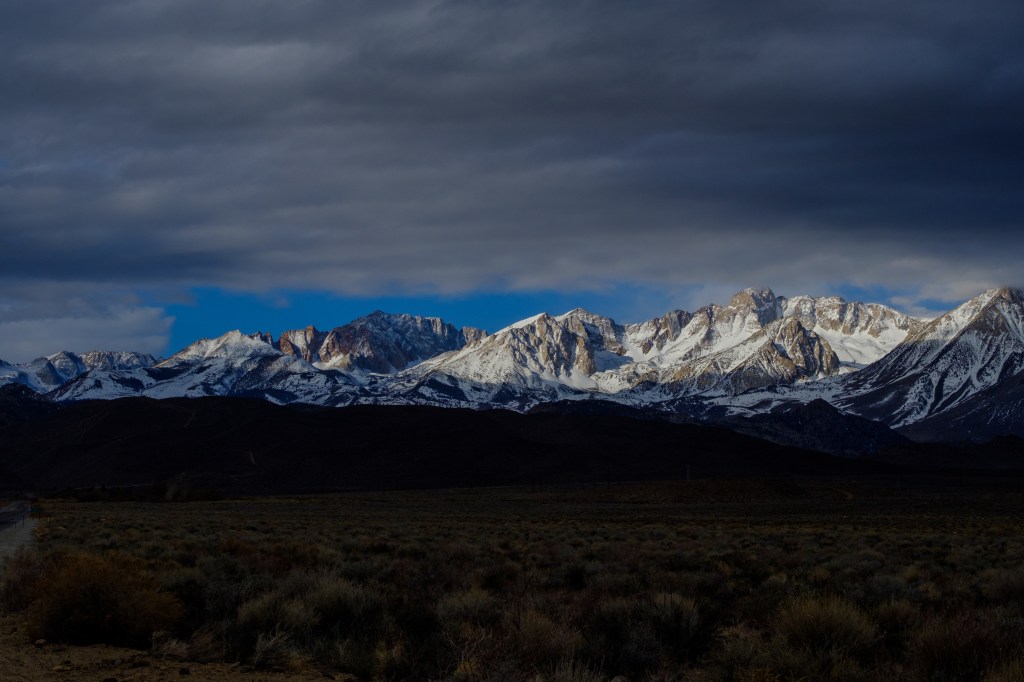
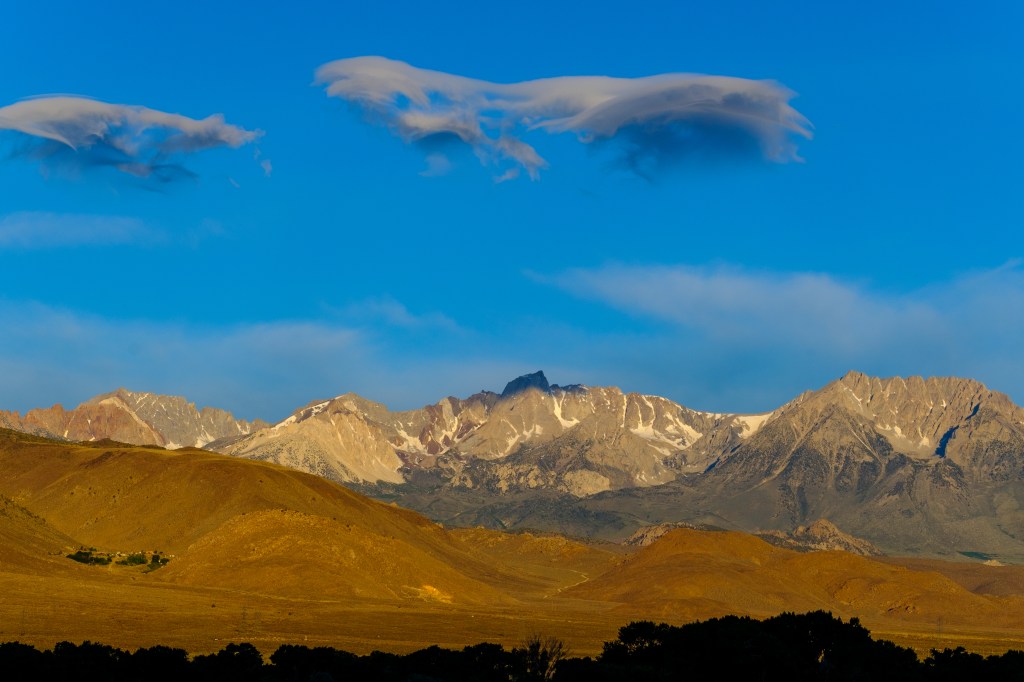
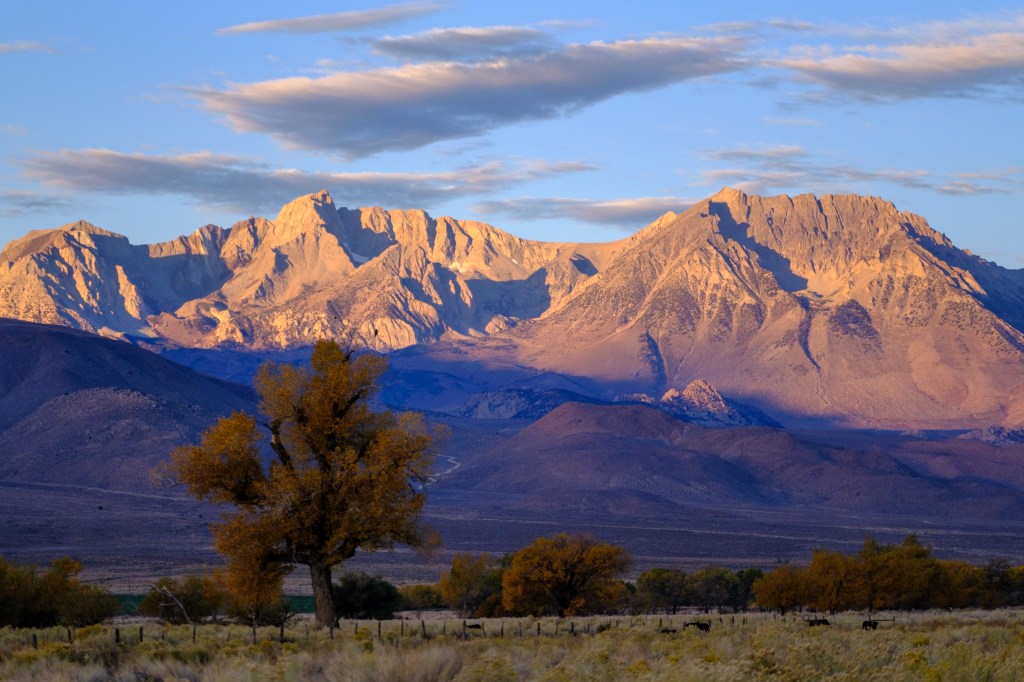
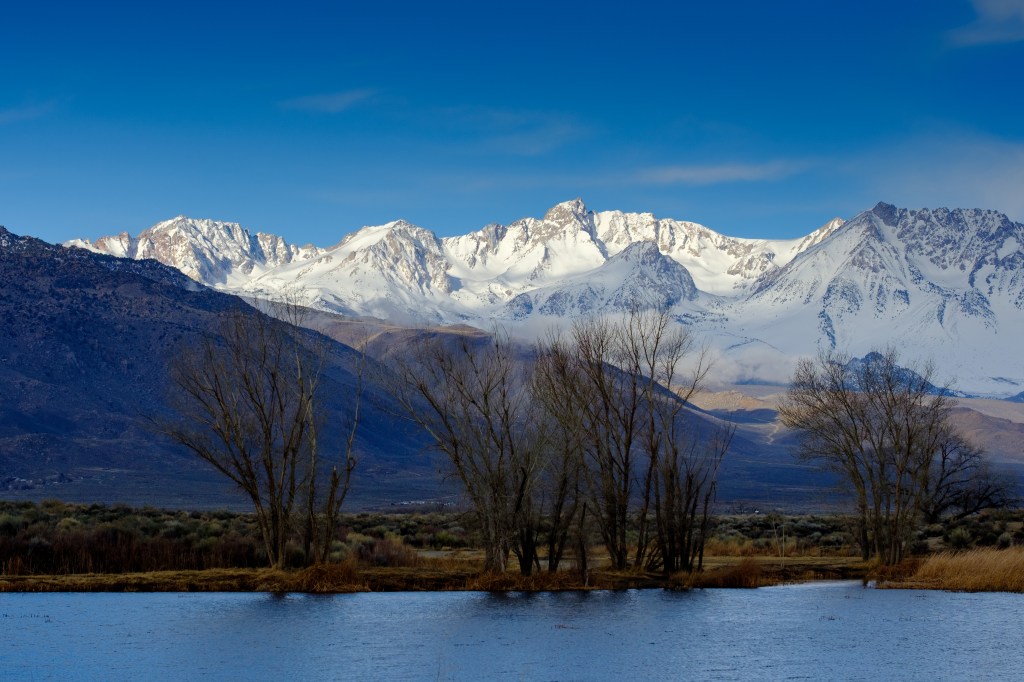
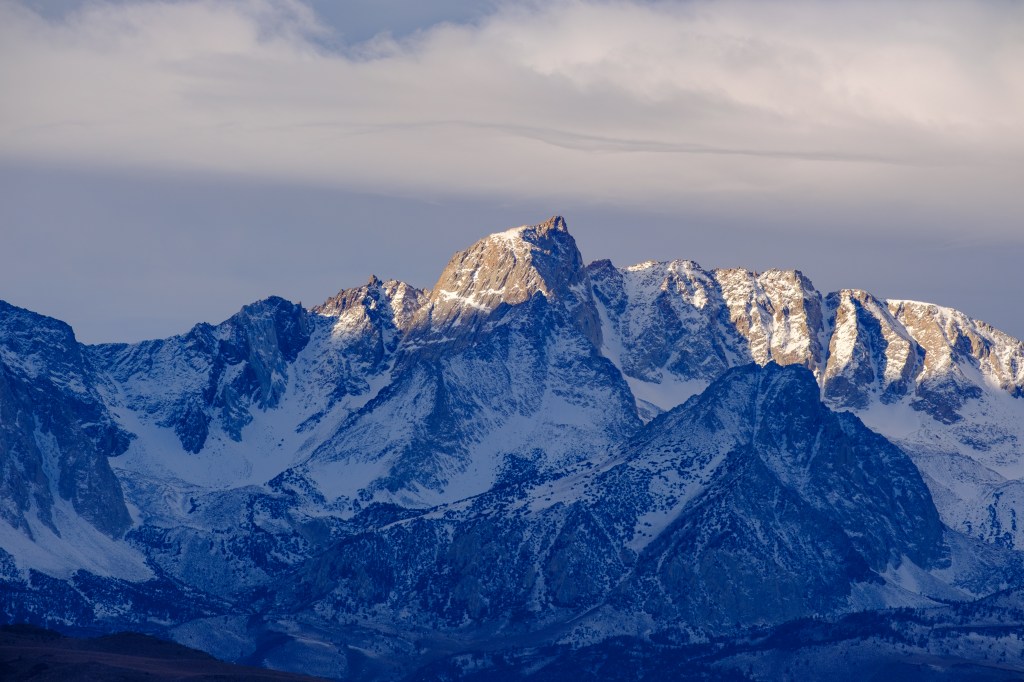
This blog shows photos of sunrise on the peaks near Mt Whitney (14,505 feet), the tallest US summit outside of Alaska. Some tourist spots offer “light shows” using electric lights on natural features. The eastern Sierra has a free light show every morning.
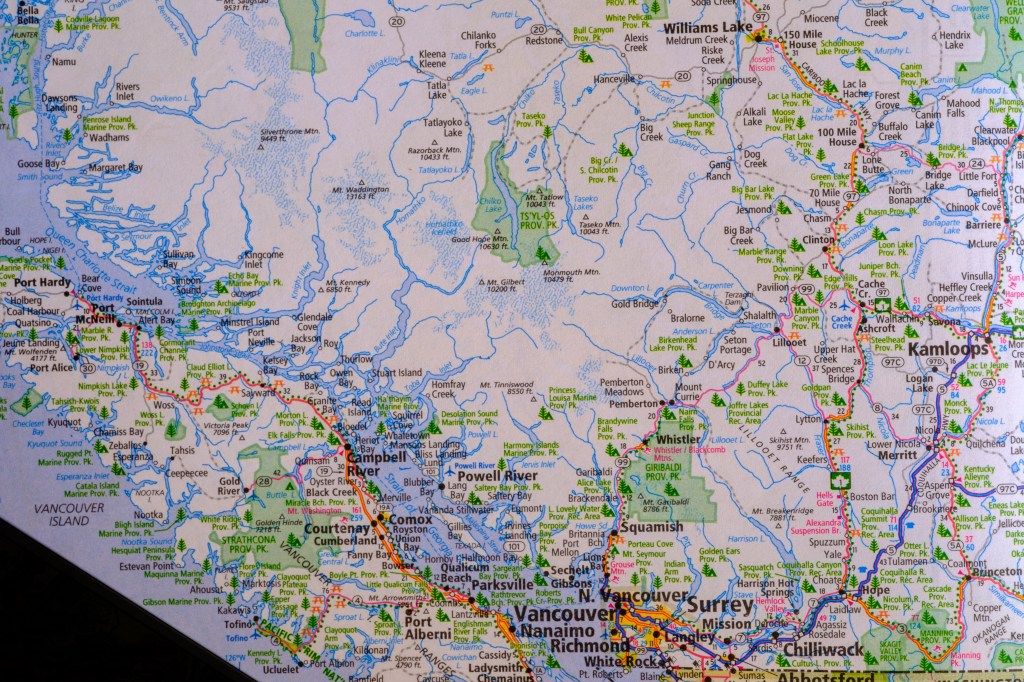
The Sierra Nevada extends north-south for 400 miles. It separates California’s Great Central Valley from the Great Basin. No road crosses the range from Sherman Pass Road in the south to Yosemite’s Highway 120 in the north; the Pacific Crest Trail between these roads is 240 miles long. Near my home, the Sierra crest is generally higher than 13,000 feet, a steep wall over 150 miles long.
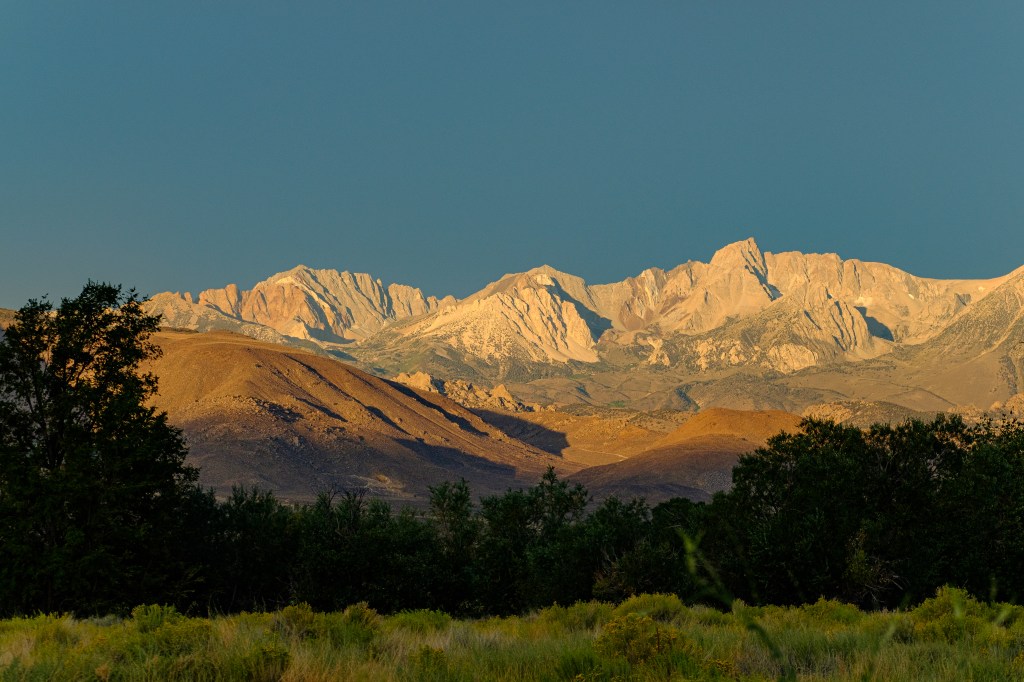
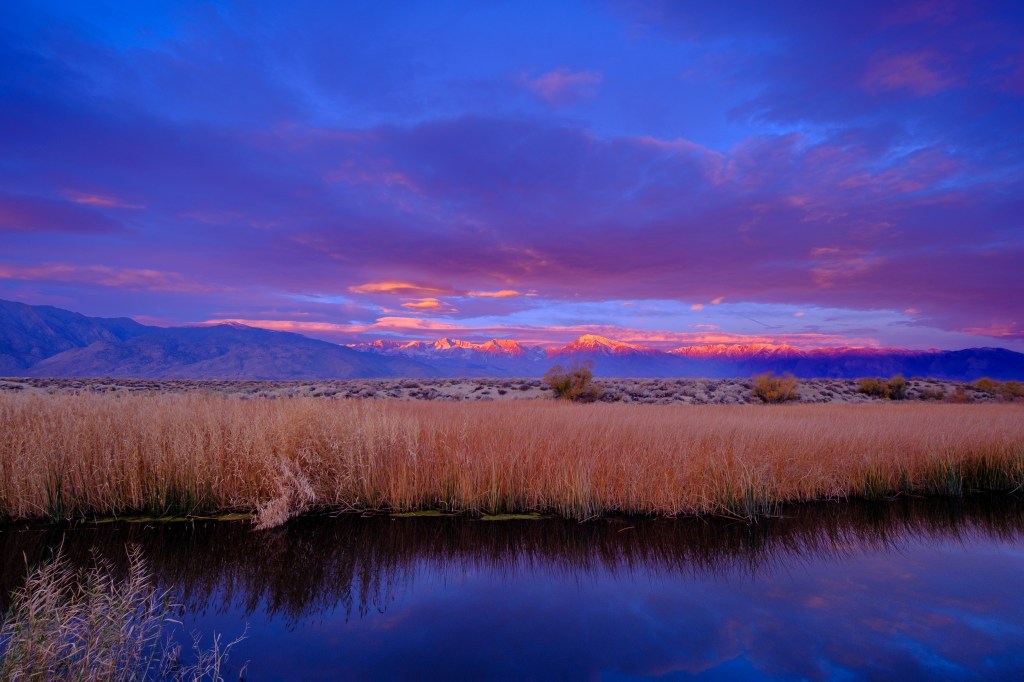
Roberta and I sometimes photograph the sunrise on the Sierra. I pick locations on the east side of the Owens Valley, 8 to 15 miles from the nearest Sierra summits. We get up at 4 am, eat, fill a thermos with coffee, and head out. We arrive in the dark and sit in the car, letting our eyes adjust and getting caffeinated. Then I get out, bundled in warm cloths, and use a headlamp to set up two cameras on tripods in the sagebrush. I get back into the car to warm up.
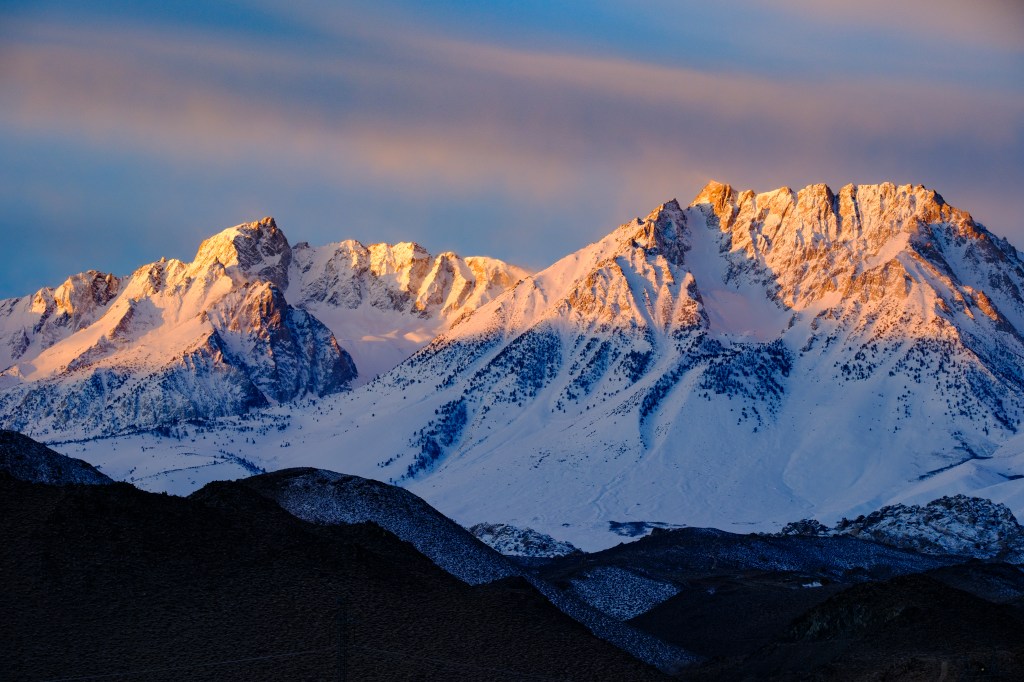
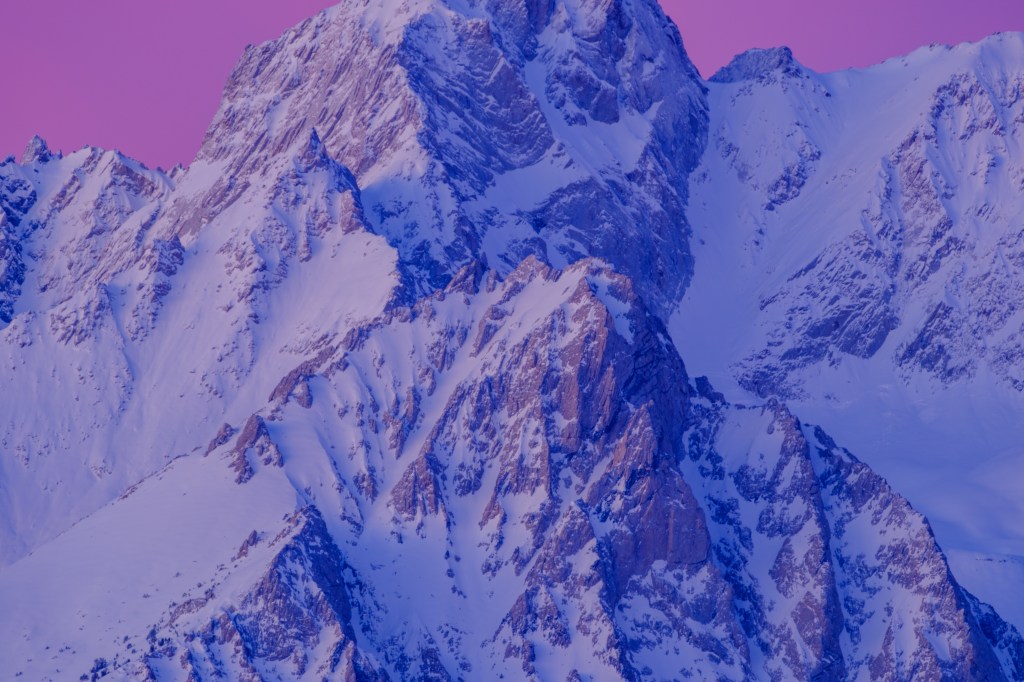
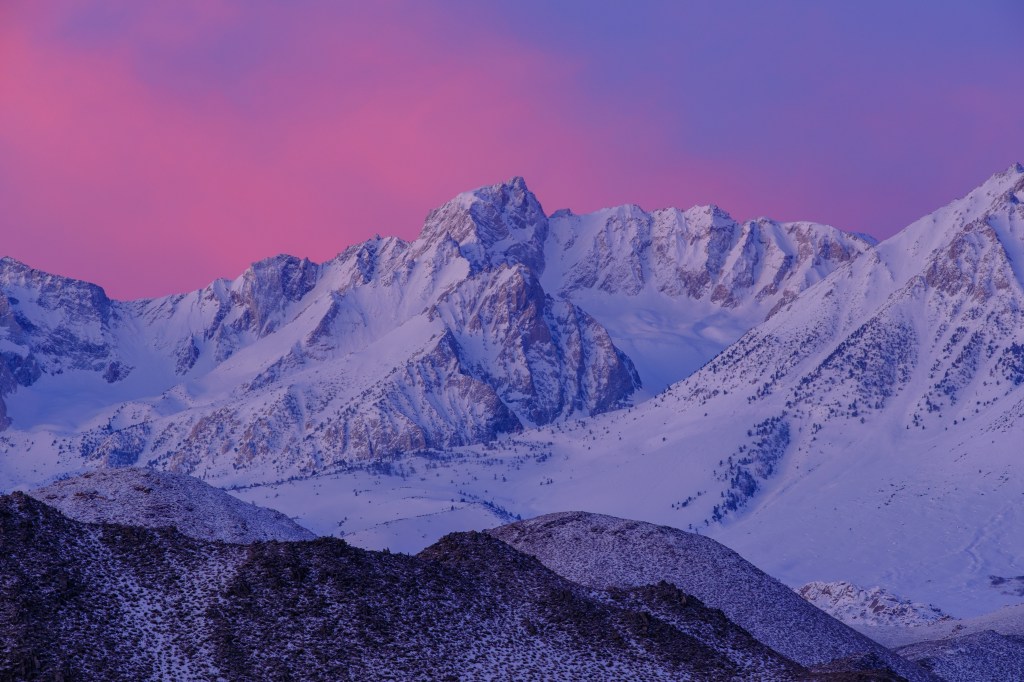
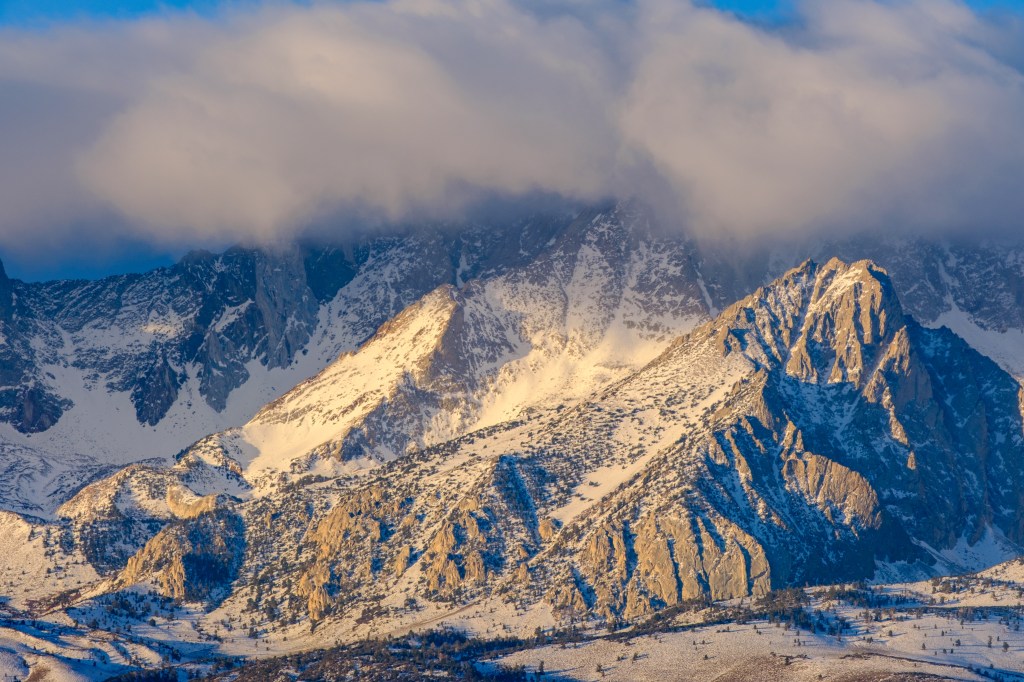
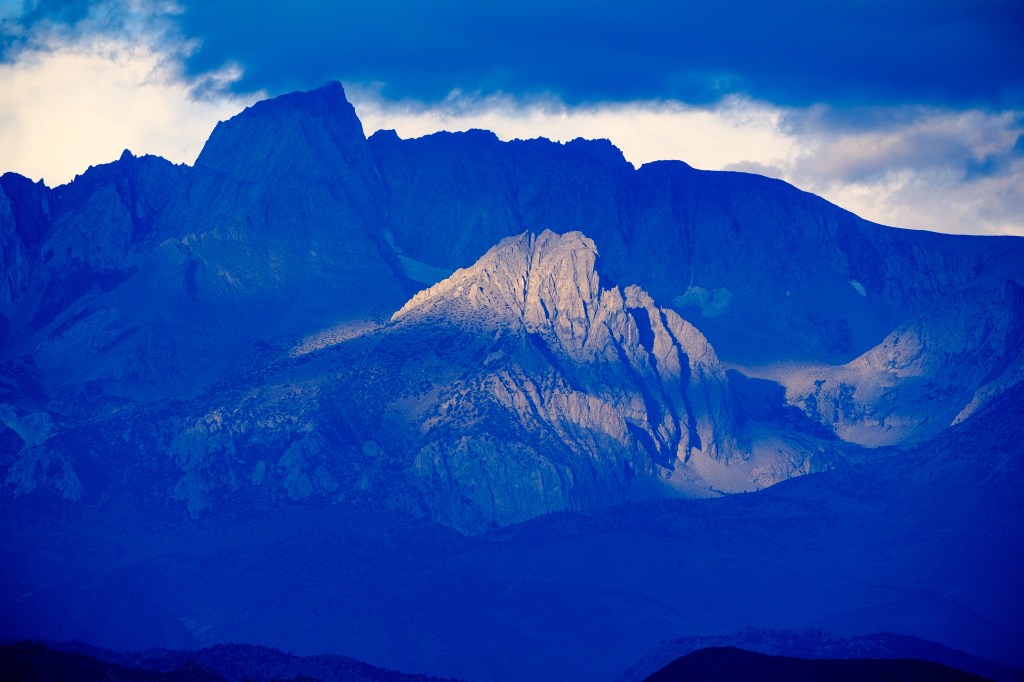
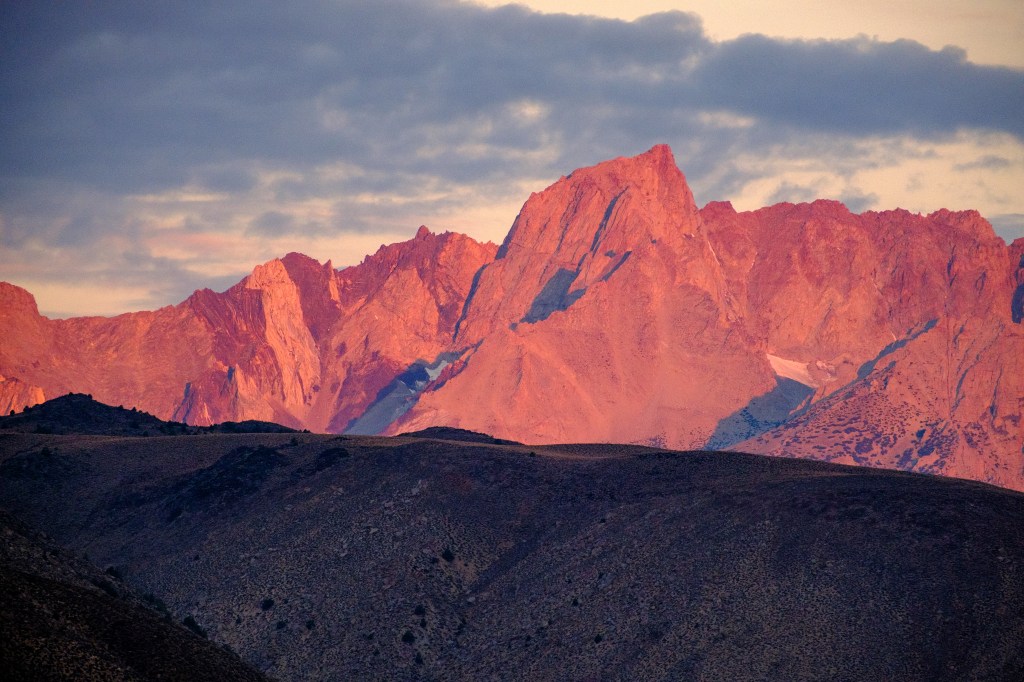
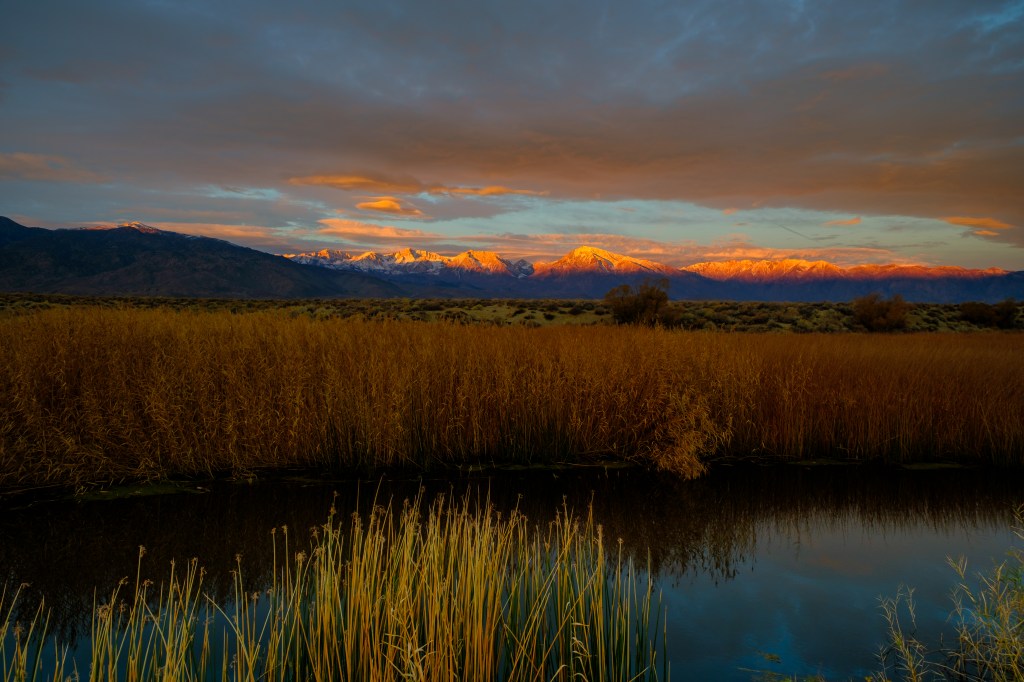
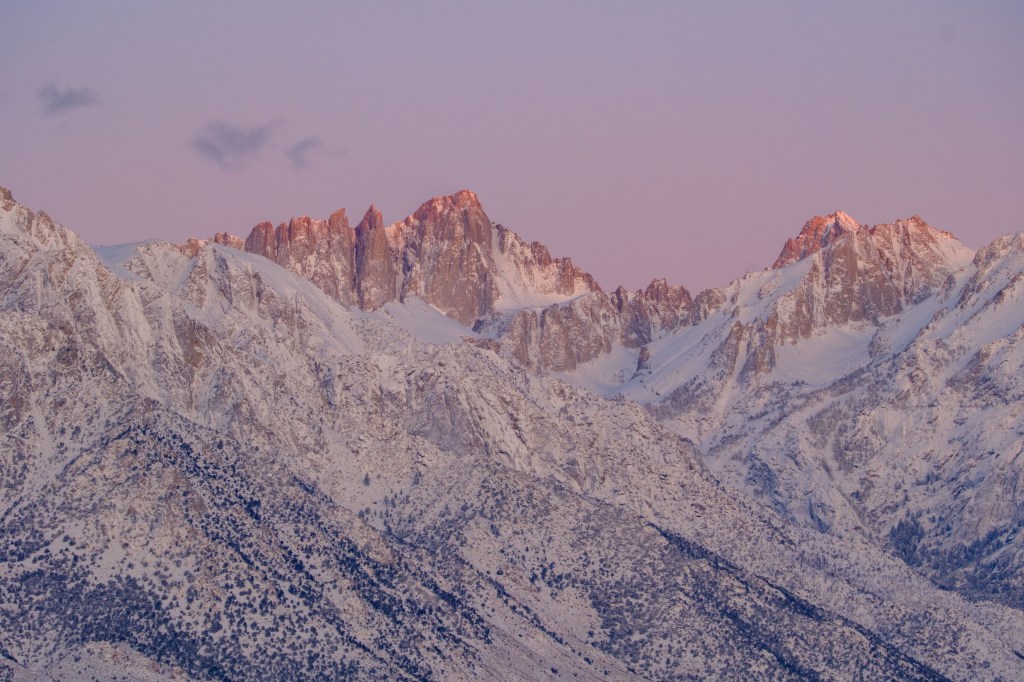
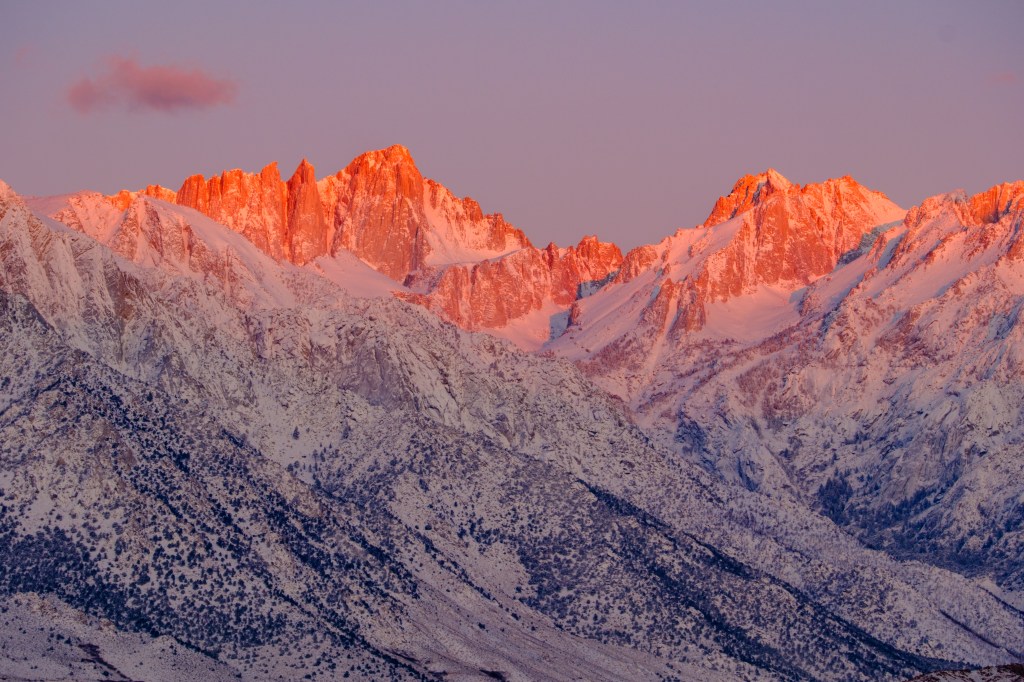
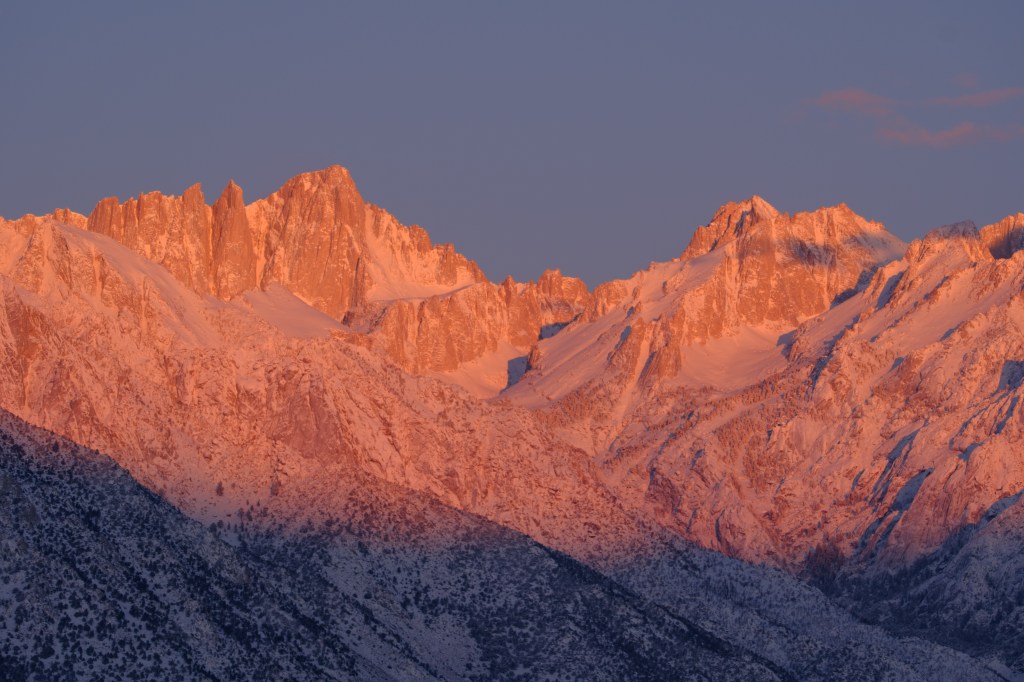
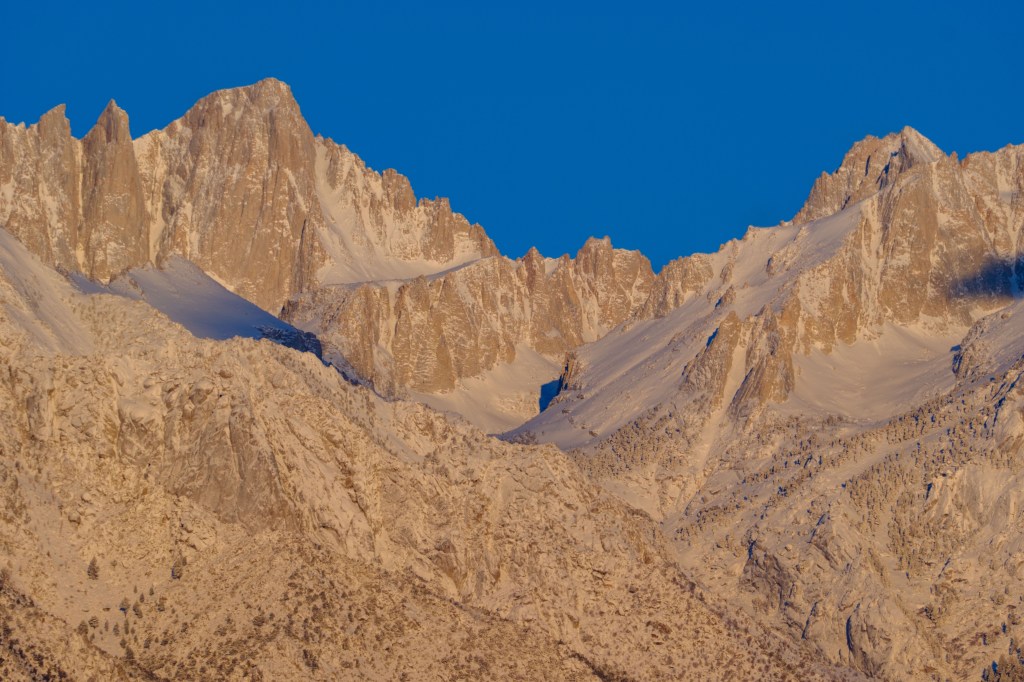
In morning twilight the peaks become brighter for half an hour. The range has a subdued look as I start taking pictures. Then sunlight reaches the summits around 6:30 AM and for half an hour the light moves down the slopes to the Valley floor. This early light is often tinged with red. By 8 AM the best colors are gone. We pack up the cameras and head home.
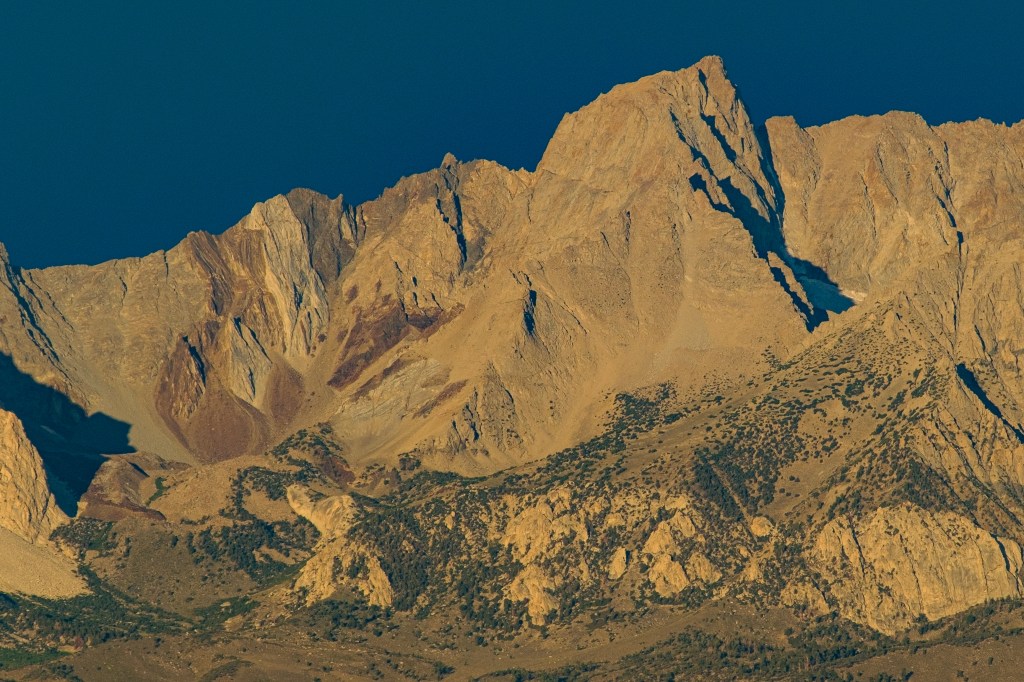
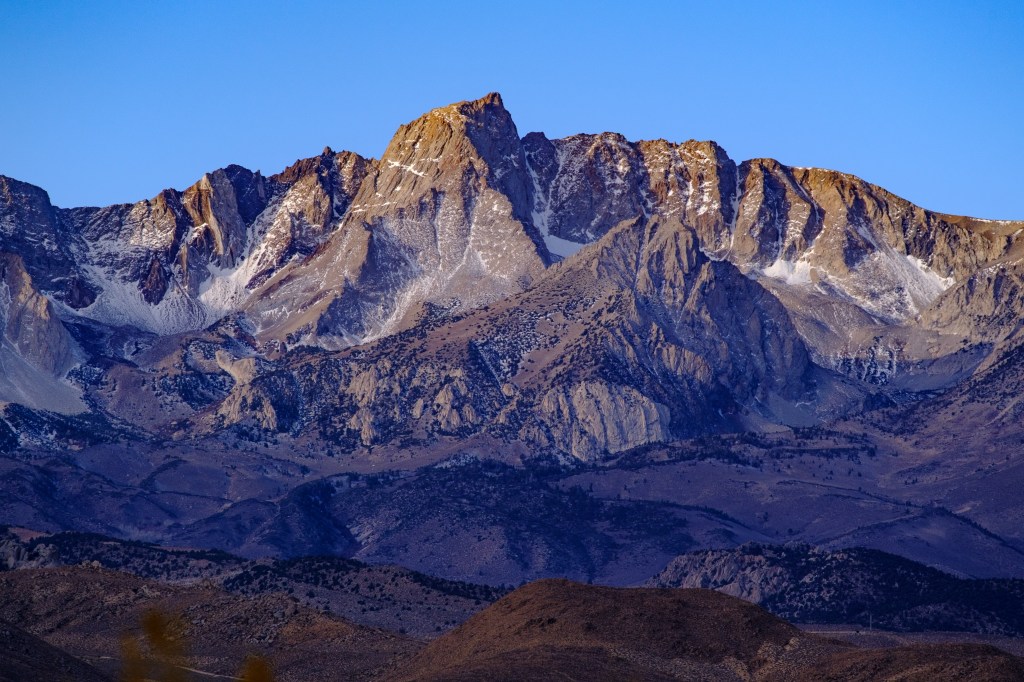
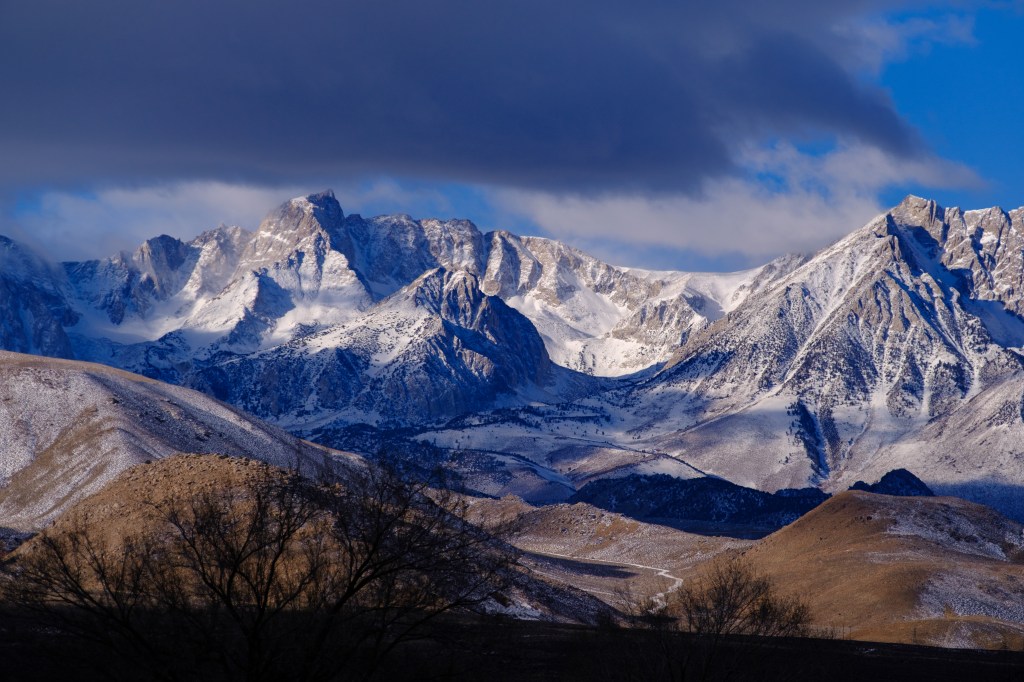
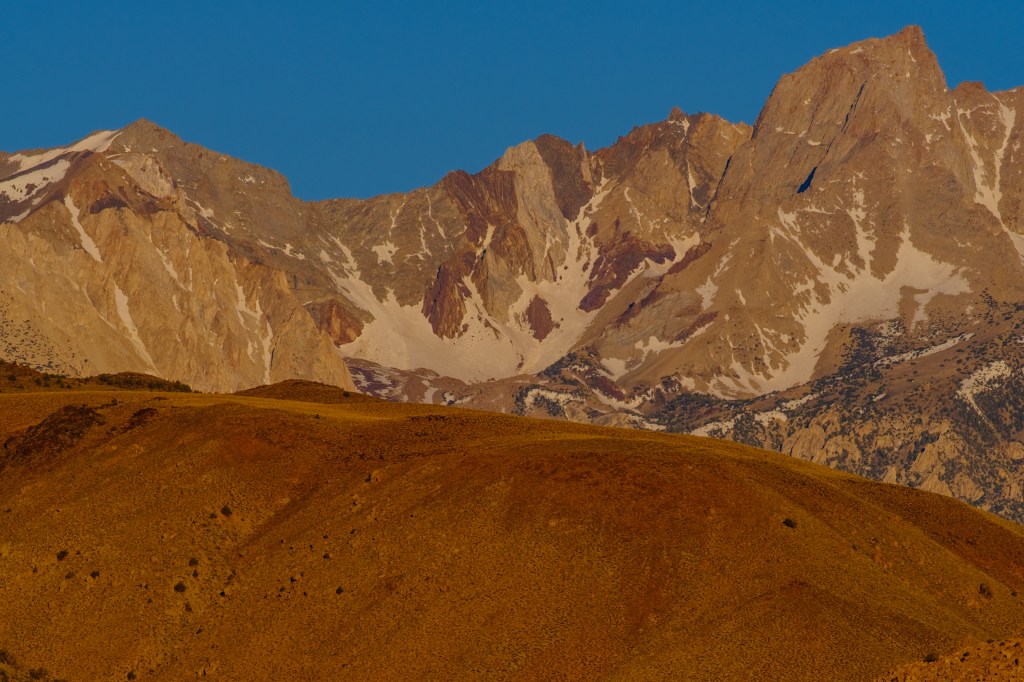
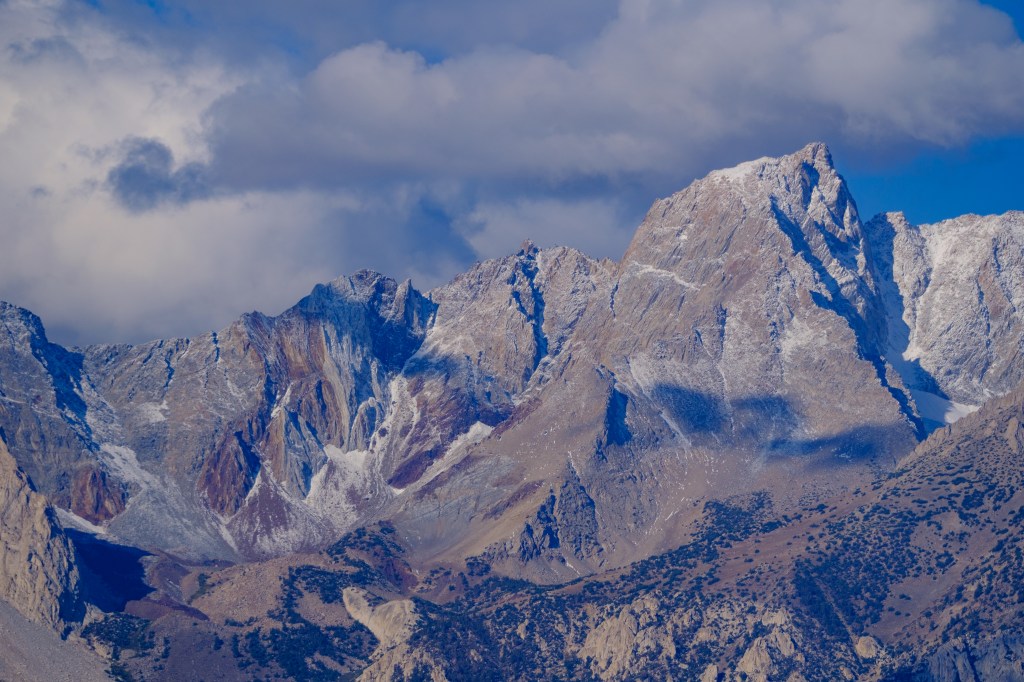
The air is usually calm and clear in early morning, so photographs have a lot of detail despite distances up to 15 miles. I used telephoto lenses equivalent to full-frame (35mm) focal lengths of 75 to 600mm. Consequently the images are “magnified” about 2 to 12 times, compared with the view without a camera. Cropping on the computer doubles the magnification of some pictures. Camera exposure times range from 3 seconds during twilight to 1/1000 second when the sun is fully up.
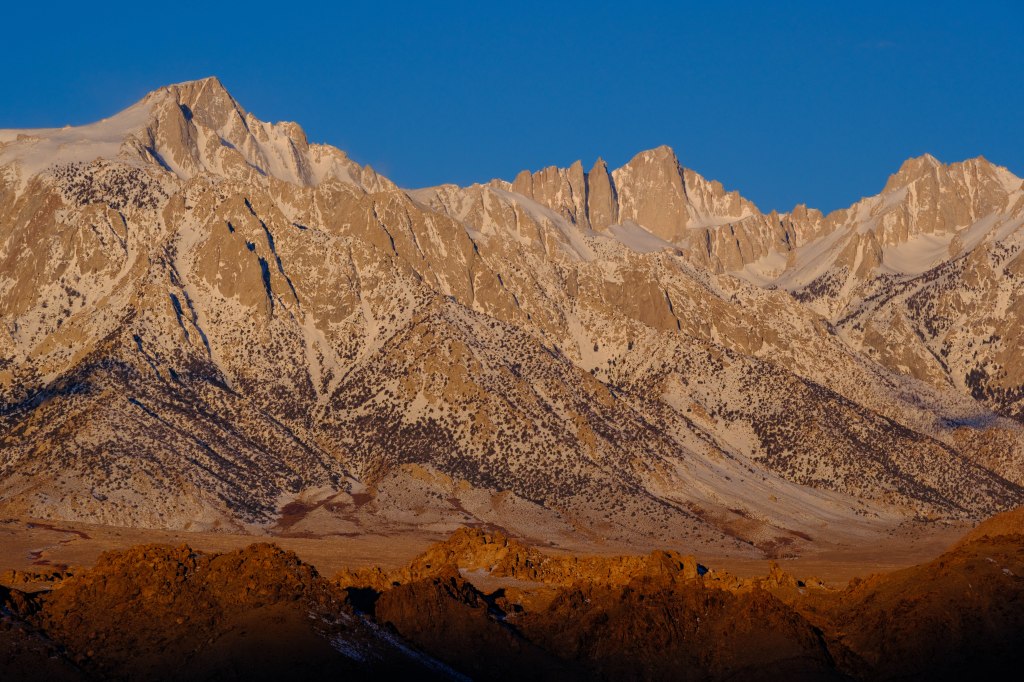
All photos in this post were taken from a spot on highway 136, south-east of the town of Lone Pine, at elevation 3600 ft. They were taken on March 1, 2023, February 24, 2024, and April 1, 2024. I’ve sorted them into groups from south to north, then ordered them by date and then by time, so you see images from twilight to full sun for each group of peaks on each day.
Panoramic Photographs
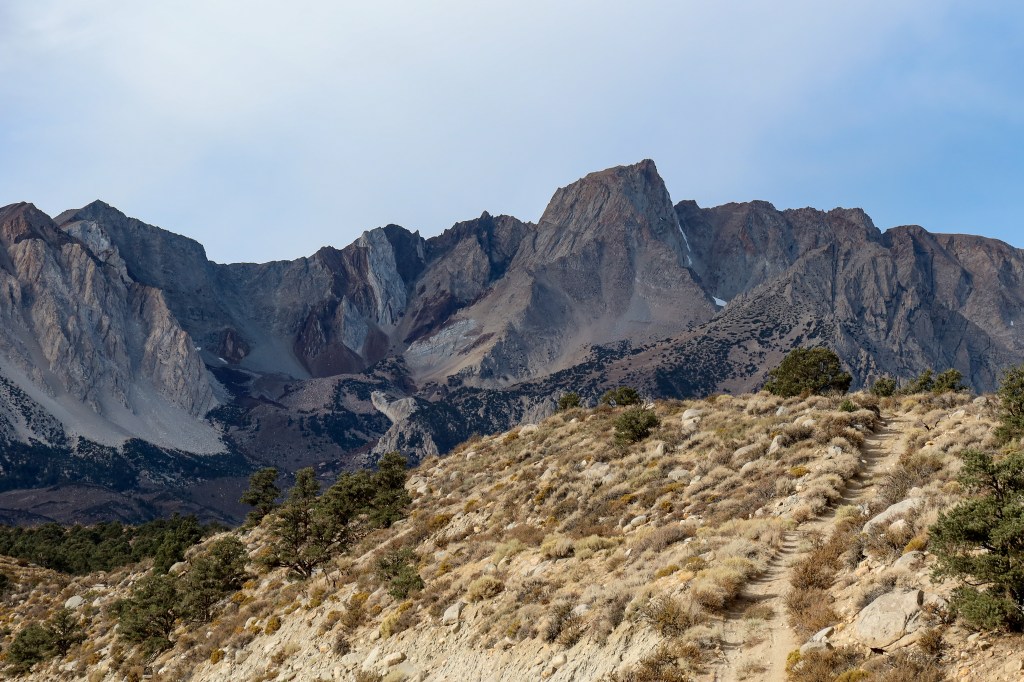
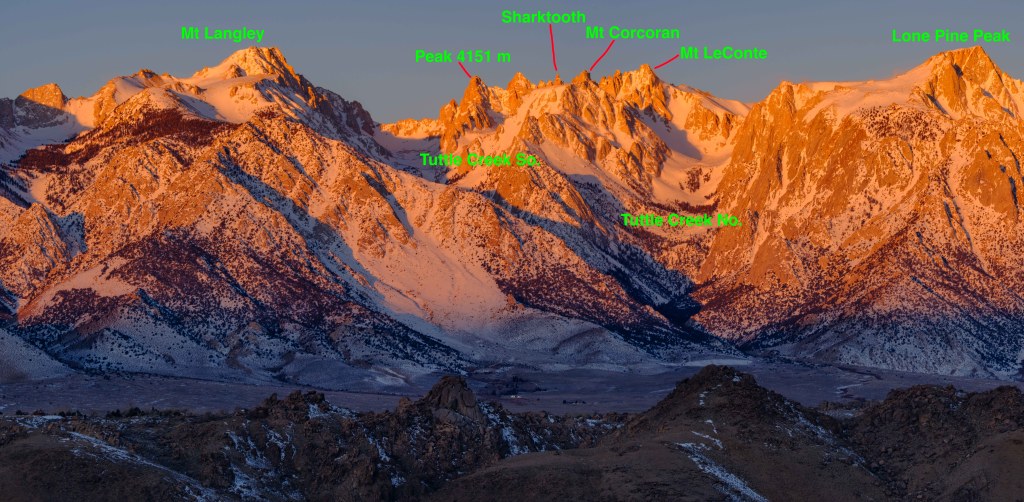
In the days of film, it was a big deal to take photos that could be stitched together into a wide panorama. This is easy with digital photos. You can move your camera from left to right and take multiple pictures that are joined into a single, wide shot, with lots of detail. This can be done within the camera or by taking several photos and combining them in software. To orient you to the peaks near Mt Whitney, below is a panoramic image that extends from Mt Langley (14,042 feet) on the left to Lone Pine Peak (12,944 feet) on the right. The smaller rocky summits in the foreground, still in shadow, are the Alabama Hills.
3/7/23. 6:18 AM.
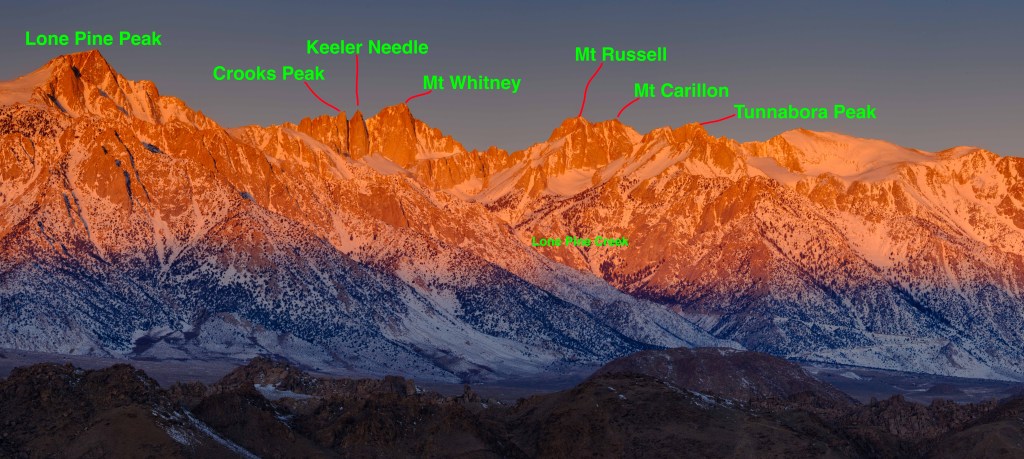
Next you can see summits from Lone Pine Peak to Tunnabora. Whitney is labeled; its enormous east face is in sunlight.
3/7/23. 6:17 AM.
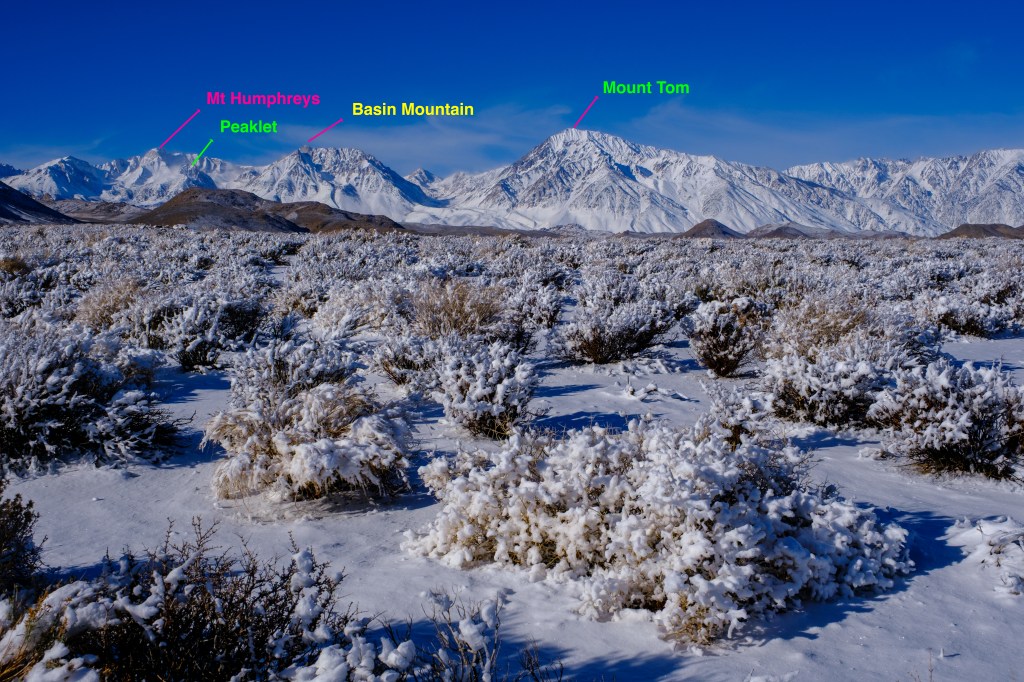
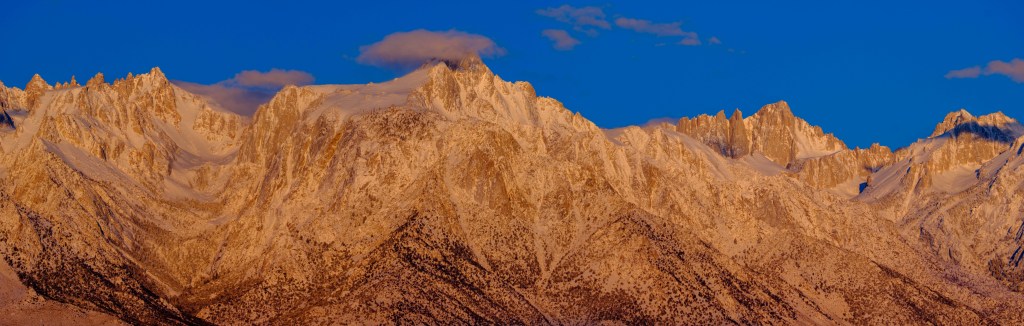
Next I show all these peaks, from the Corcoran group to Carillon.
4/1/24. 6:48 AM
Mt Langley
I’ll start at the southern end of this group. To the south of the peaks I’ve already shown, is the road to Cottonwood Lakes. It switchbacks up from 3500 feet to over 10,000 feet. After big rain storms, parts this road may be covered in rocks and sand; sometimes sections of the road are washed away.
3/7/23. 6:09 AM
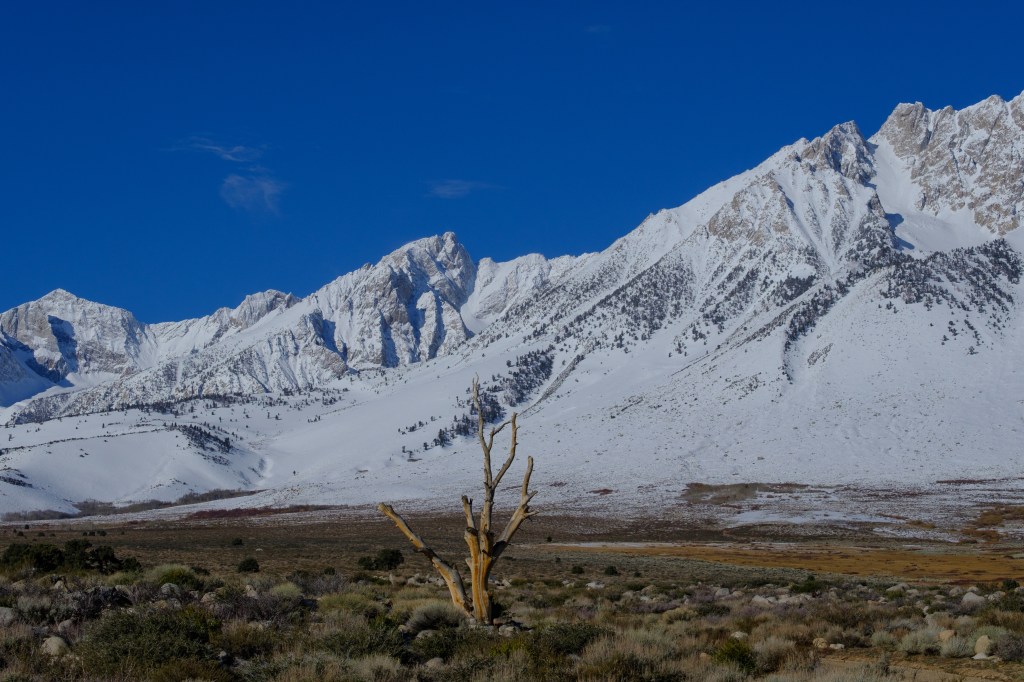
Next is Mt Langley (14,042 ft).
3/7/23. 6:04 AM

3/7/23. 6:12 AM
3/7/23. 6:32 AM
Looking a bit further north, the next photo shows Langley and the summits near Corcoran.
3/7/23. 6:32 AM

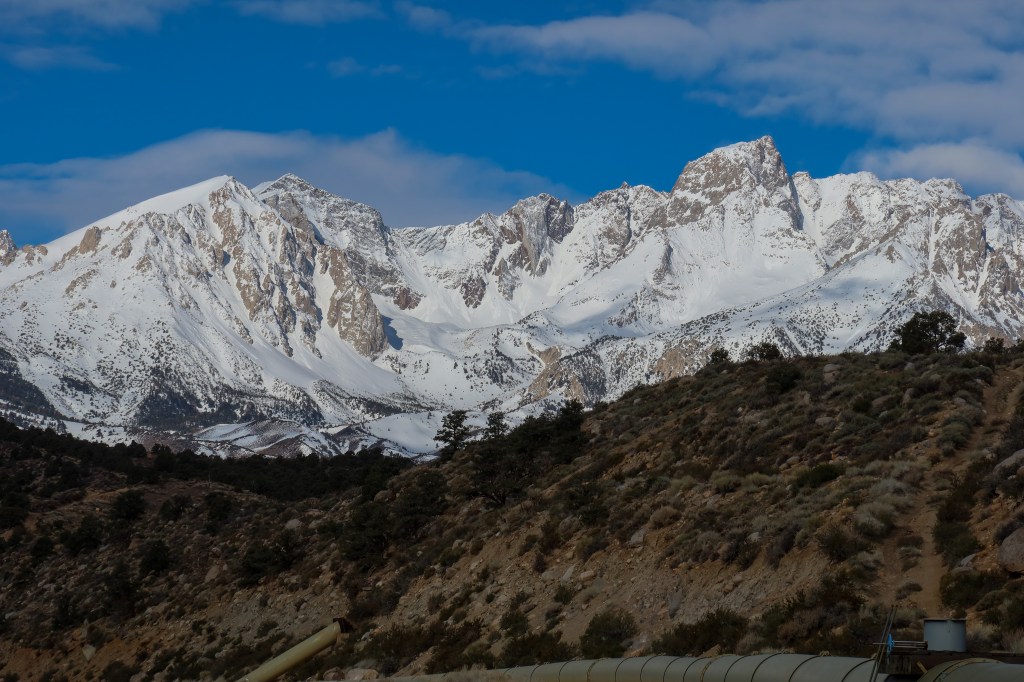
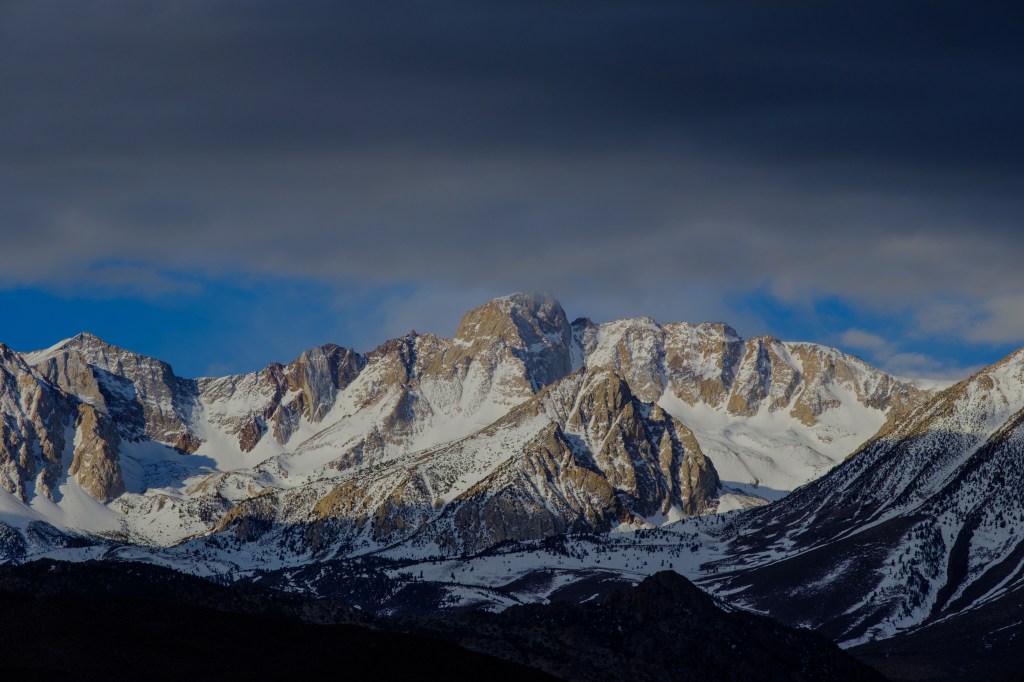
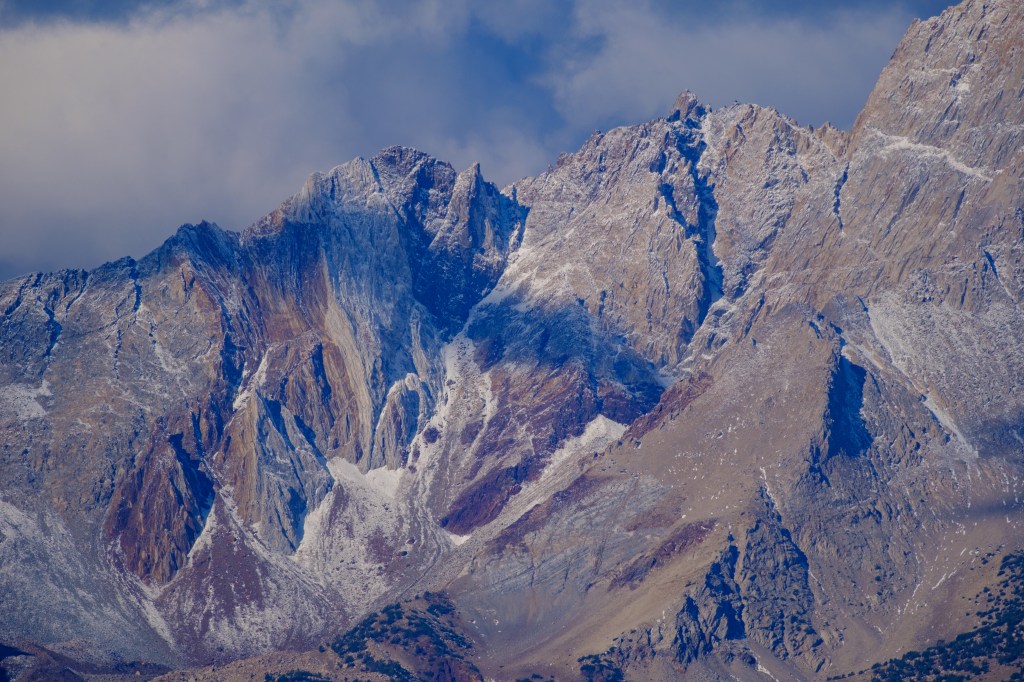
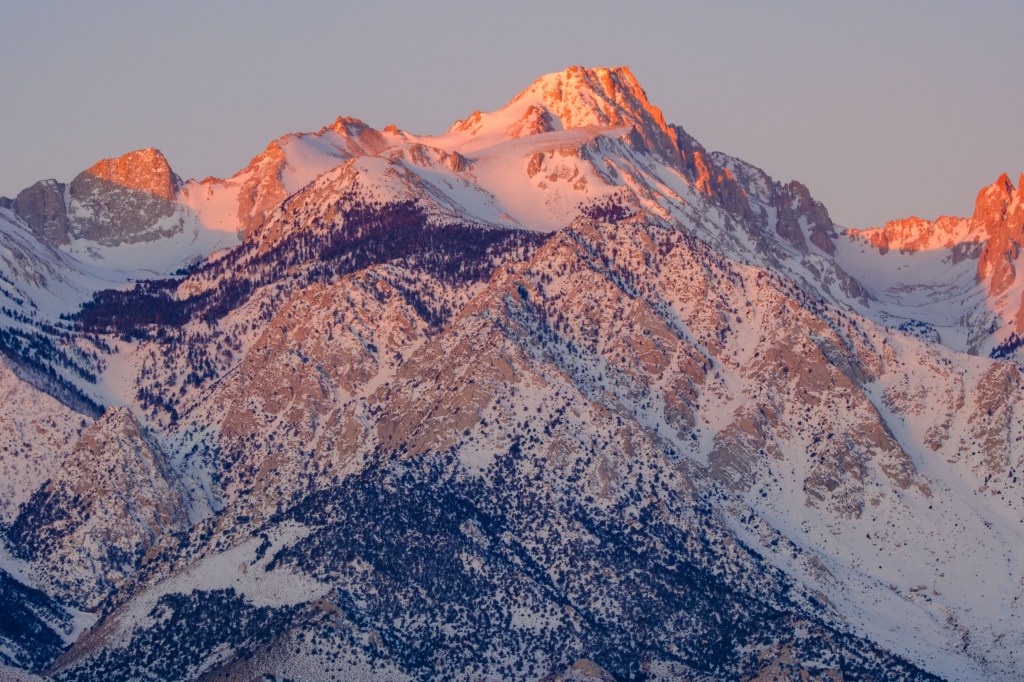
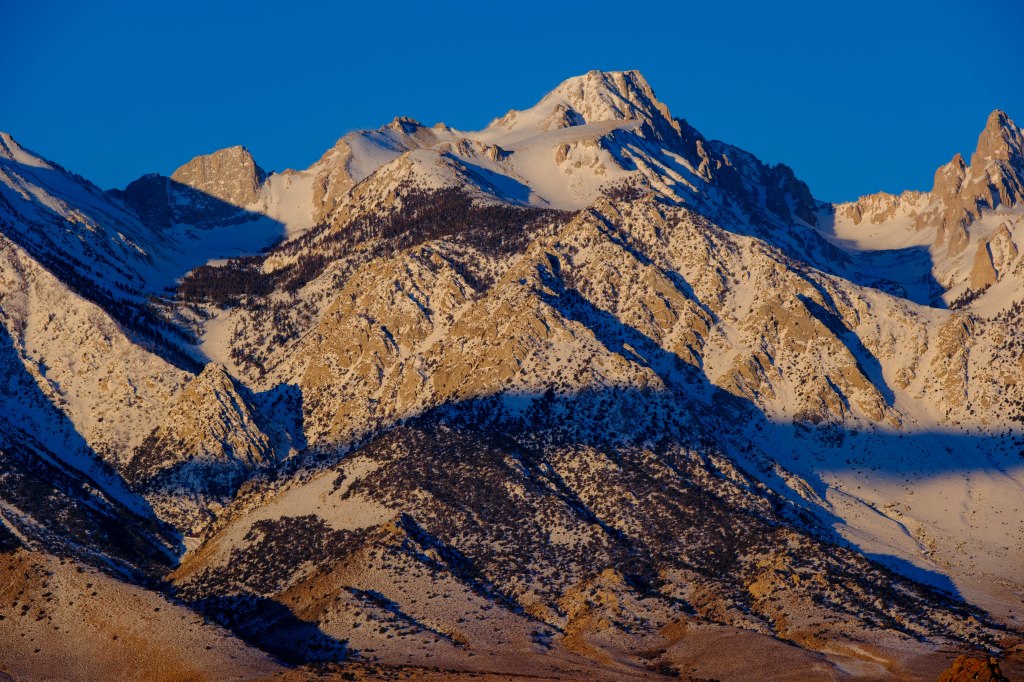
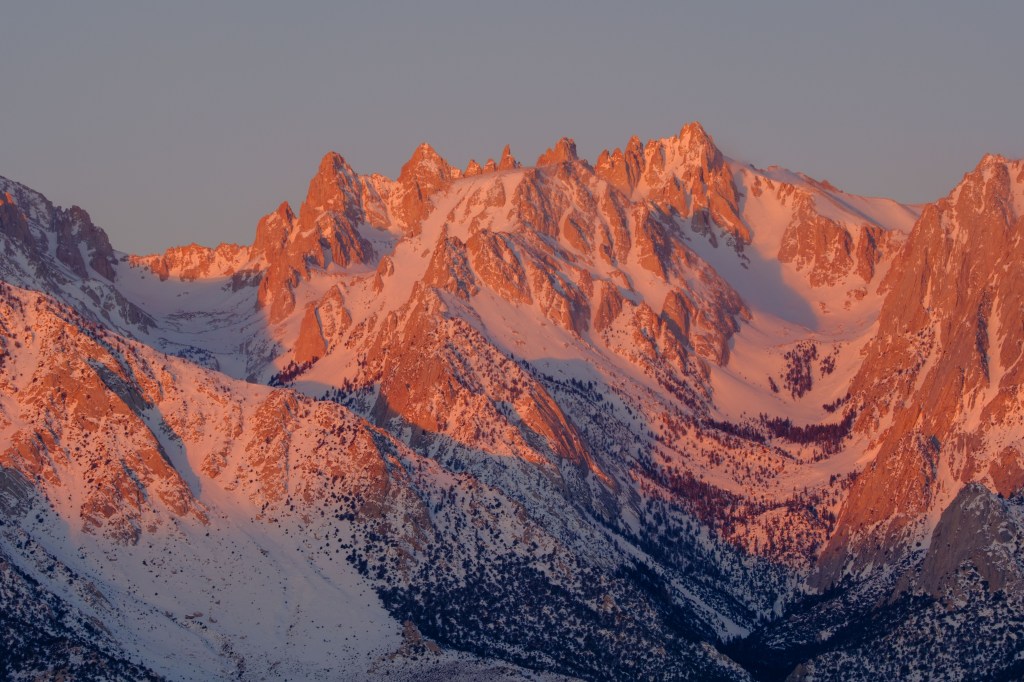
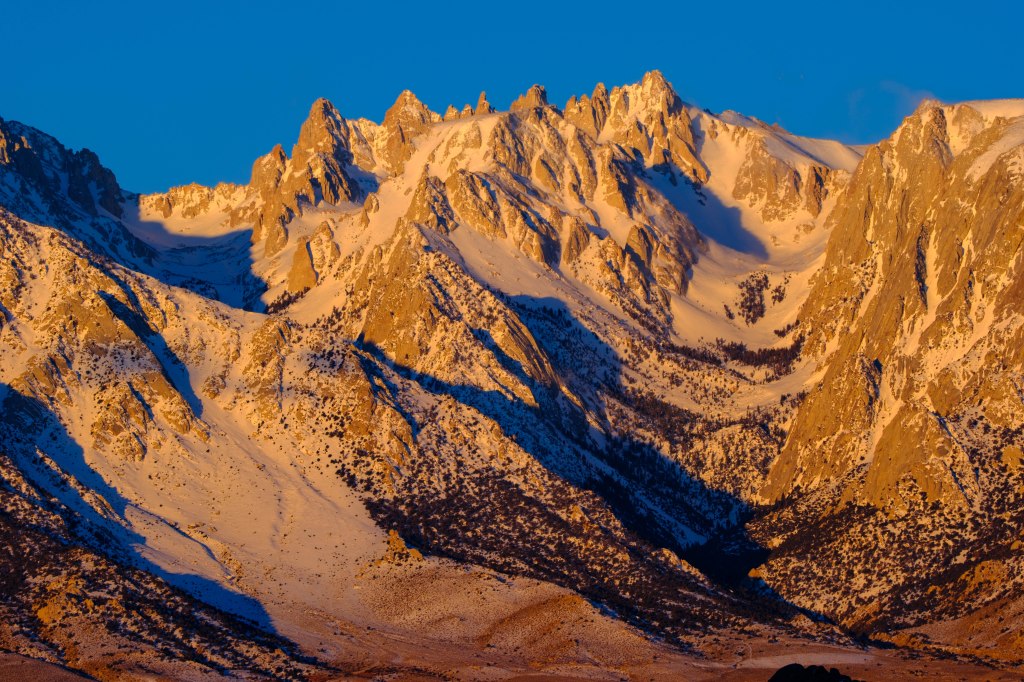
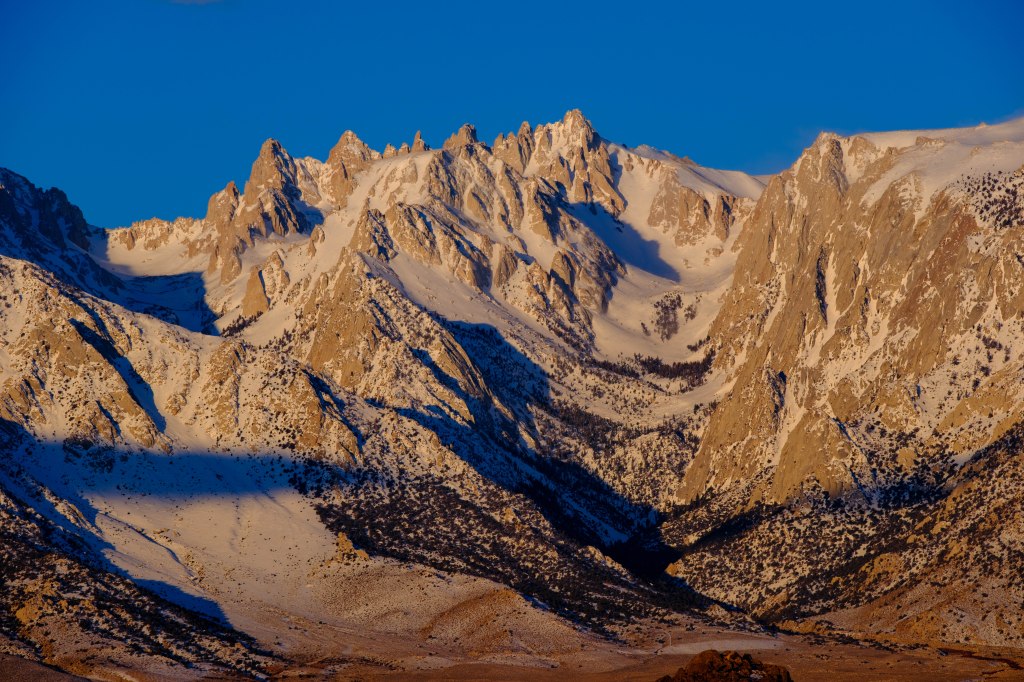
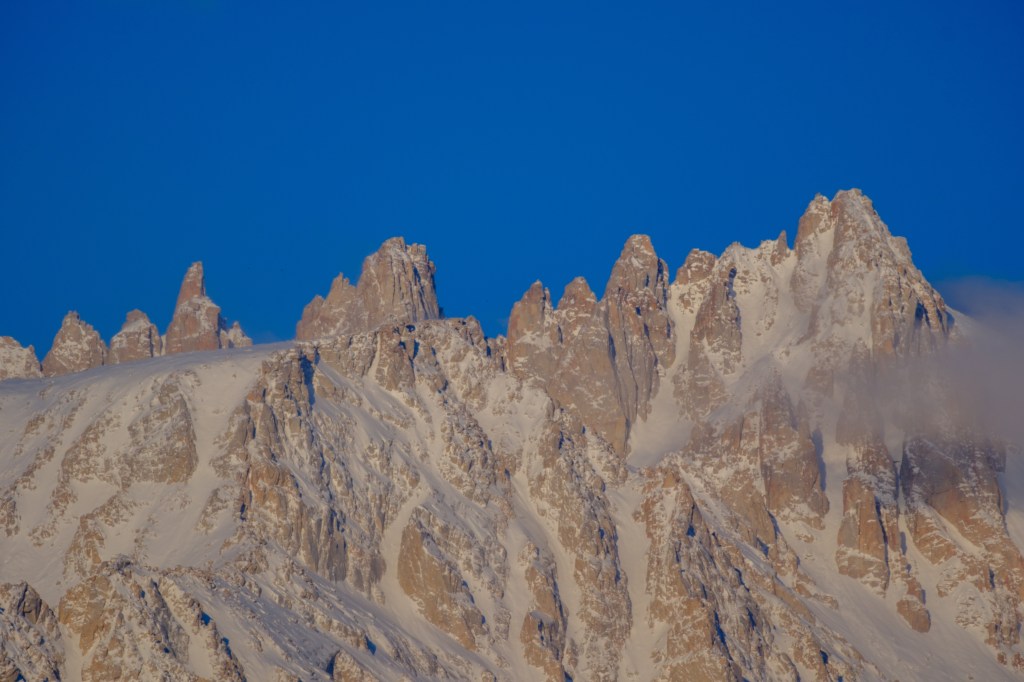
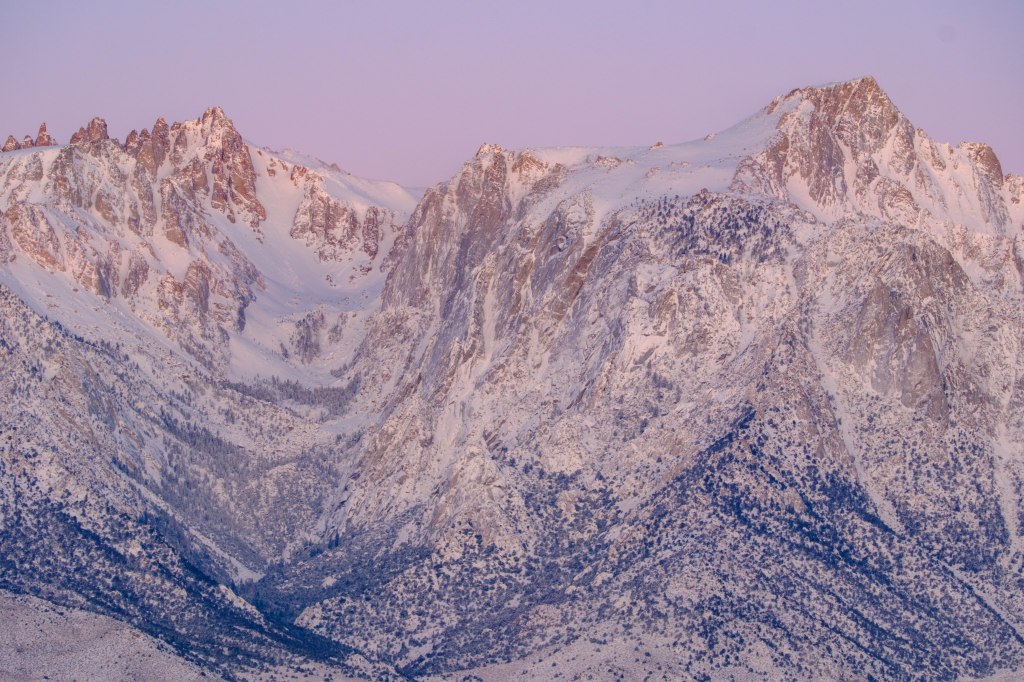
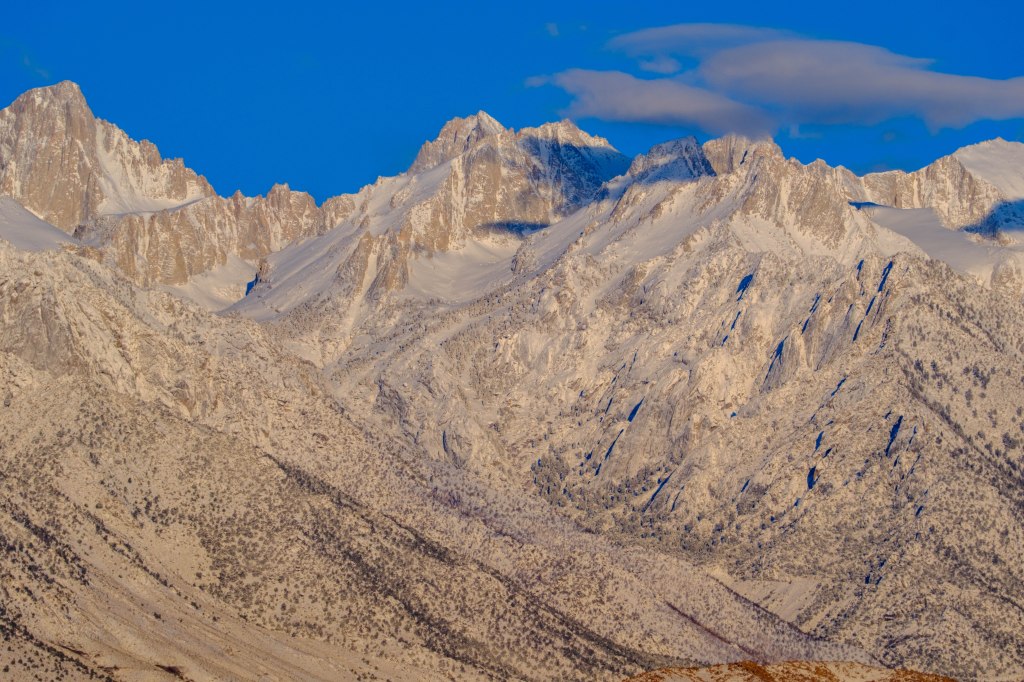
Mt Corcoran and Nearby Peaks
Mt Corcoran is a long ridge with several summits. The branches of Tuttle Creek bracket this collection of peaks.
3/7/23. 5:51 AM
3/7/23. 6:04 AM
3/7/23. 6:12 AM

3/7/23. 6:14 AM
3/7/23. 6:24 AM
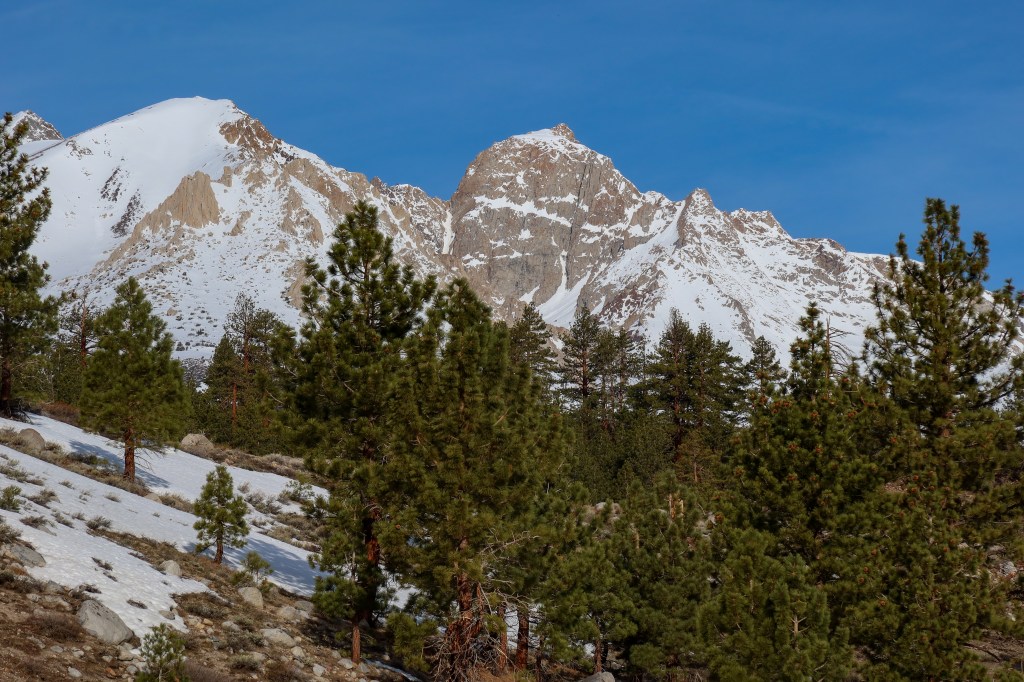
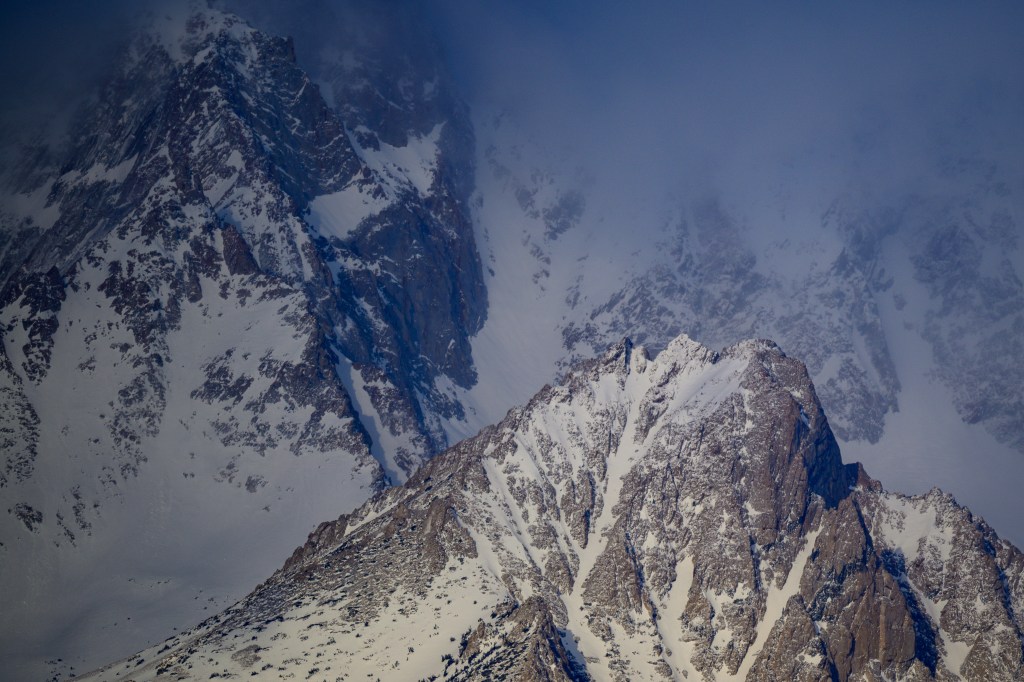
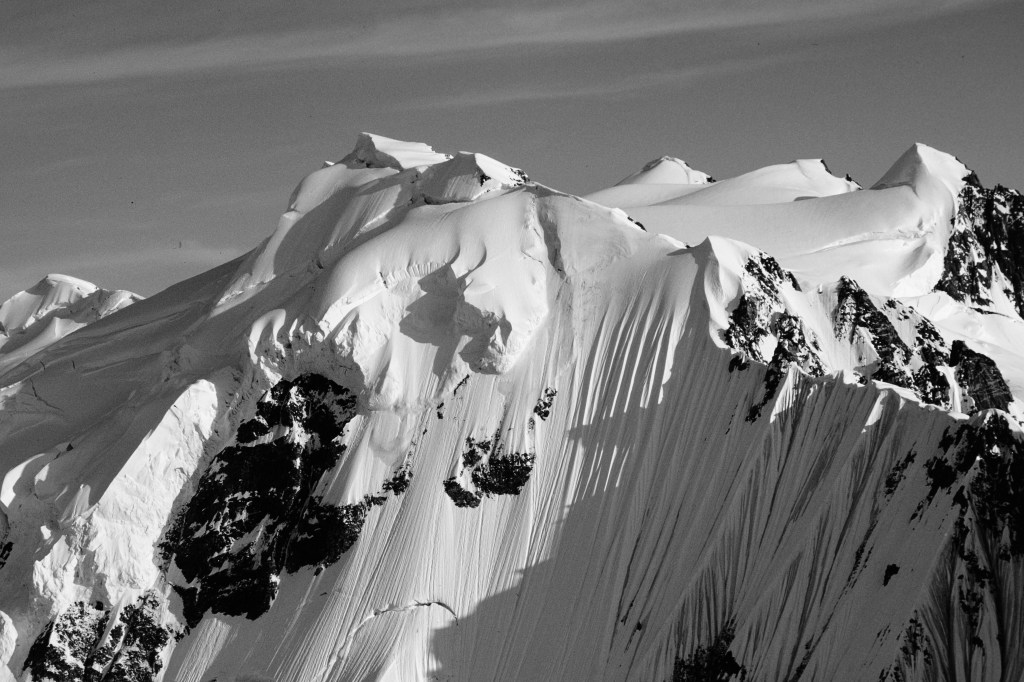
A closer look at Peak 4151 meters.
3/7/23. 6:25 AM
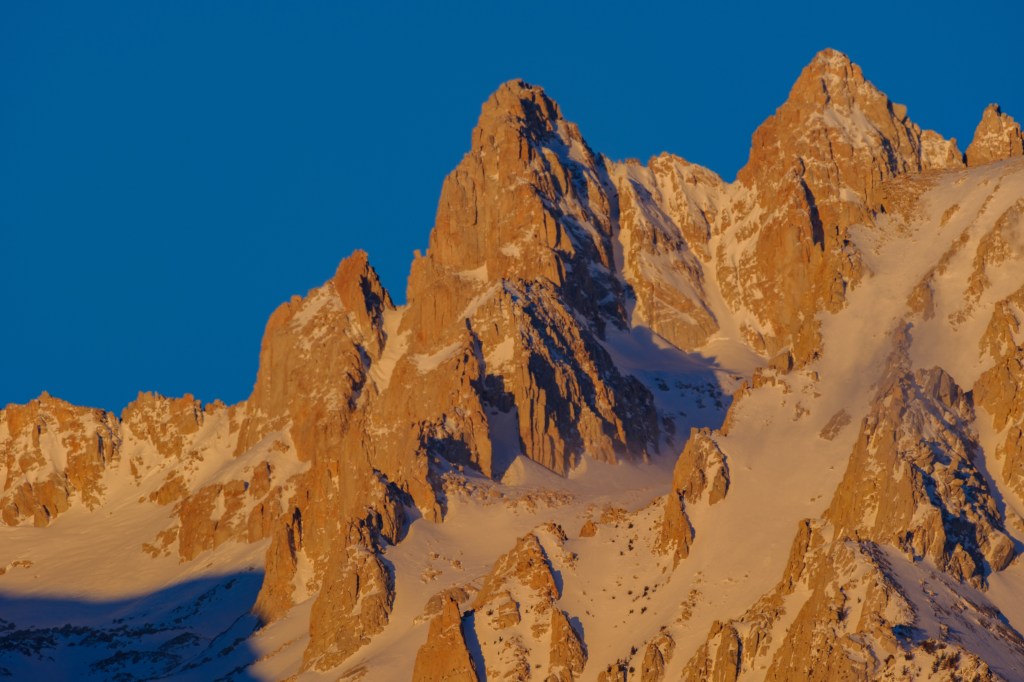
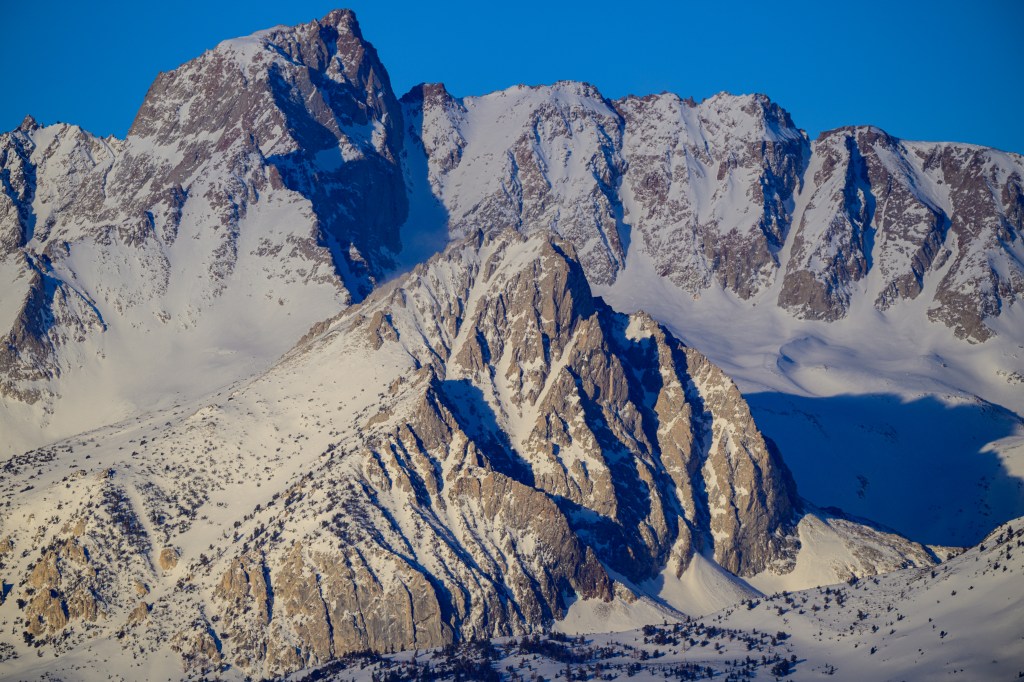
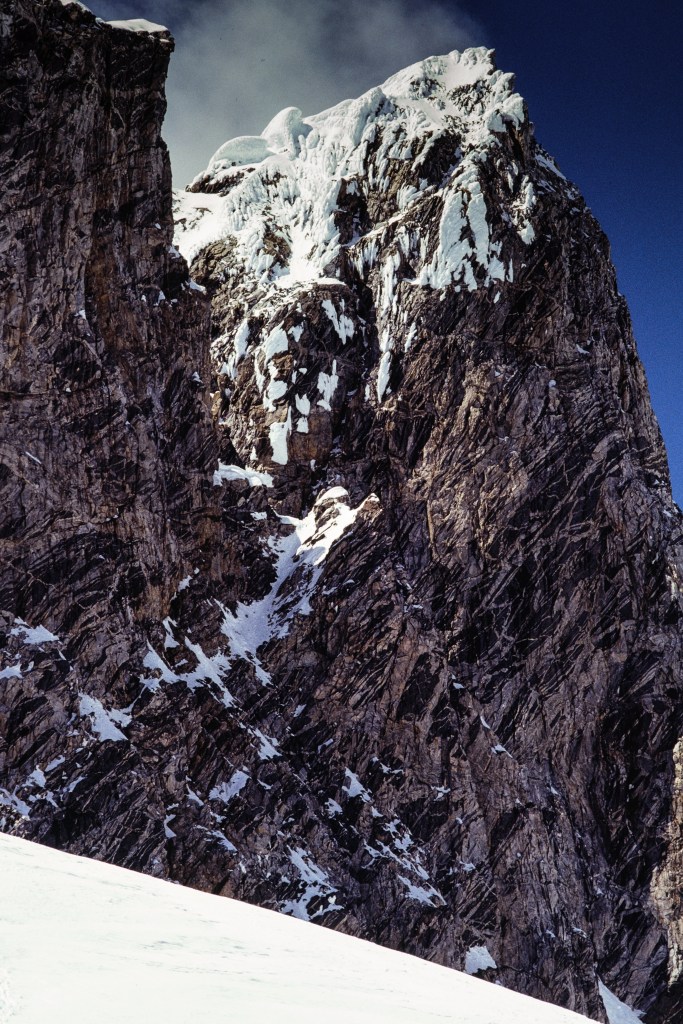
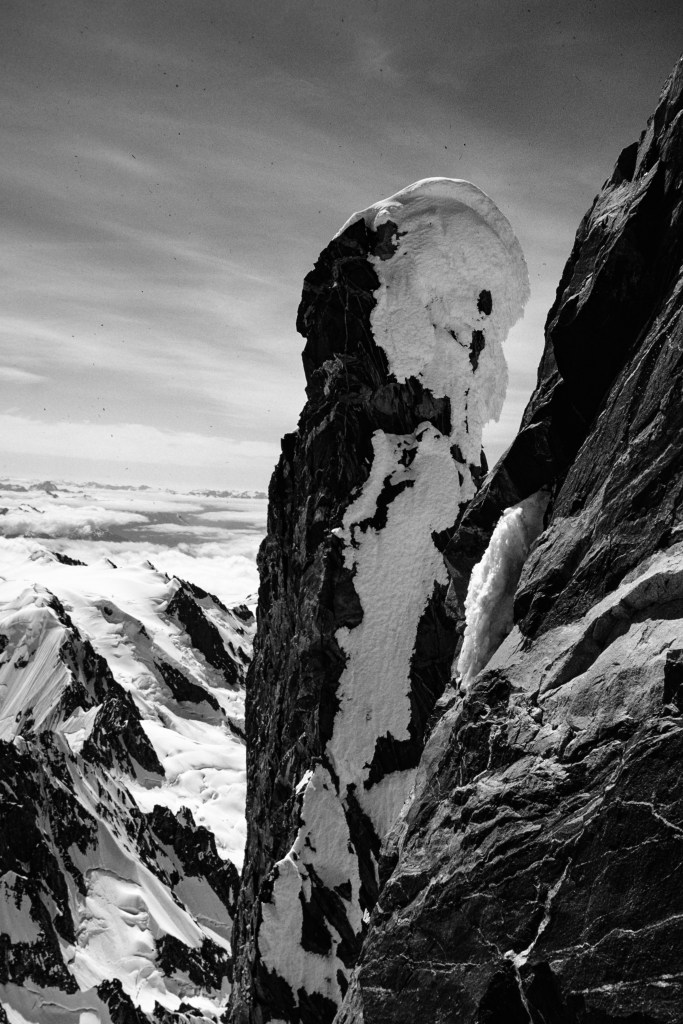
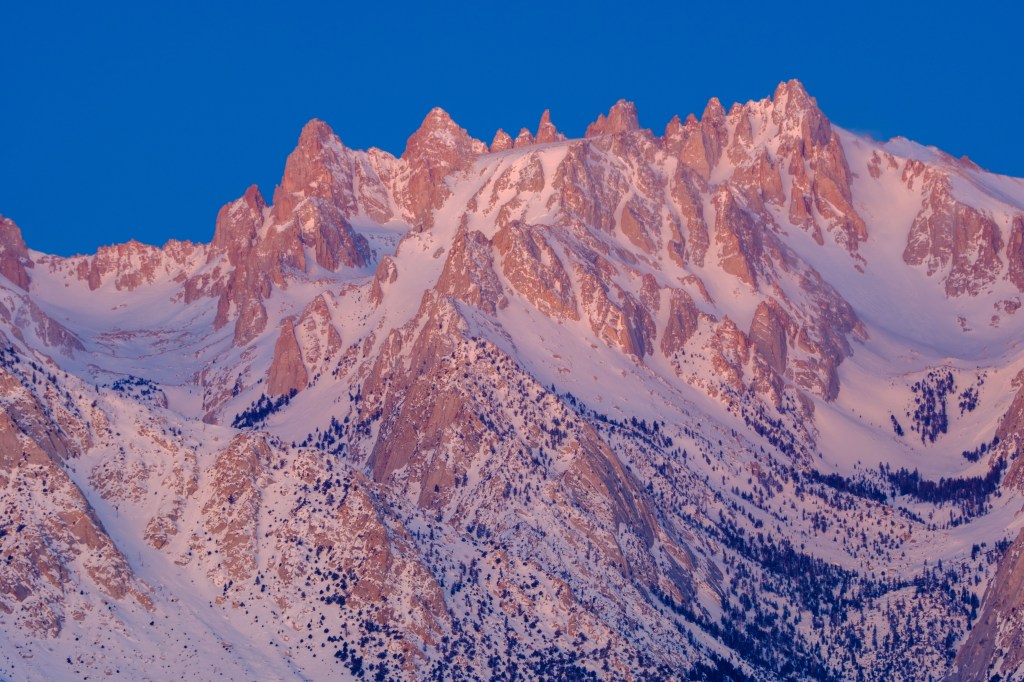
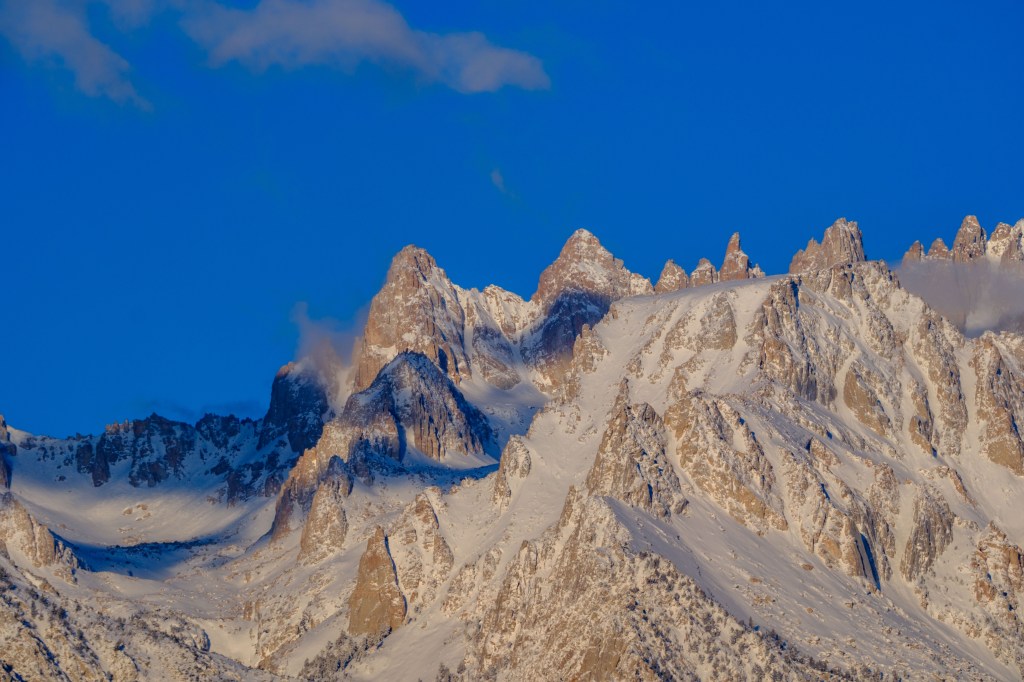
Details of Sharktooth, Corcoran, and LeConte (13,960 feet)
3/7/23. 6:28 AM
3/7/23. 6:32 AM
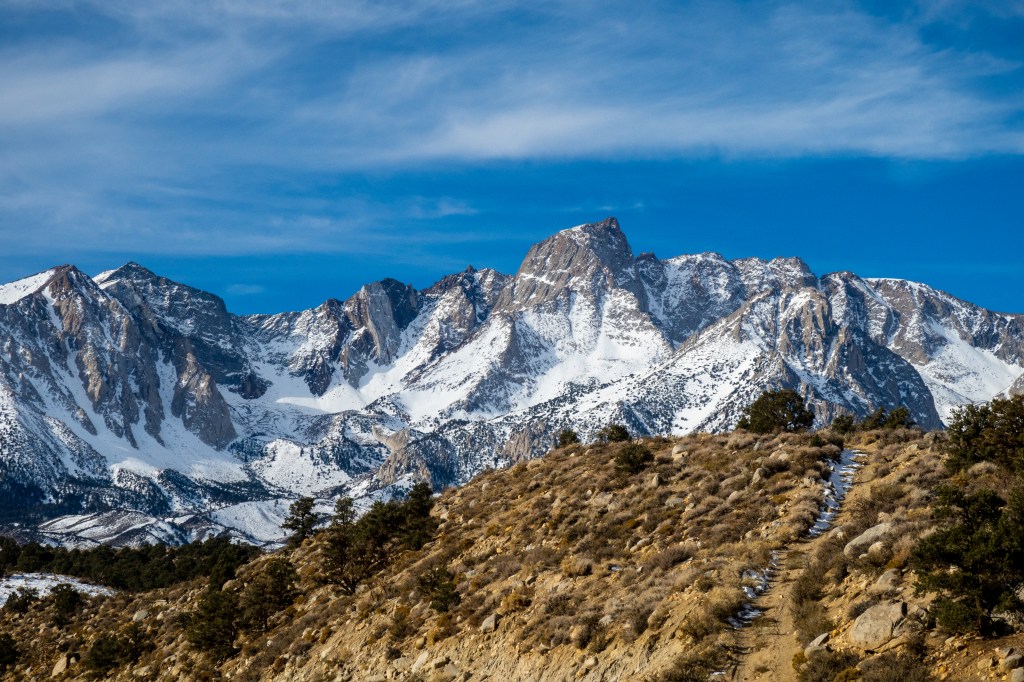
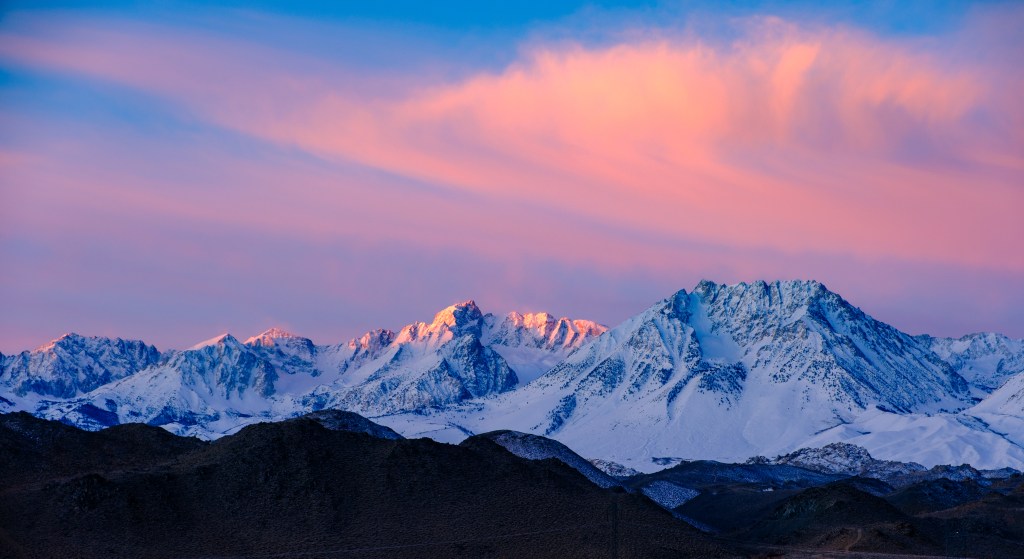
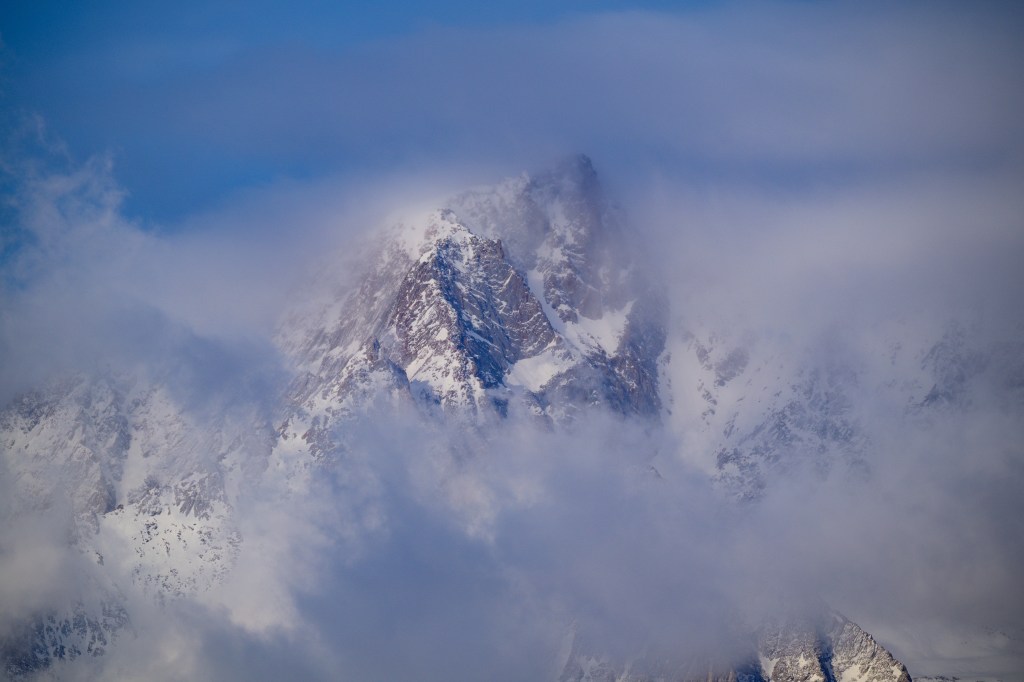
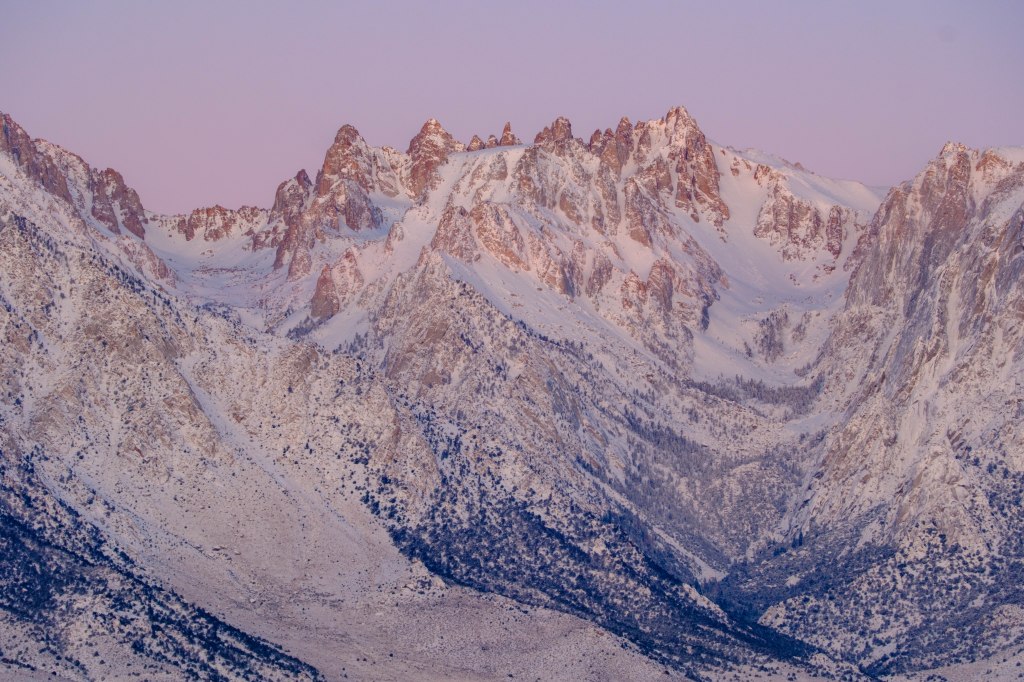
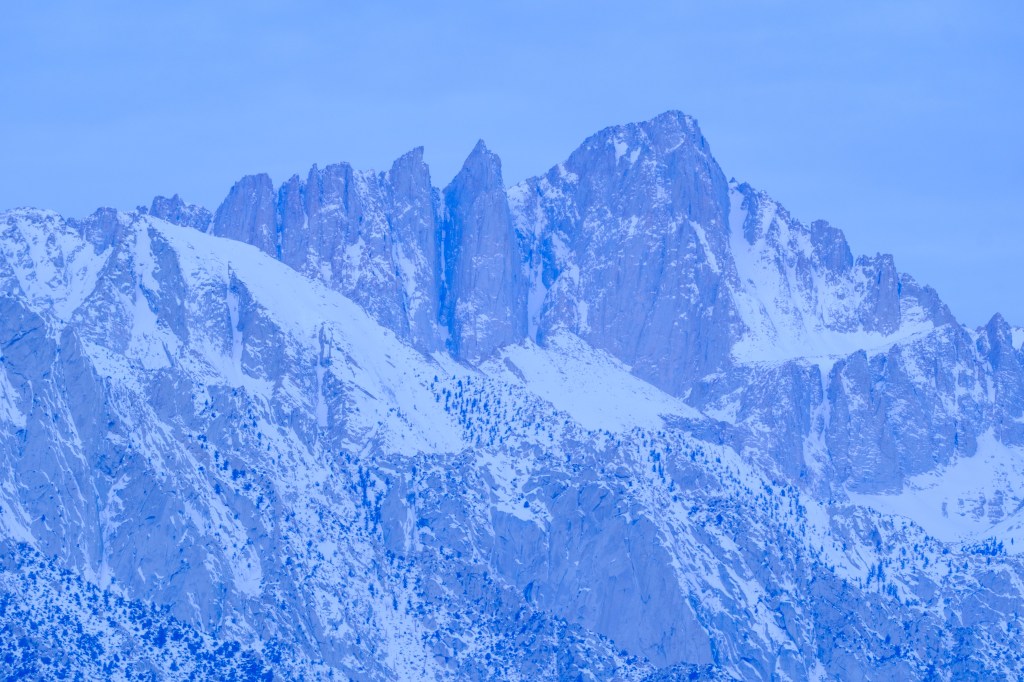
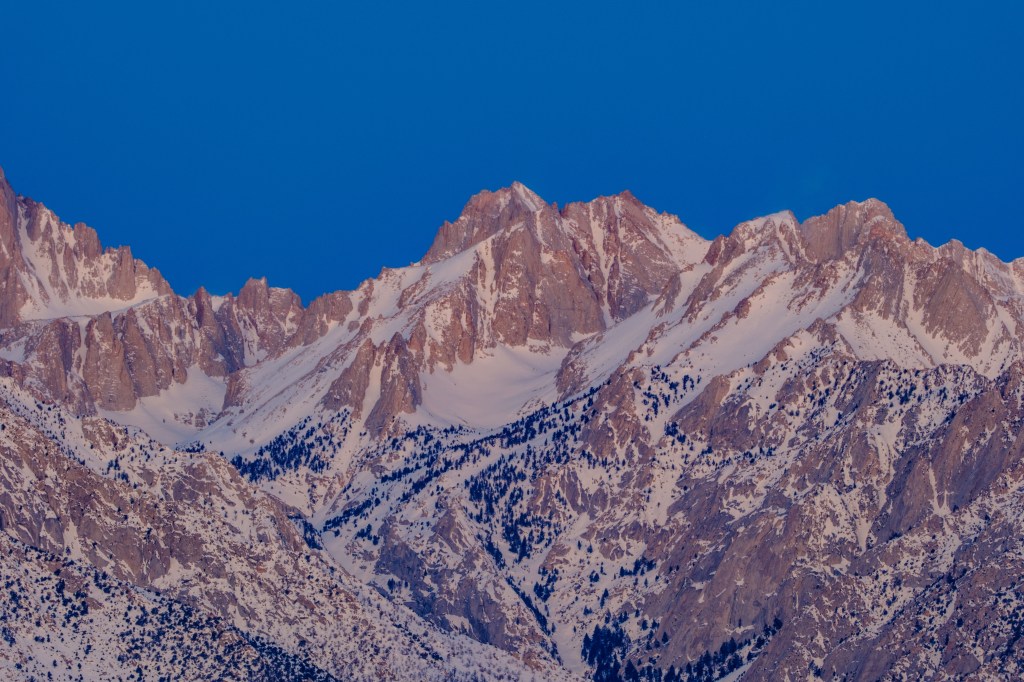
In the next photo, Langley and the Corcoran group have subdued colors due to clouds.
2/24/24. 6:46 AM

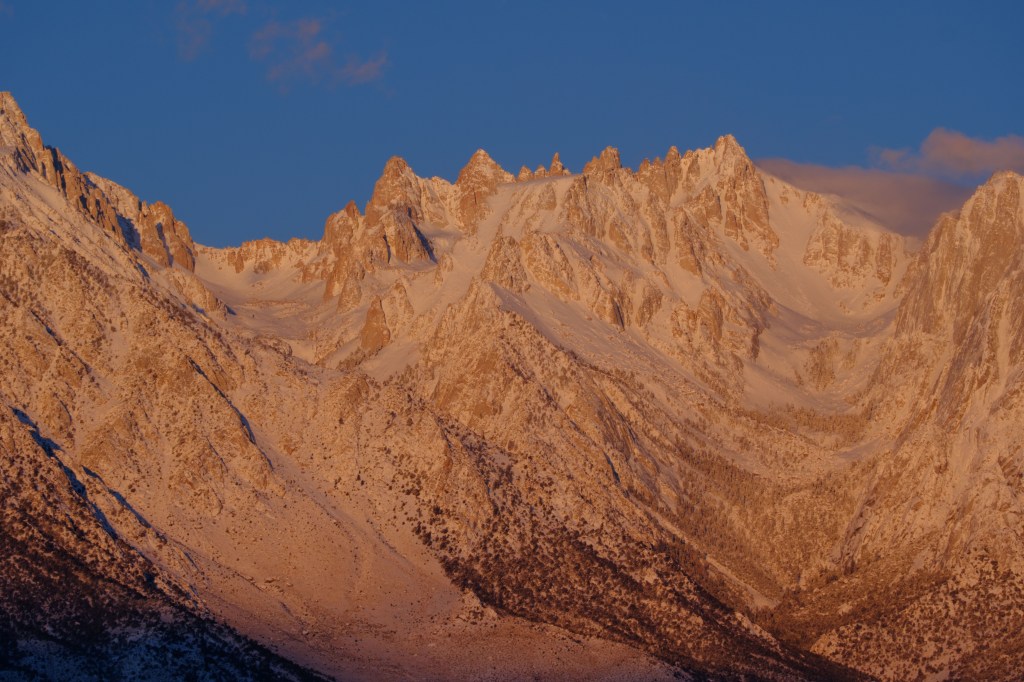
Next we see sunrise on April 1, 2024. The colors change quickly as the sun comes up.
4/1/24. 6:34 AM
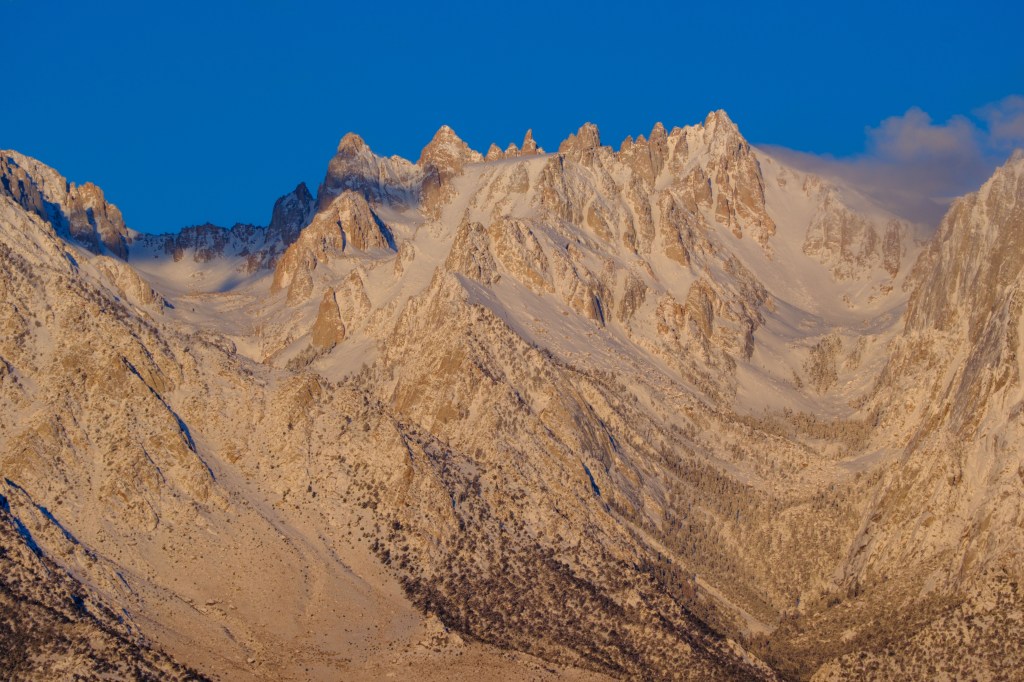
4/1/24. 6:39 AM.

4/1/24. 6:47 AM.
4/1/24. 6:55 AM.
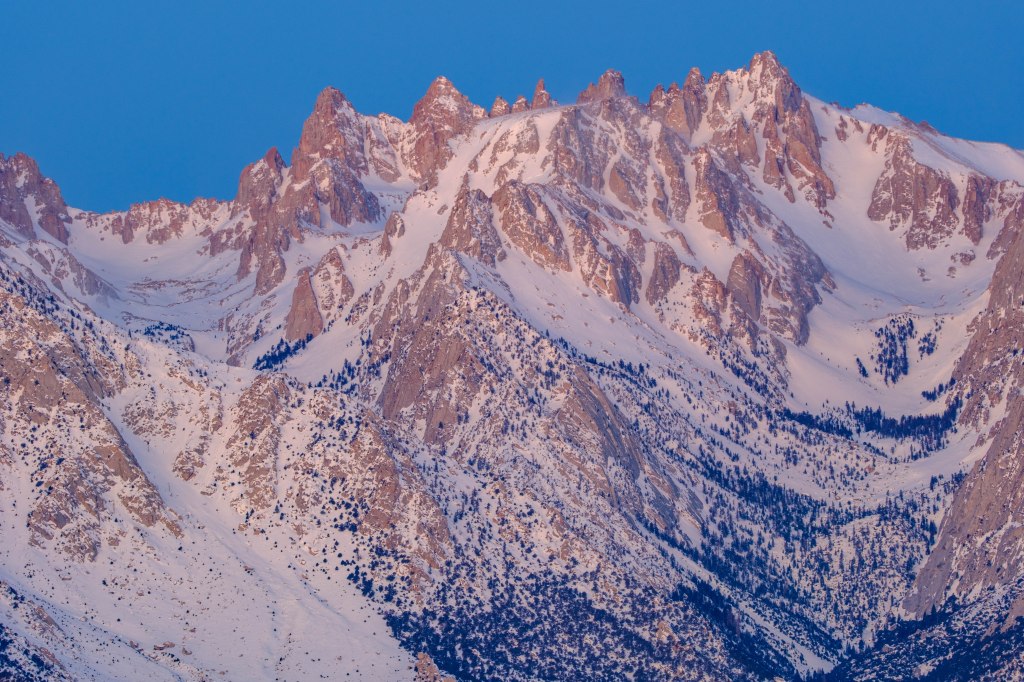
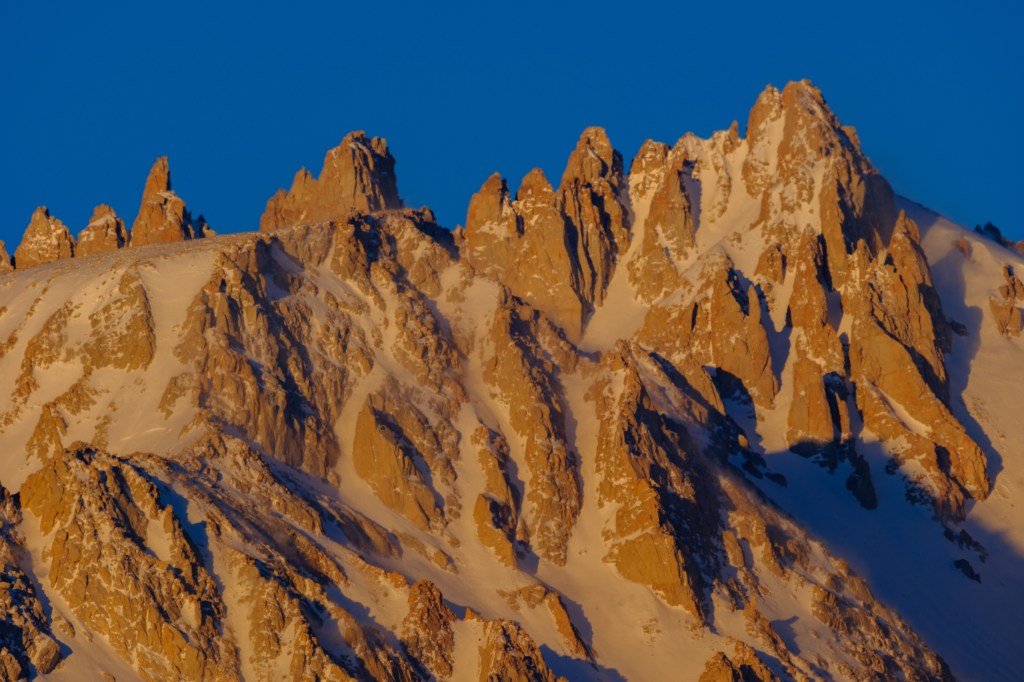
A close-up of Sharktooth, Corcoran, and LeConte.
4/1/24. 7:04 AM.
Peak 4151 meters (left) and Sharktooth (right)
4/1/24. 7:04 AM.

4/1/24. 7:05 AM.
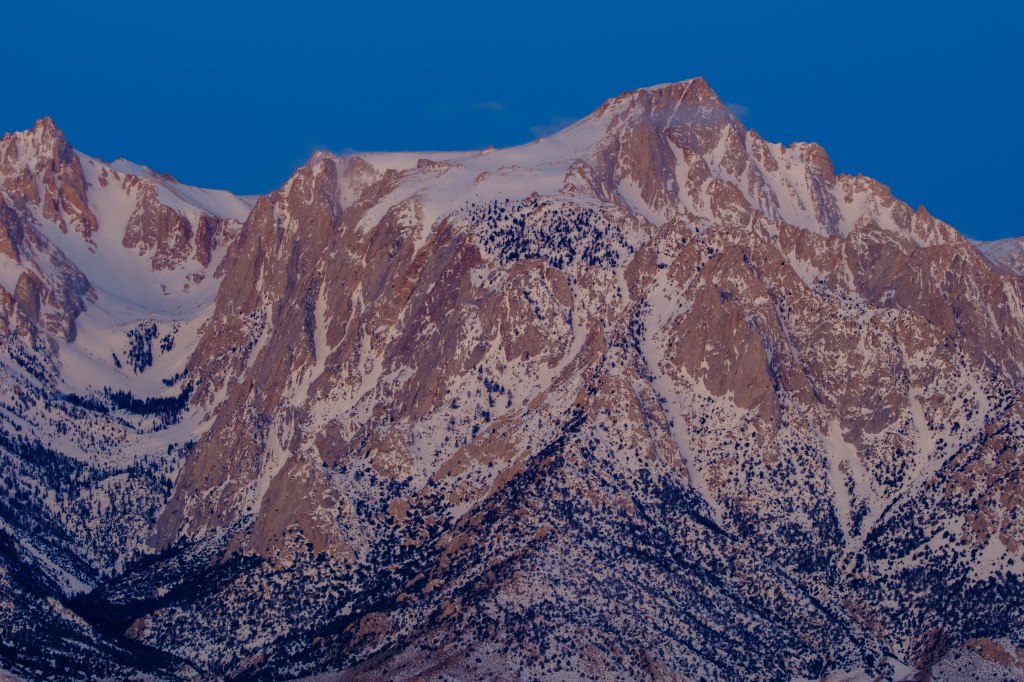
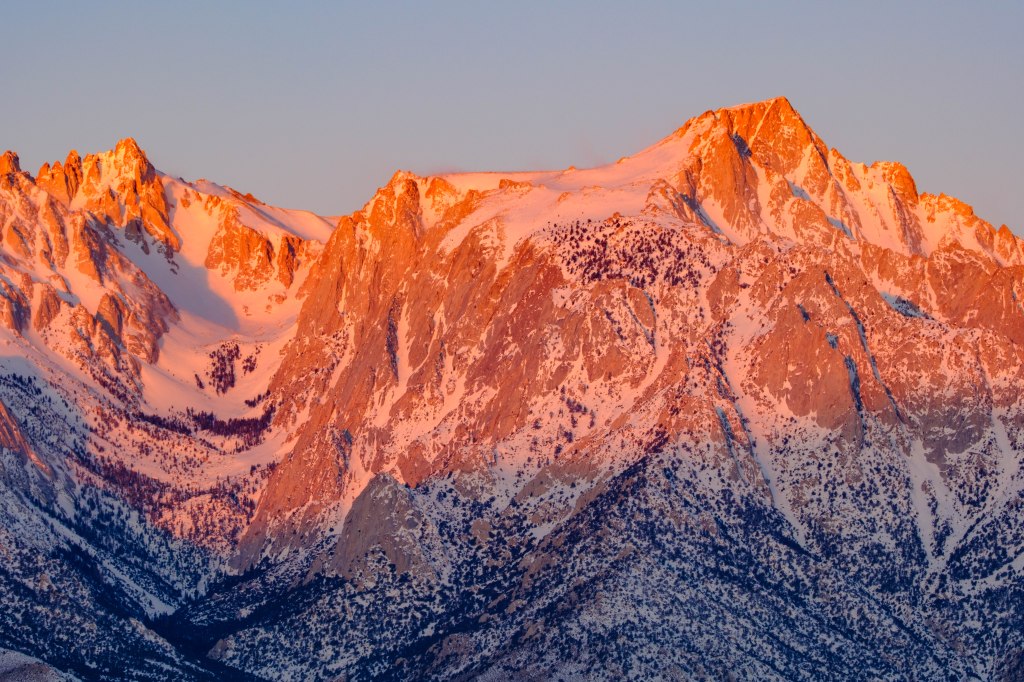
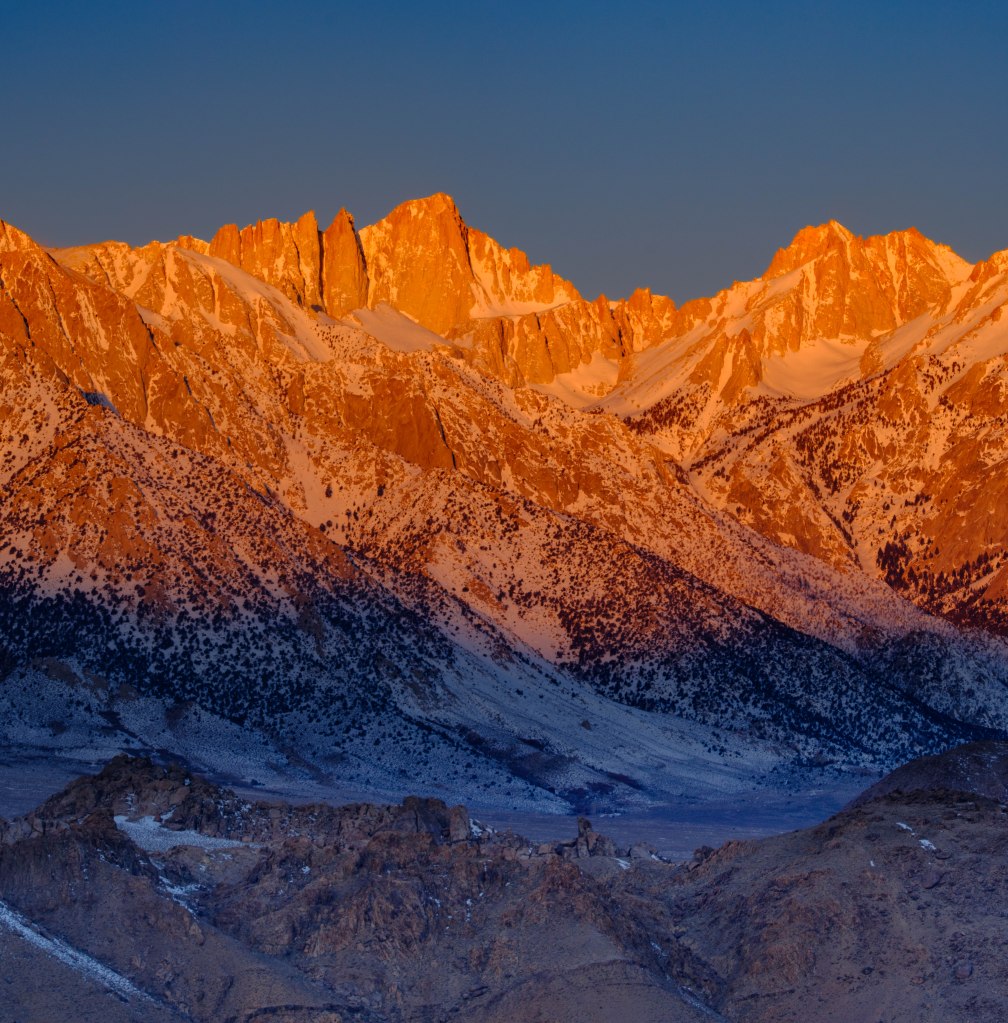
Lone Pine Peak
Because Lone Pine Peak is so much closer to the town of Lone Pine, it looks bigger than Whitney. It is slightly lower than 13,000 feet, lower than the other summits in this blog. Additional, higher summits (Mt Mallory and Mt Irvine) are blocked from view behind this peak.
3/7/23. 6:03 AM.
3/7/23. 6:15 AM.
3/7/23. 6:24 AM.

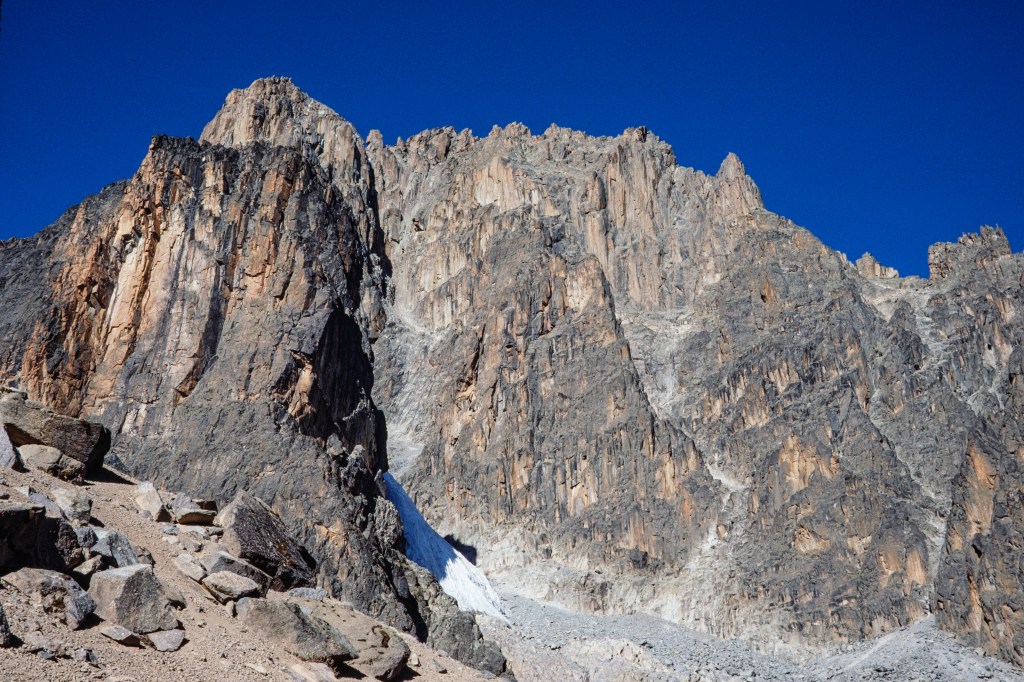
A closer view of the south face of Lone Pine Peak: a 3,000 foot wall with many climbing routes.
3/7/23. 6:29 AM.

3/7/23. 6:32 AM.

Another sunrise on 4/1/24.
4/1/24. 6:34 AM.
4/1/24. 6:46 AM.

4/1/24. 6:45 AM.
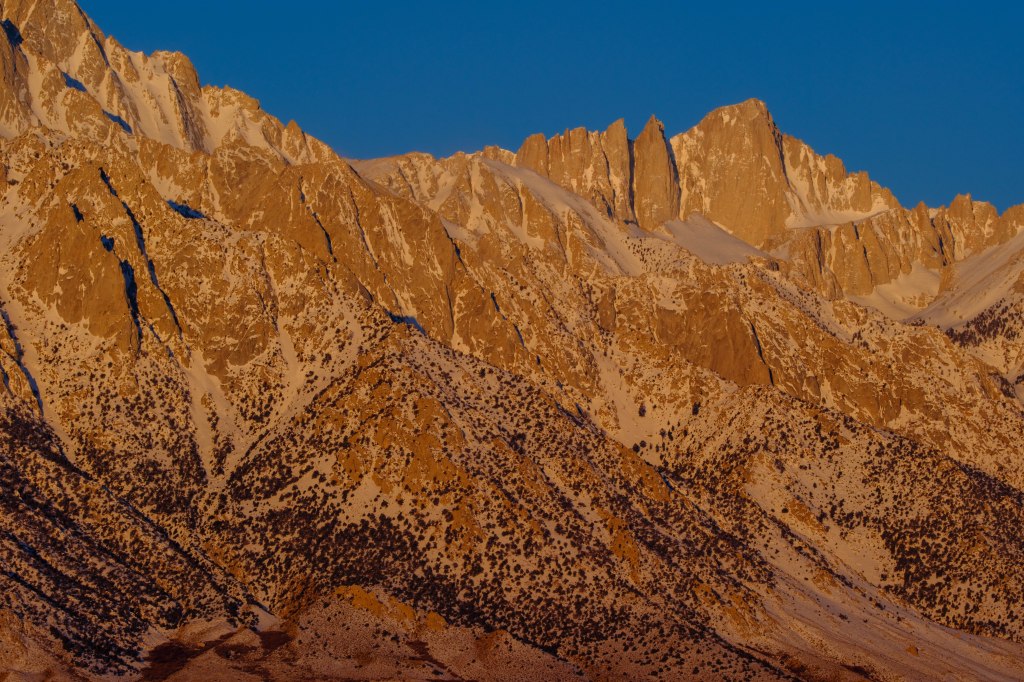
Mount Whitney
My first climb of Whitney was in 1971. I drove to Lone Pine and picked up a permit for the Mountaineer’s Route in May. My climbing partner and I saw no one on our climb and met only four people on the summit. But that ship has sailed. Because this is the tallest US summit aside from peaks in Alaska, the demand for permits has surged in the last 25 years. Most people use the trail to the top; 11 miles with 6000 feet of uphill. For hiking permits during the period May 1 to November 1, people must now enter a lottery in February. There are 100 permit spots each day for people who want to try to reach the summit without camping, 60 spots for people willing to camp overnight along the trail. In 2023 there were 26,219 permit applications for about 115,000 people; 27% of the applications were granted, so about 31,000 individuals had permit spots to go up Whitney. Some of these people never went and many others failed to reach the top; it is estimated that about 10,000 people reach the summit each year.
You cannot see the trail to the summit in photos from the valley. The trail is hidden behind Lone Pine Peak and behind Whitney’s long south ridge.
3/7/23. 5:56 AM.

3/7/23. 6:15 AM.
3/7/23. 6:18 AM.
3/7/23. 6:24 AM.
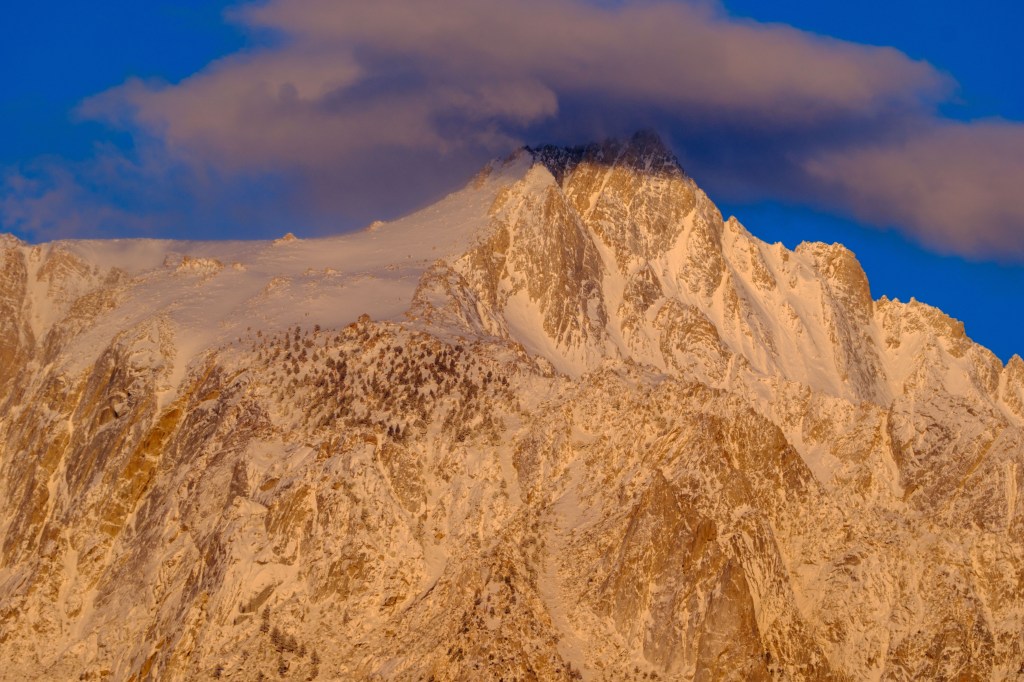
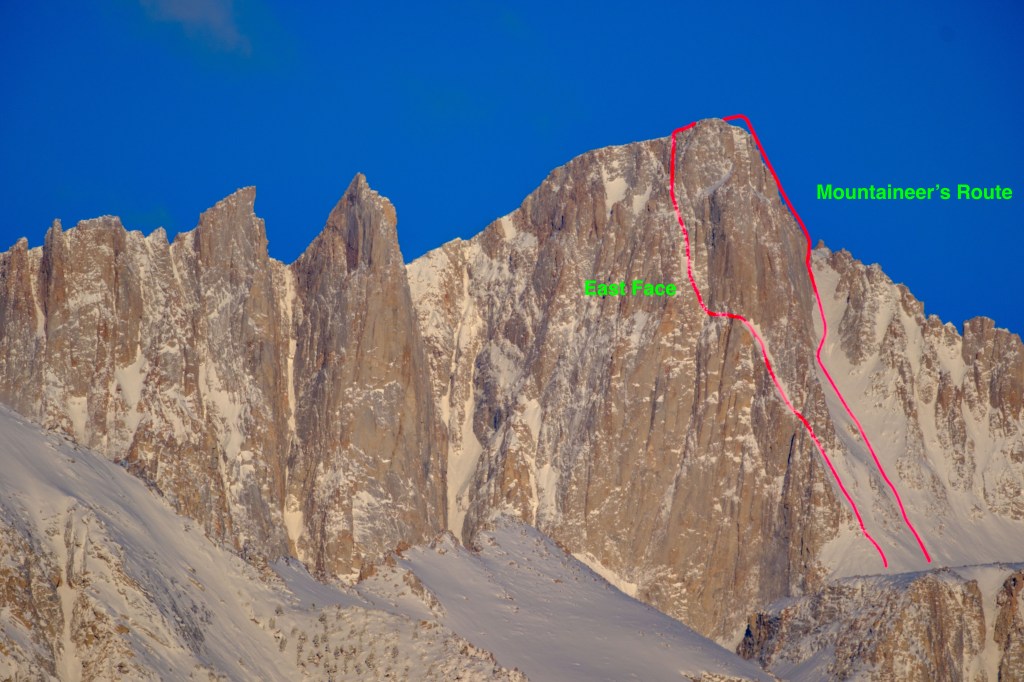
Whitney’s east face has routes popular with climbers. To the left of the summit you can see Keeler Needle (14,240 feet). Crooks Peak (14,080 feet) is further left.
3/7/23. 6:29 AM.
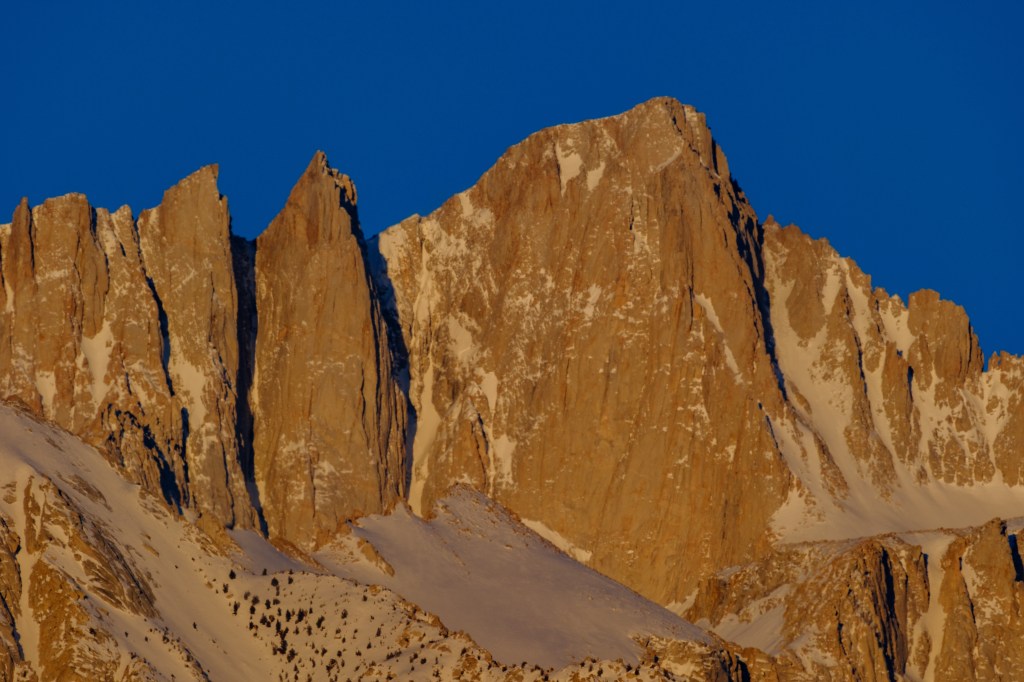
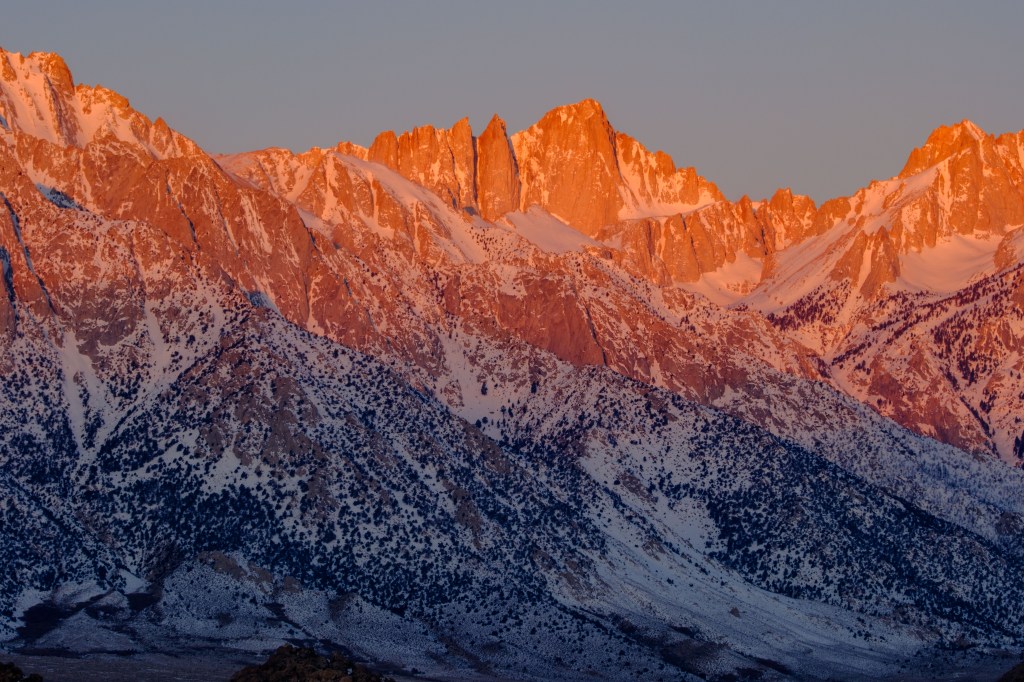
In the photo below, Crooks Peak, Keeler Needle, Mt Whitney, and Mt Russell are all taller than 14,000 feet. Lone Pine Peak on the left looks taller, because it is closer, but it is actually shorter than 13,000 feet.
3/7/23. 6:33 AM.
2/24/24. 6:26 AM.
2/24/24. 6:46 AM.

Below, see how much the light changes in 1 minute, from 6:35 to 6:36 AM.
4/1/24. 6:35 AM.
4/1/24. 6:36 AM.
4/1/24. 6:39 AM.
4/1/24. 6:46 AM.

4/1/24. 6:54 AM.
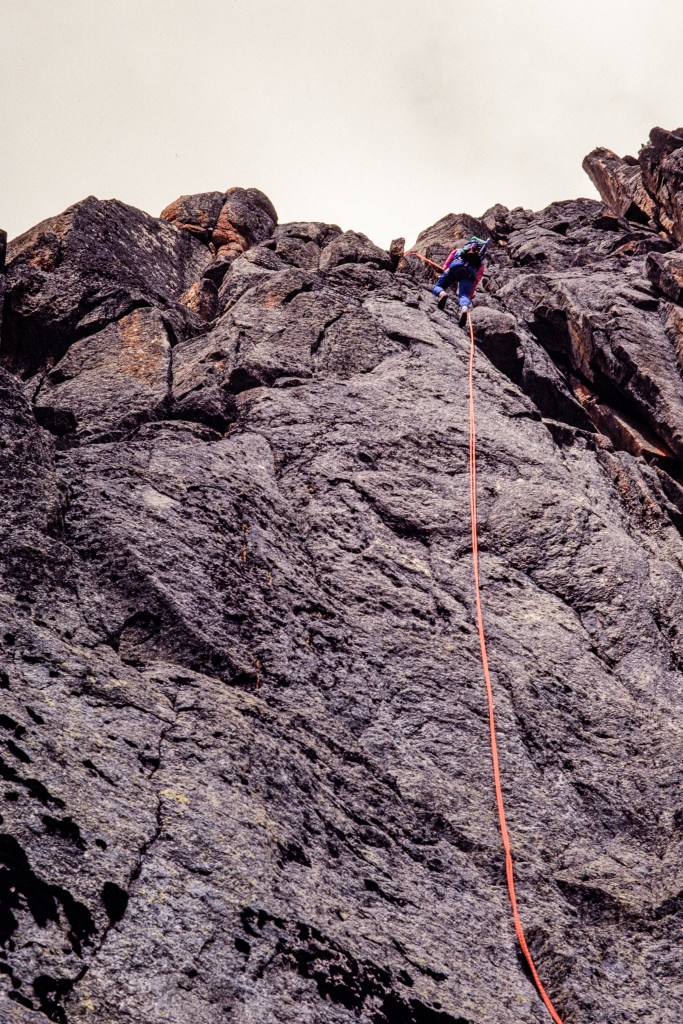
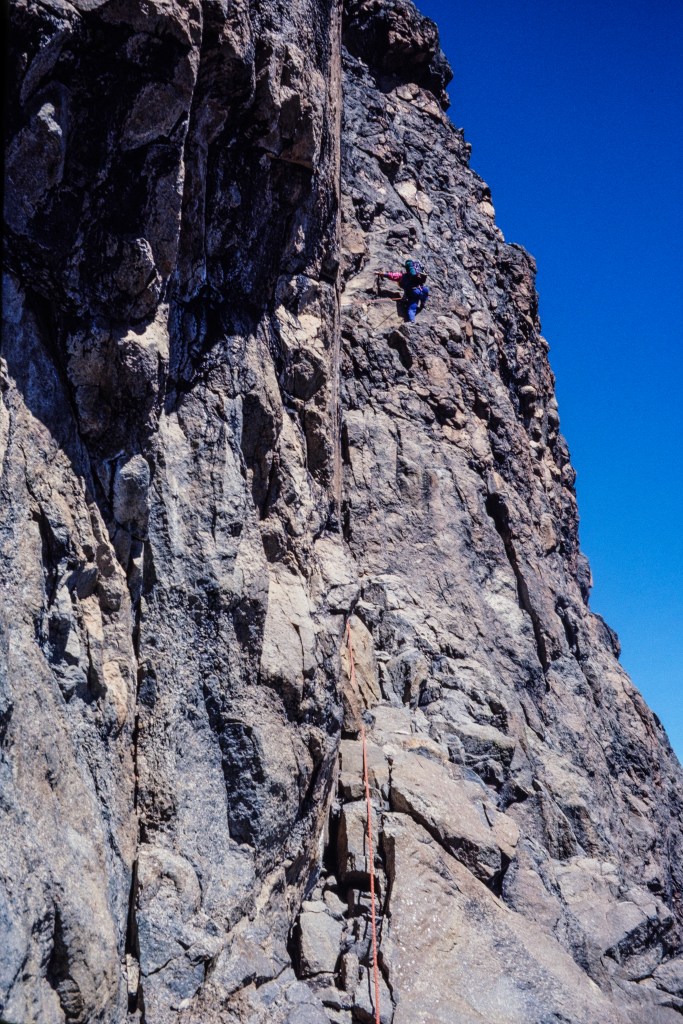
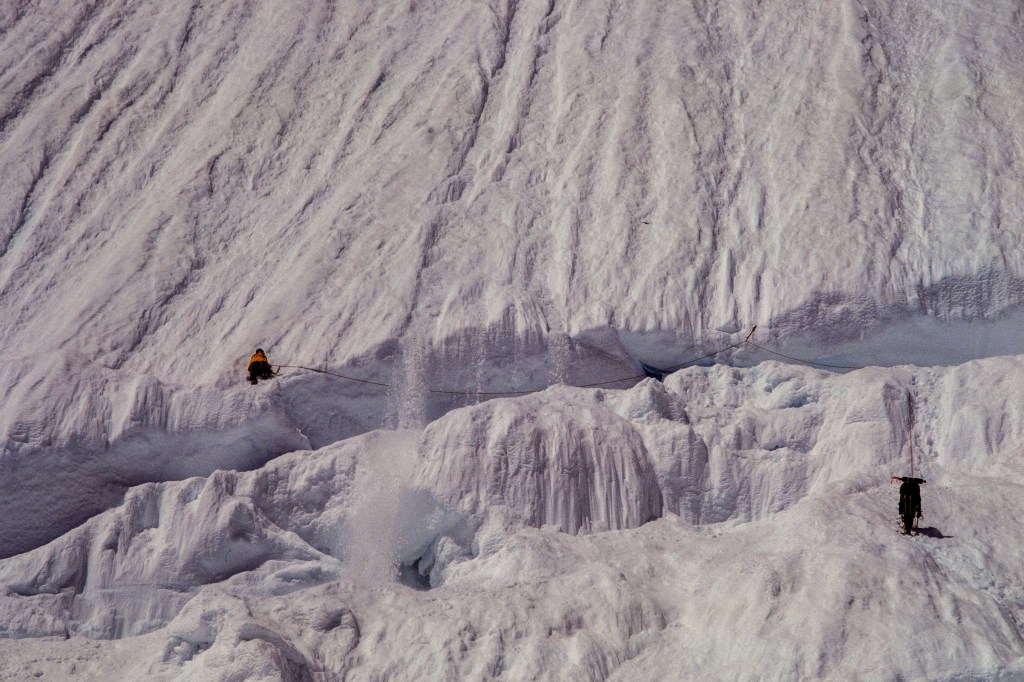
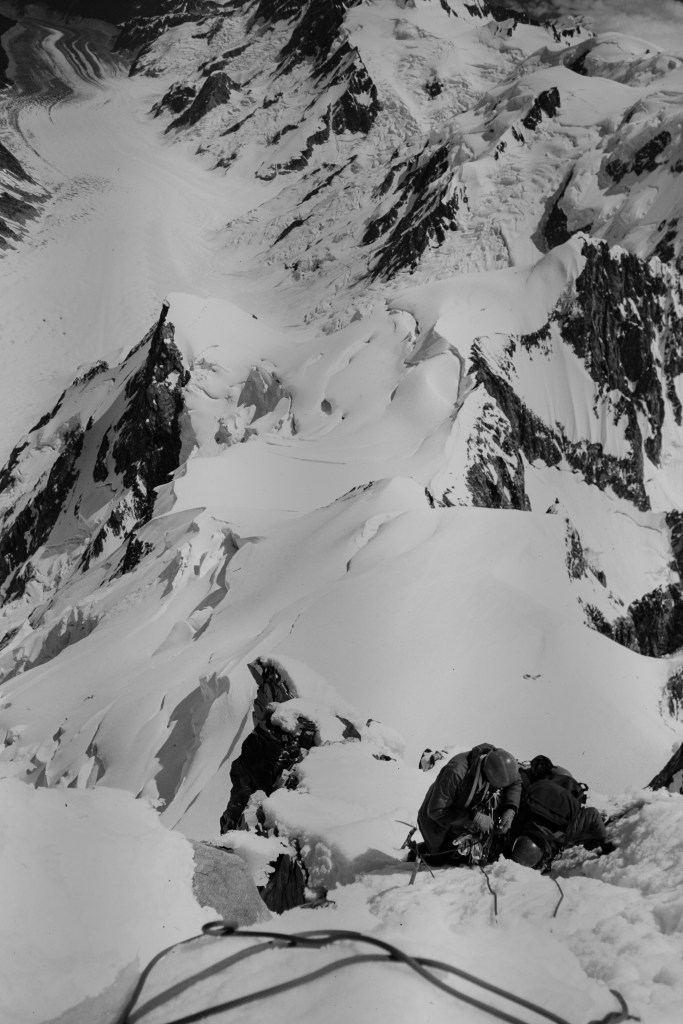
The photo below shows Crooks Peak, Keeler Needle, and Whitney’s east face. I have marked two climbing routes on the photo. In May of 1971 I climbed Whitney via the Mountaineer’s Route. That route goes up a long snow gully, then turns left and out of sight to climb icy rocks to the top. In June of ’81, I climbed the East Face Route.
4/1/24. 7:03 AM.
Peaks North of Whitney
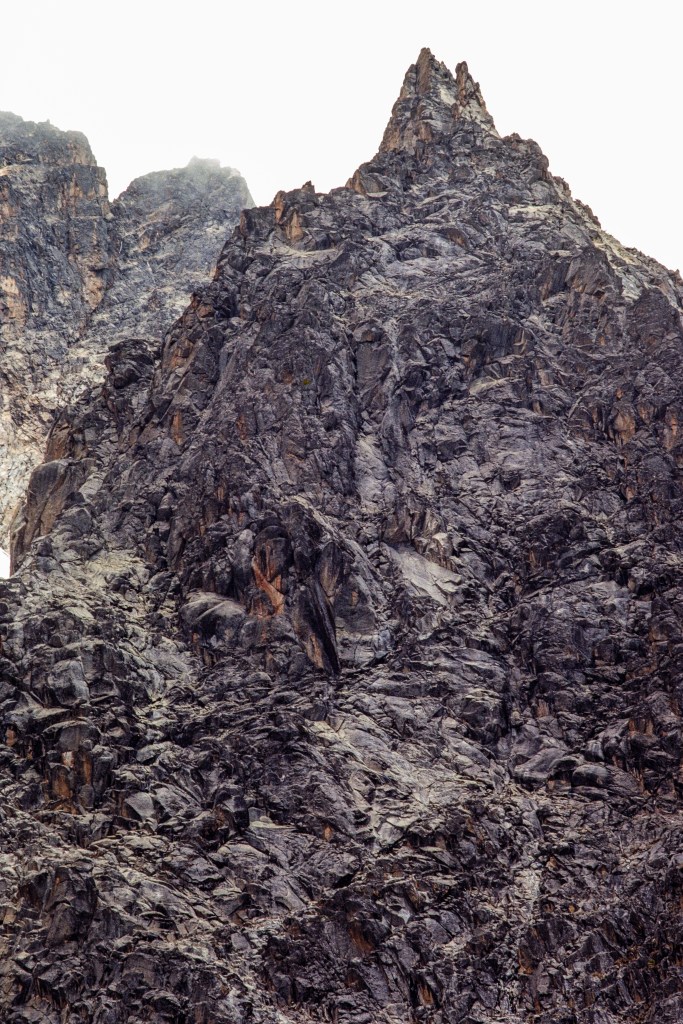
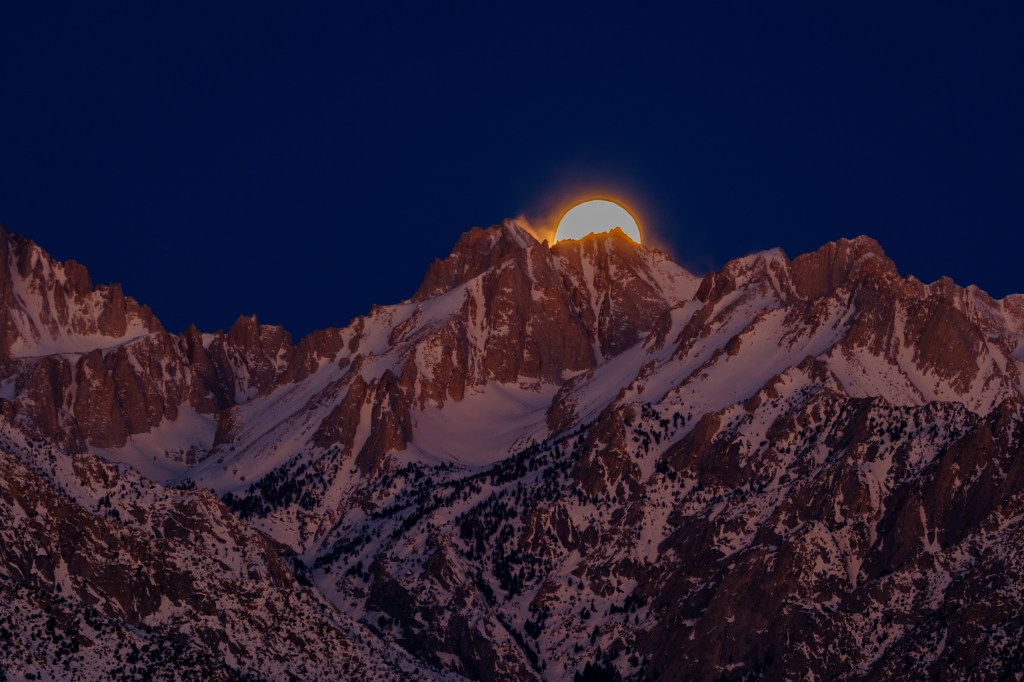
Below, the moon sets behind Mt Carillon (13,552 feet), with Mt Russell left of the moon.
3/7/23. 5:54 AM.
3/7/23. 6:02 AM.
Below you can see Russell, Carillon, and Tunnabora.
Another moonset.
2/24/24. 6:05 AM.

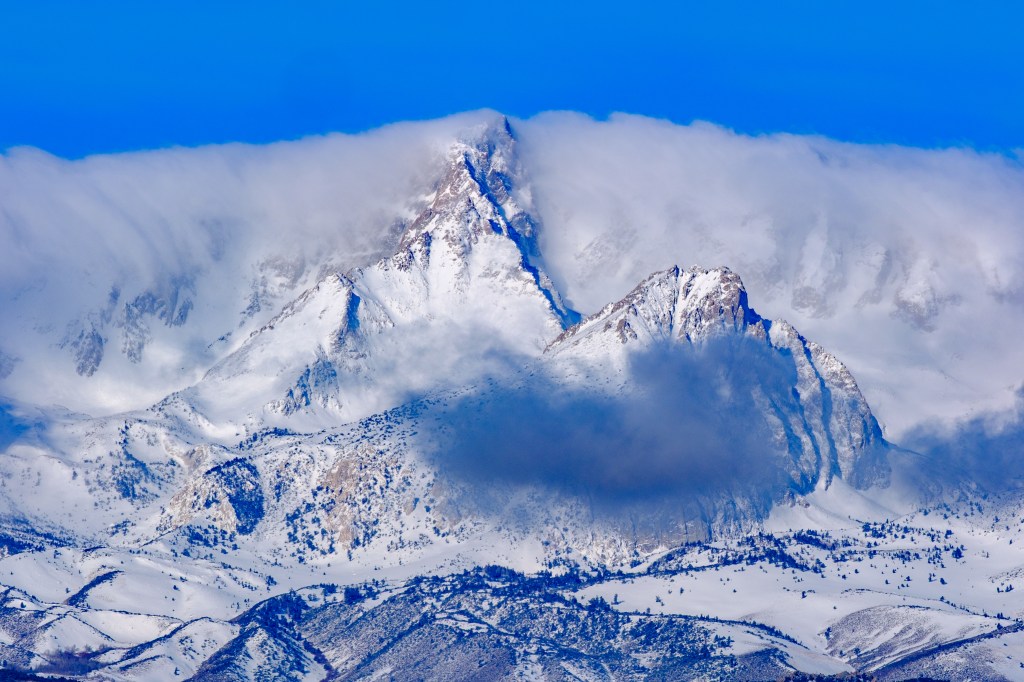
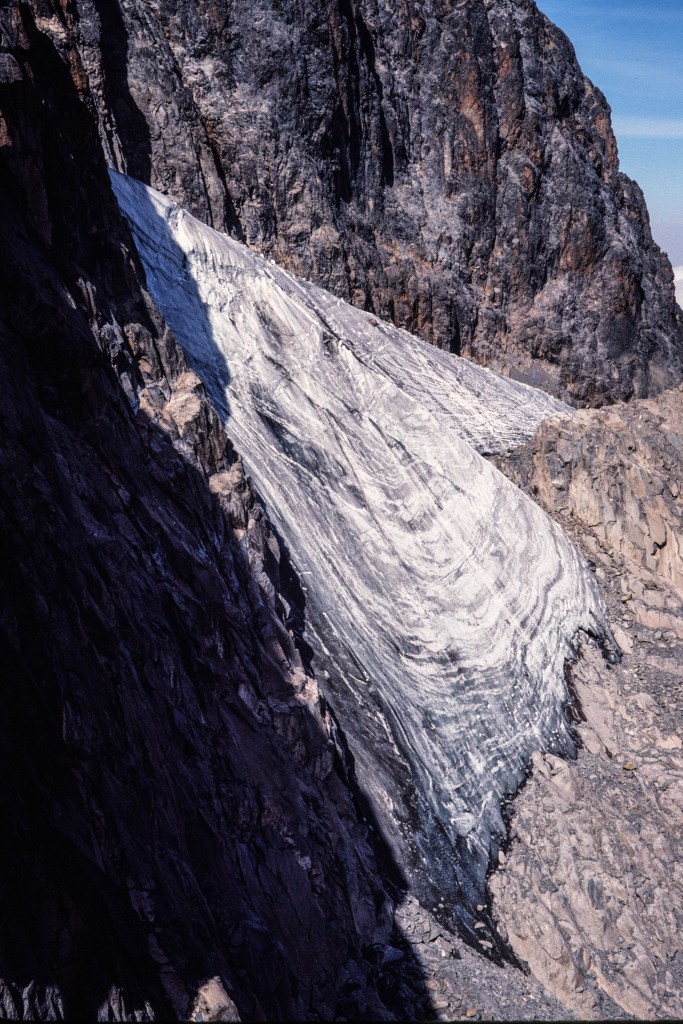
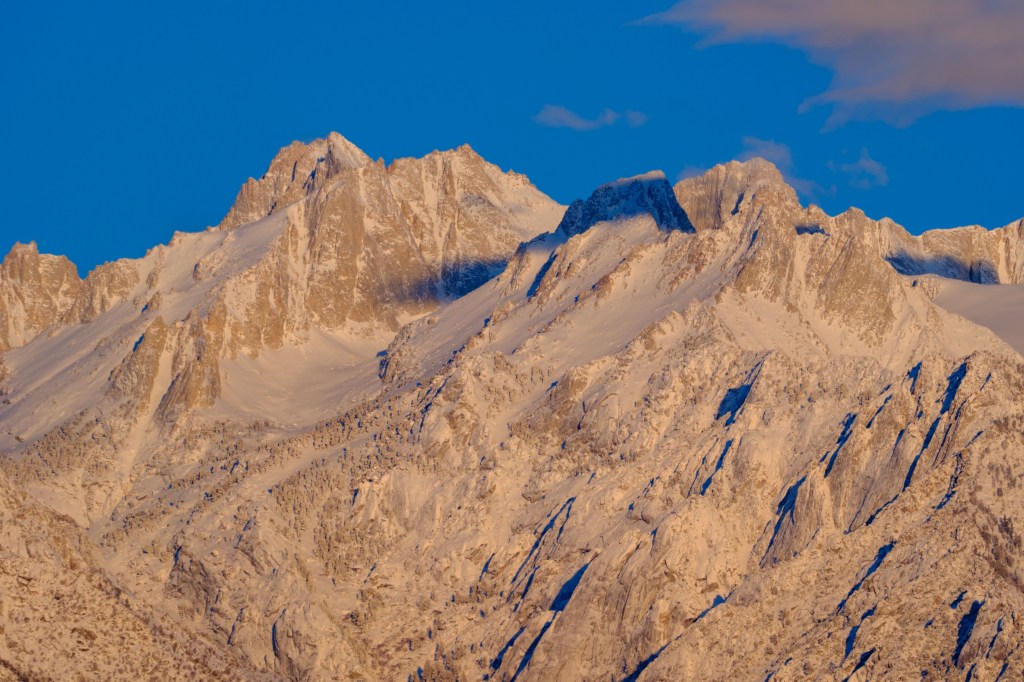
In the lower part of the photo below you can see fir trees covered in ice.
4/1/24. 6:54 AM.
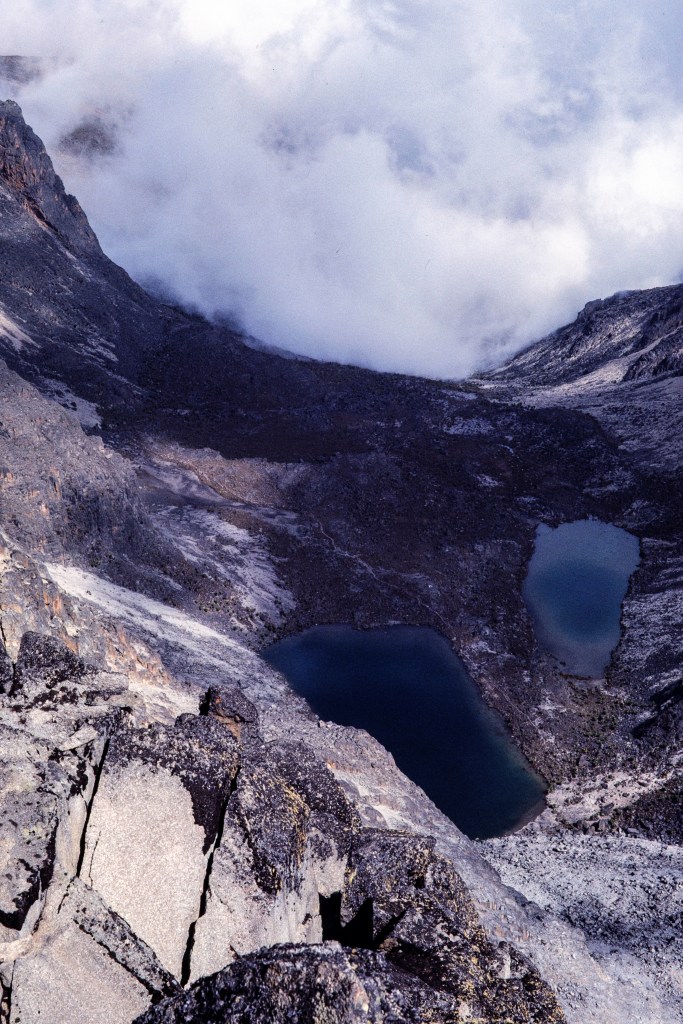
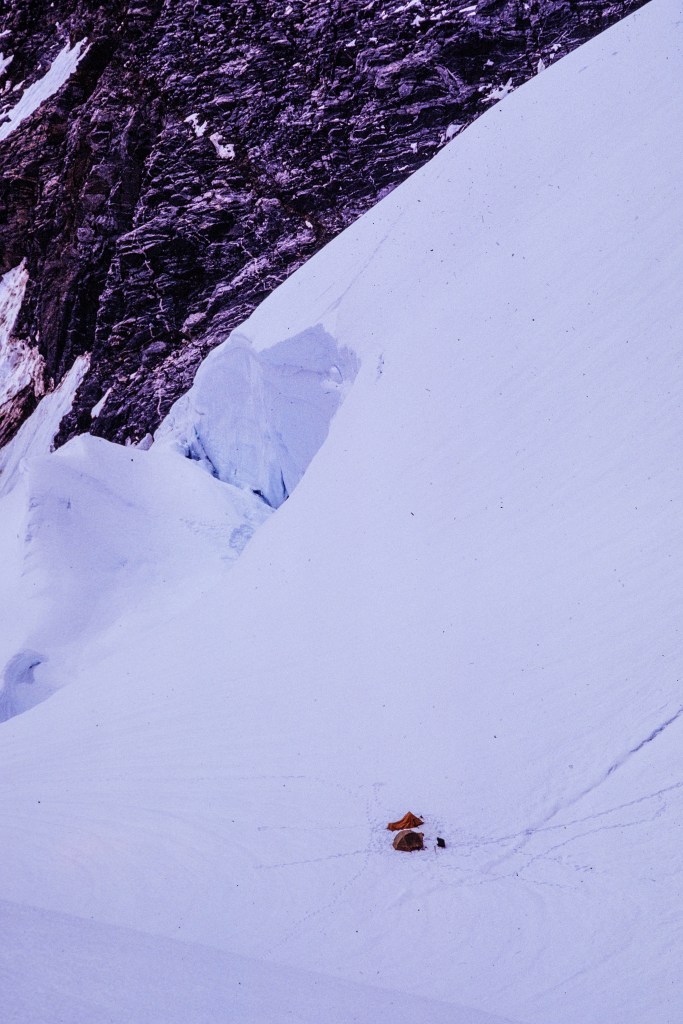
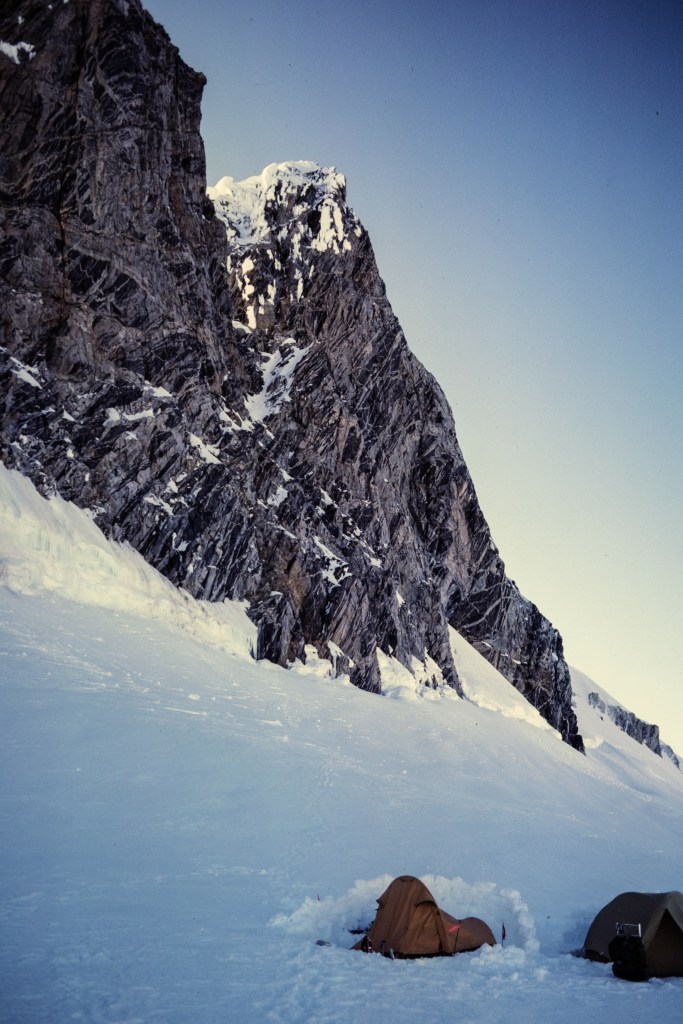
The deep canyon that slopes from lower right to upper left, in the next picture, contains Lone Pine Creek. It also contains the road to Whitney Portal, the trailhead used for the hike to the summit. You can see part of the road in the lower right of the photo.
4/1/24. 7:02 AM
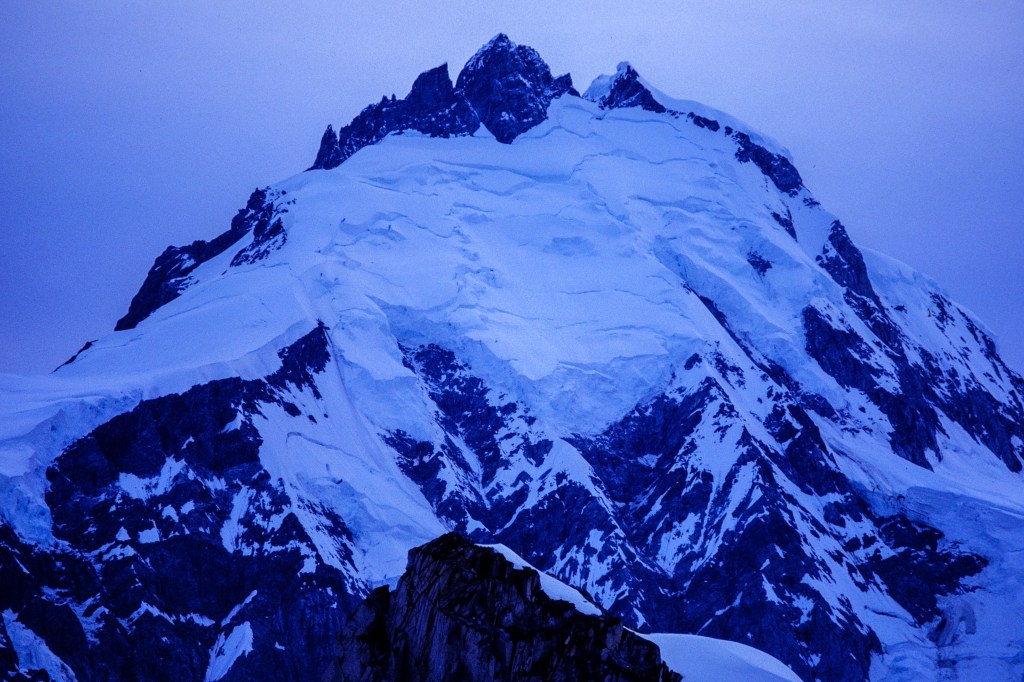
Farther north is Mt Williamson (14,375), California’s second highest peak.
4/1/24. 7:01 AM

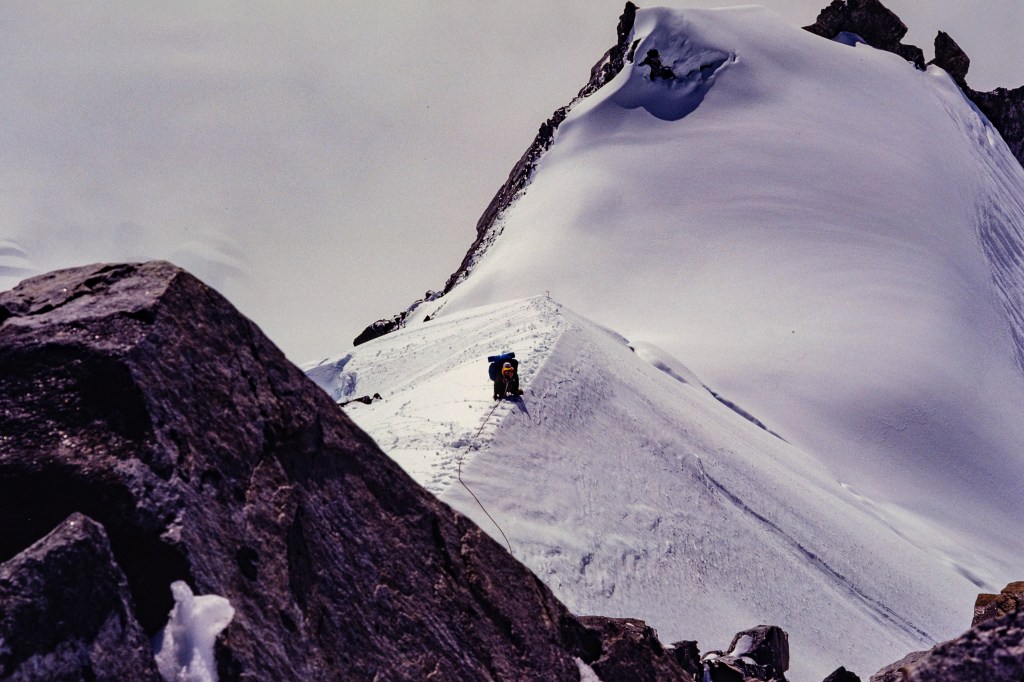
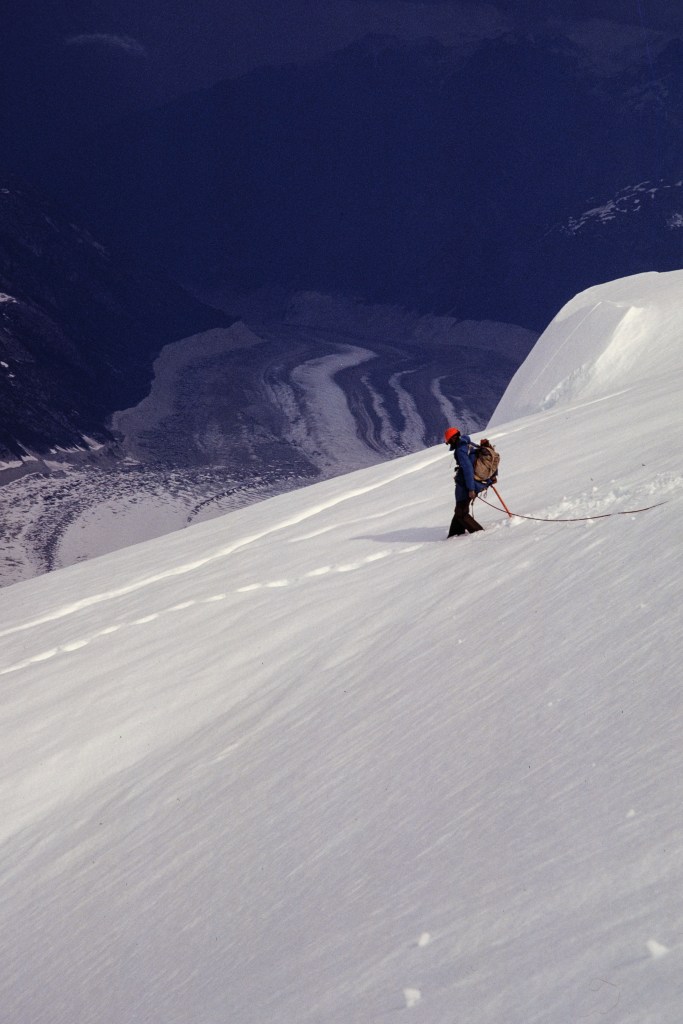
My Climbs on Whitney
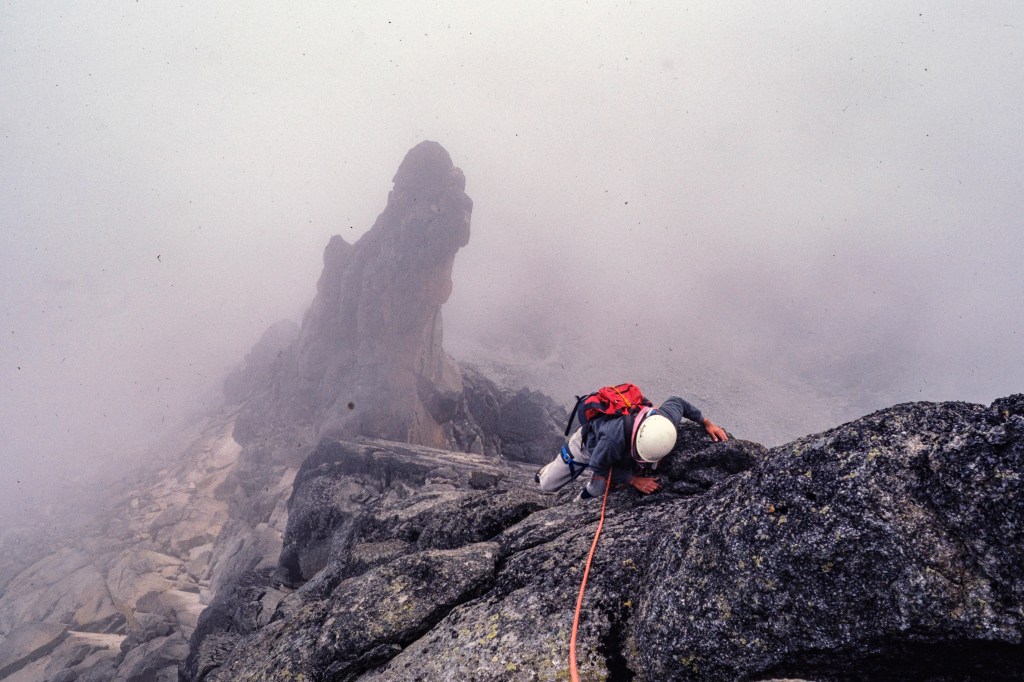
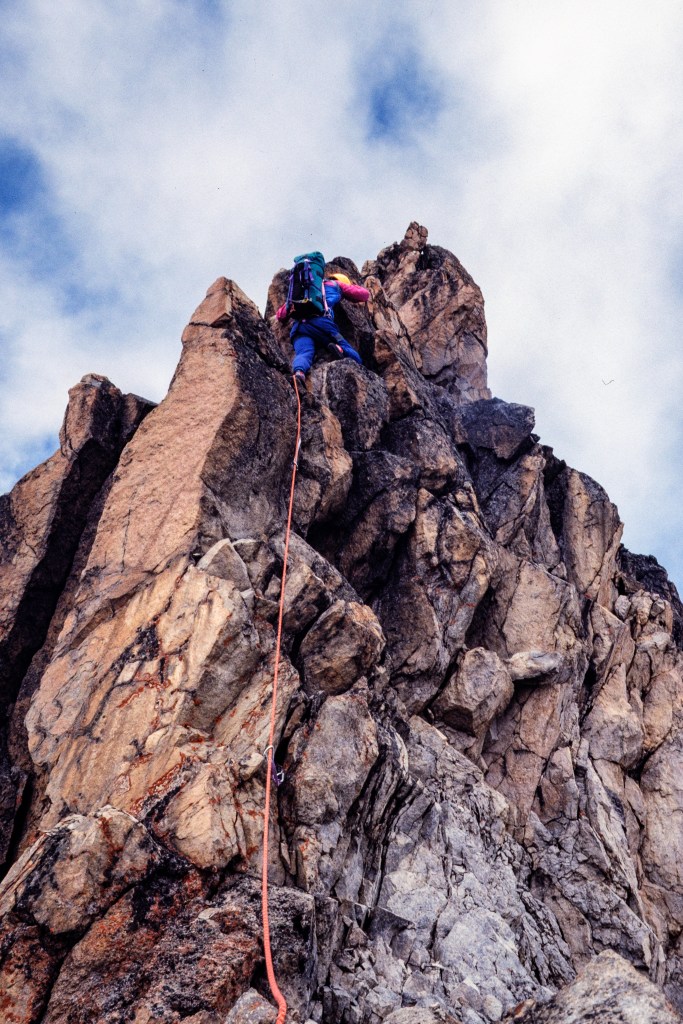
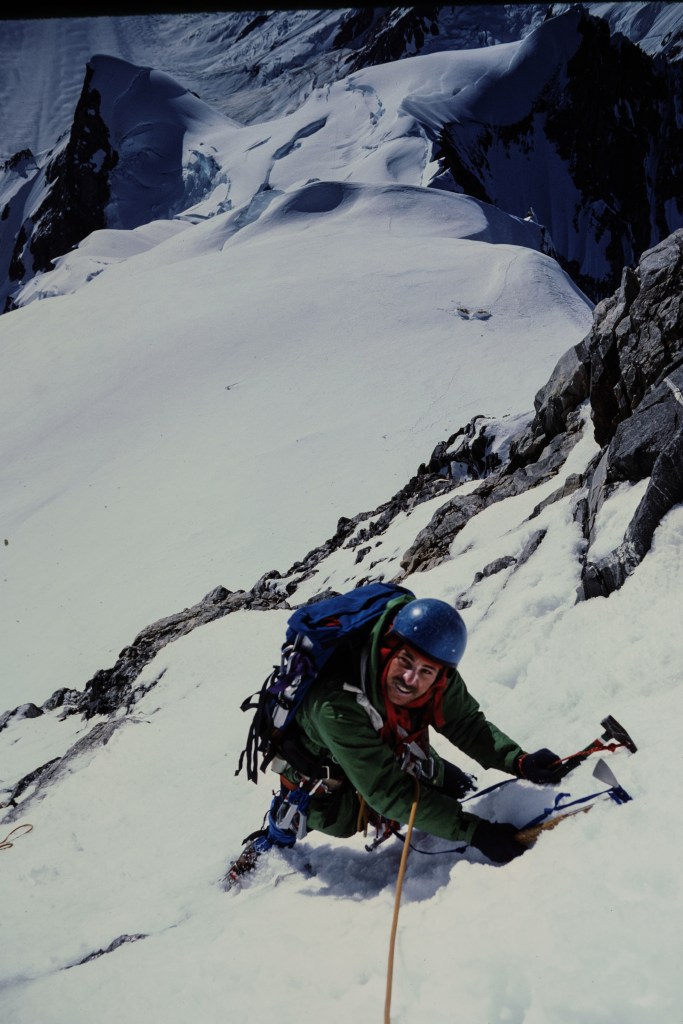
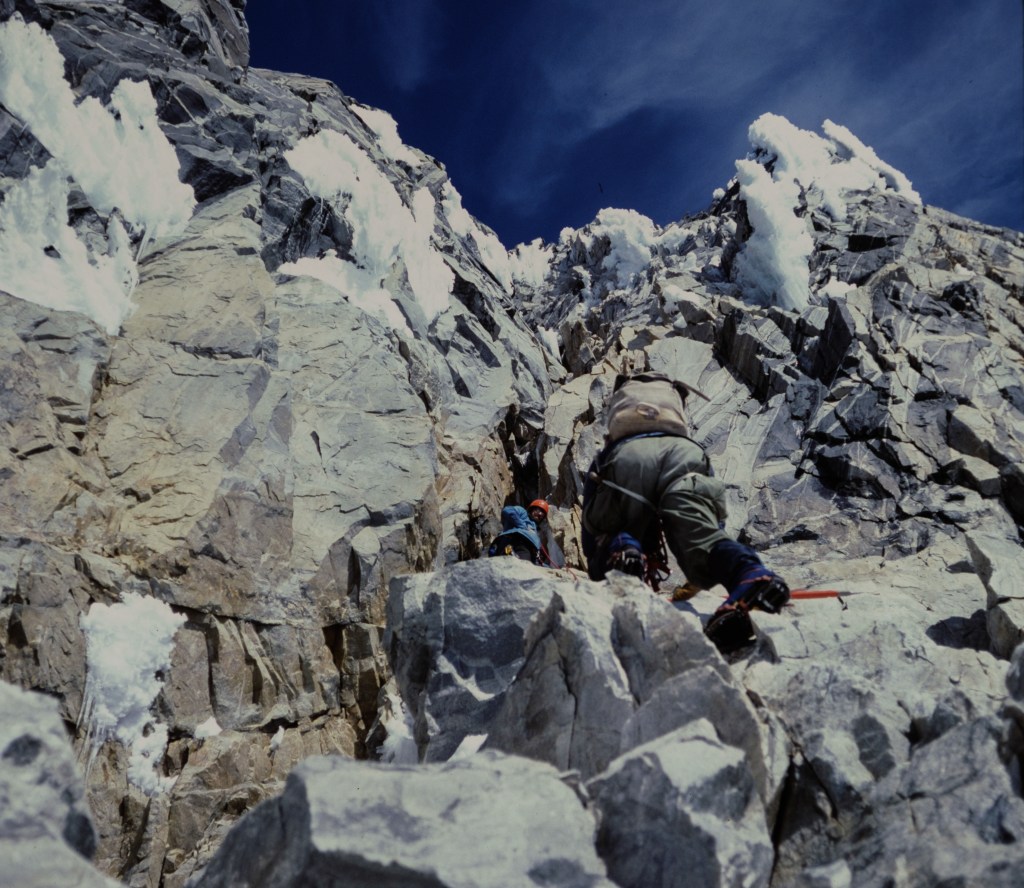
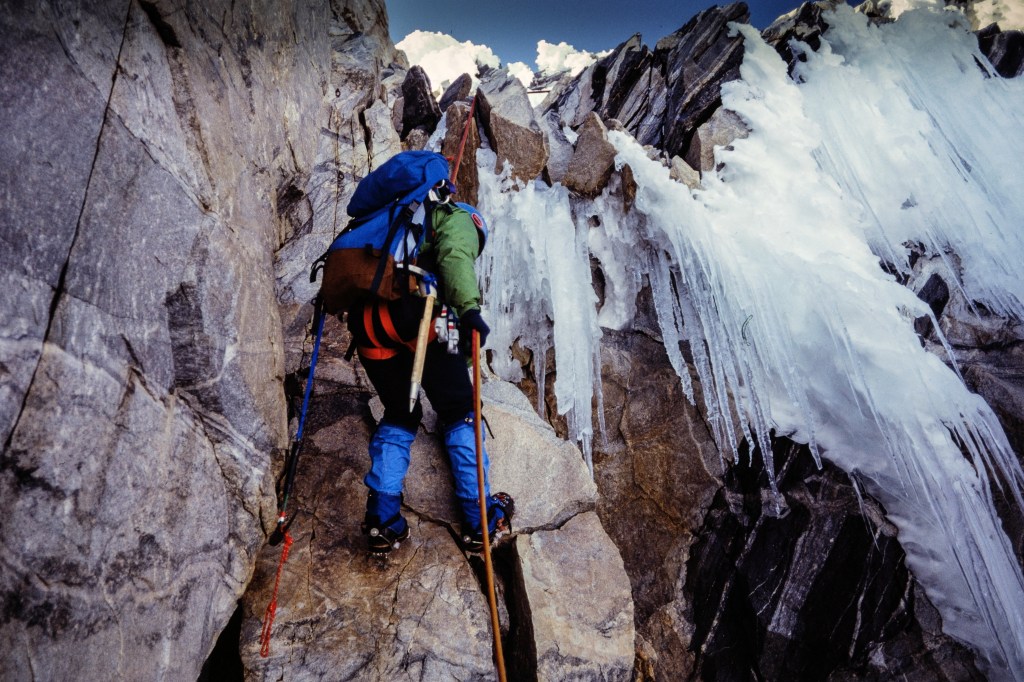
I first climbed Whitney in May of 1971, using the Mountaineer’s Route. John Muir made the first ascent of this route in 1873.
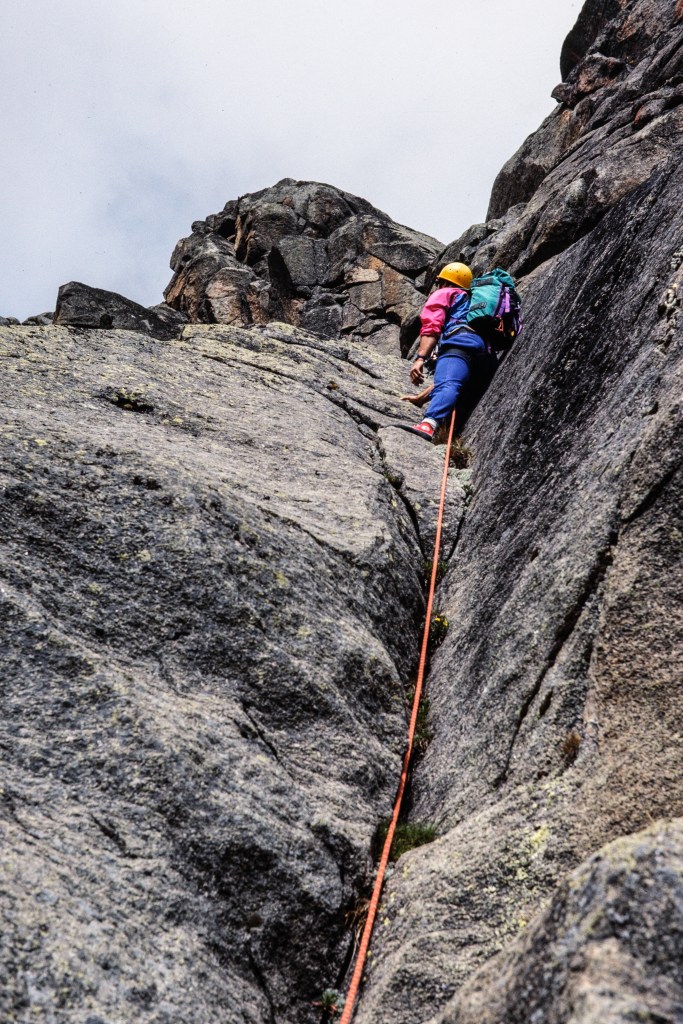
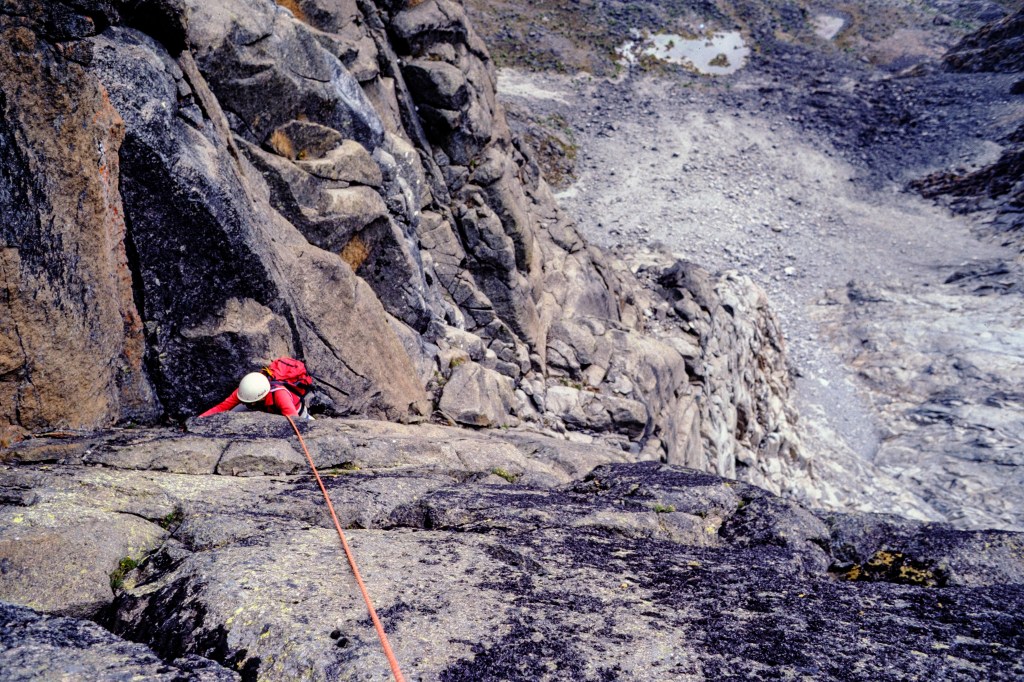
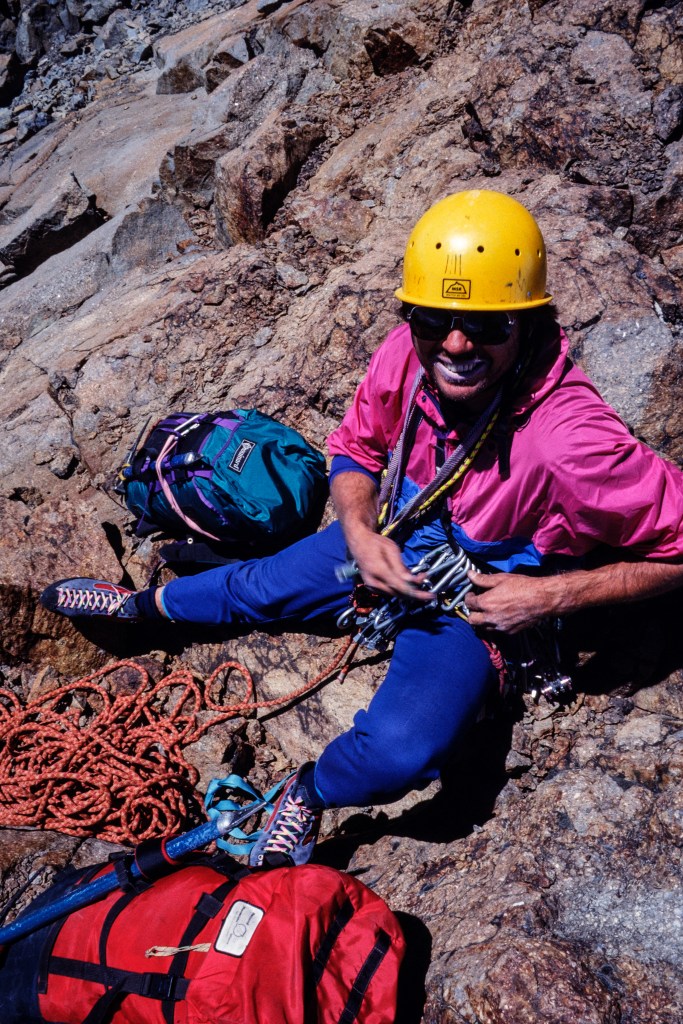
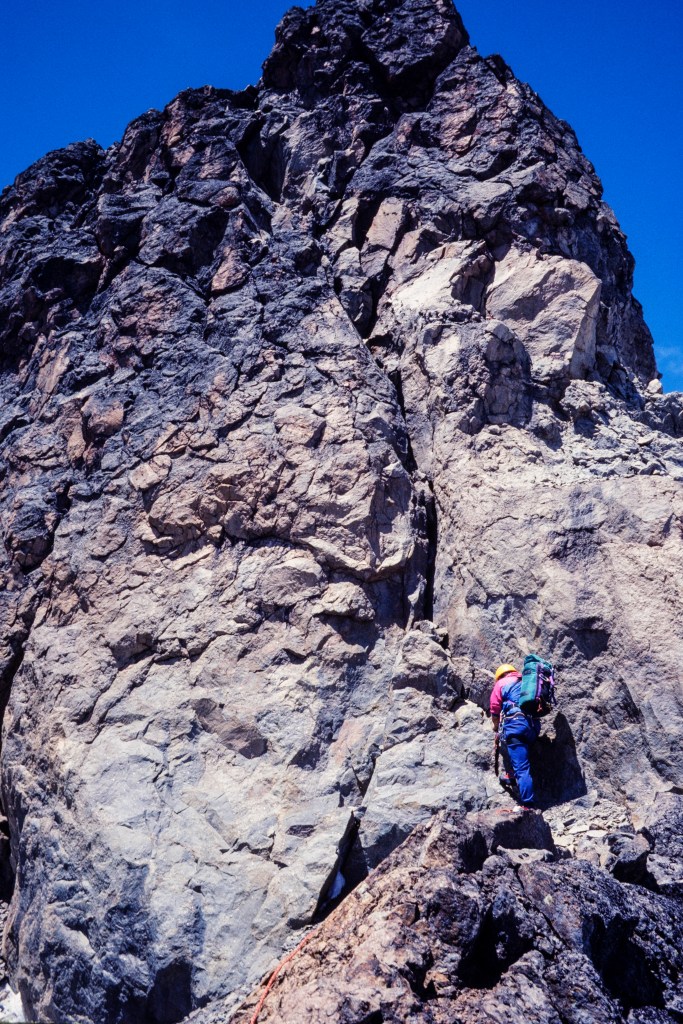
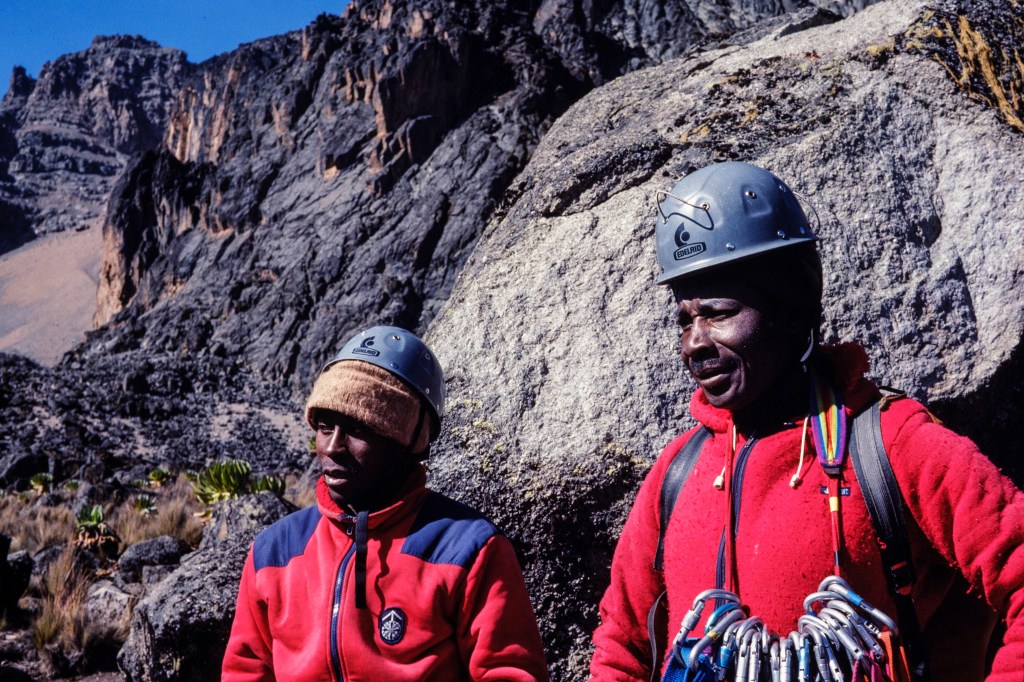
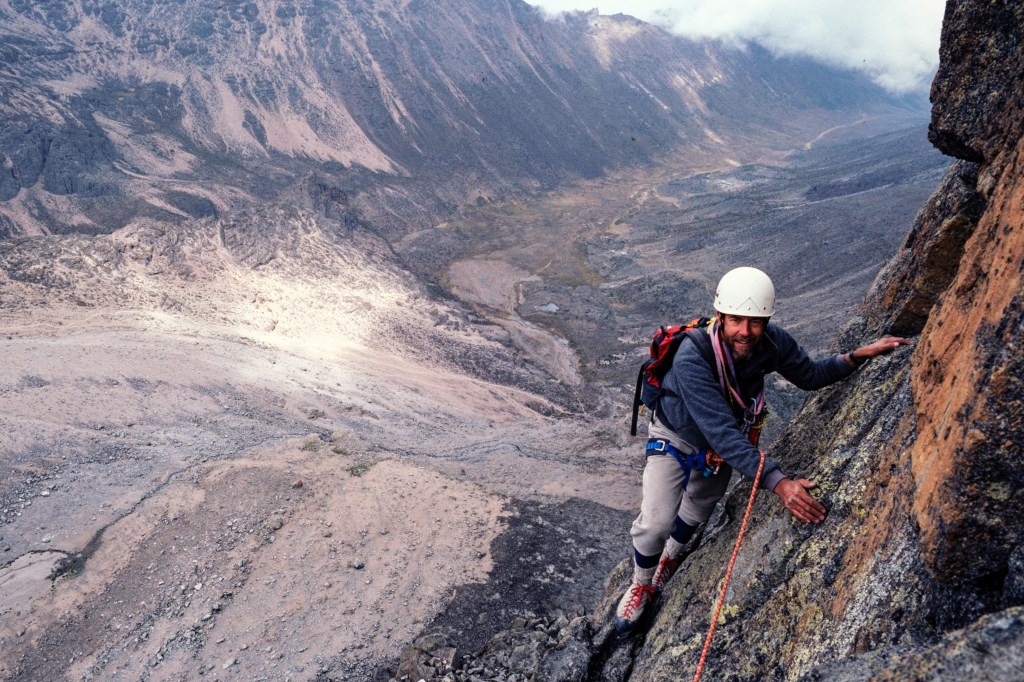
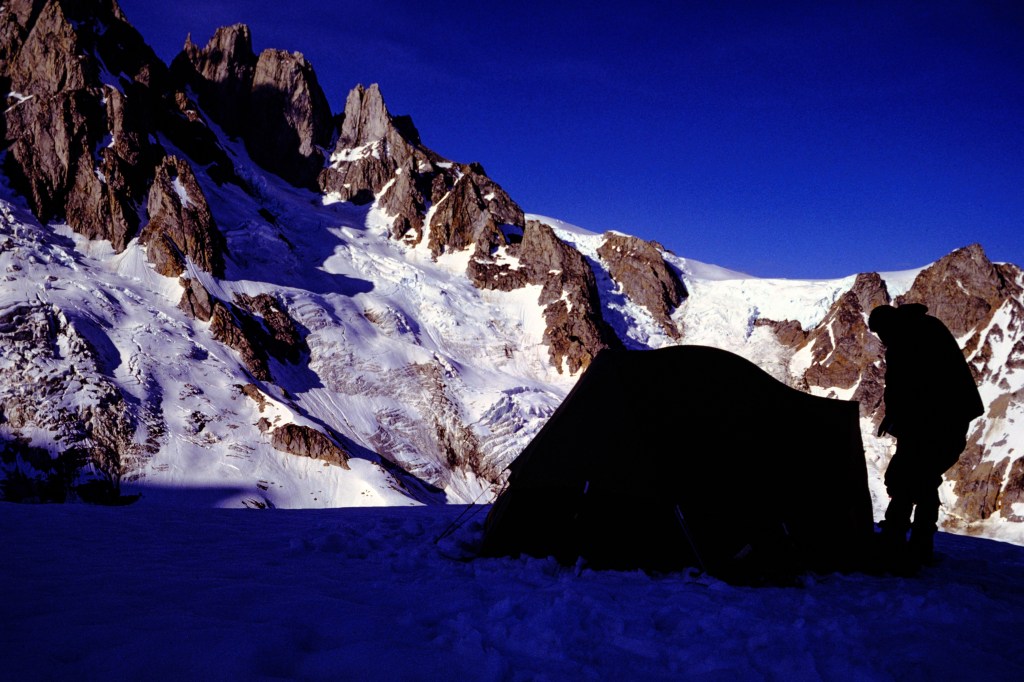
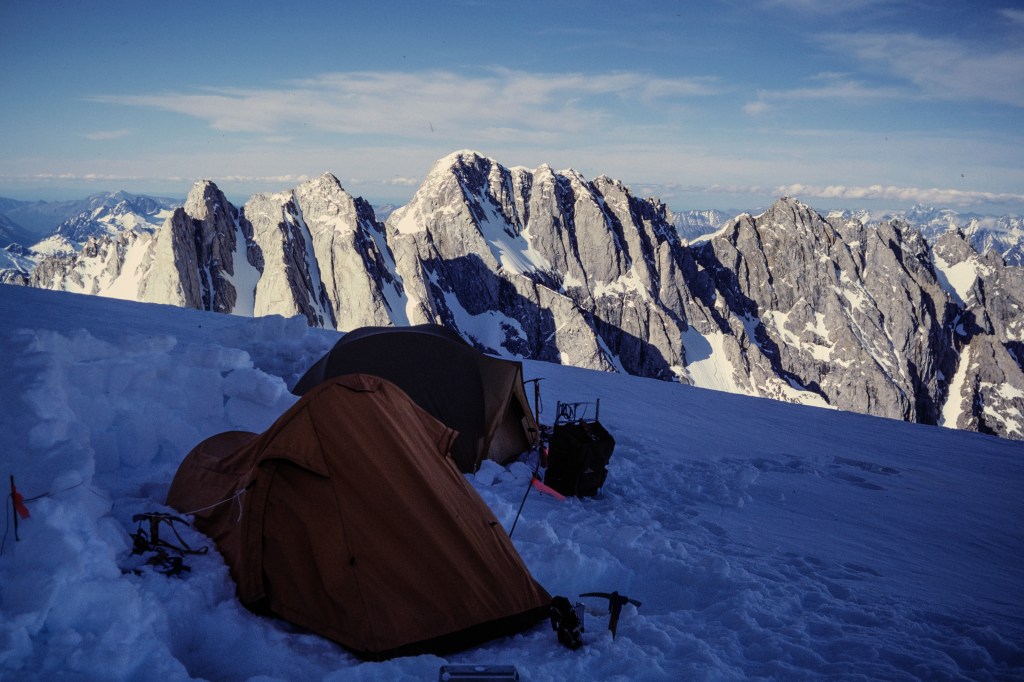
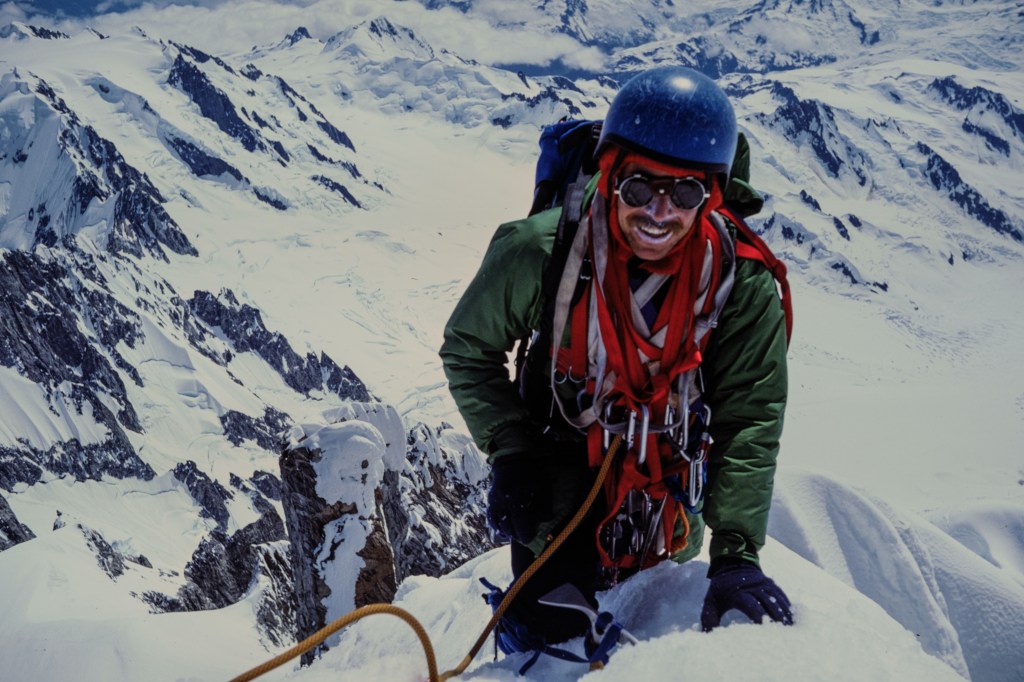
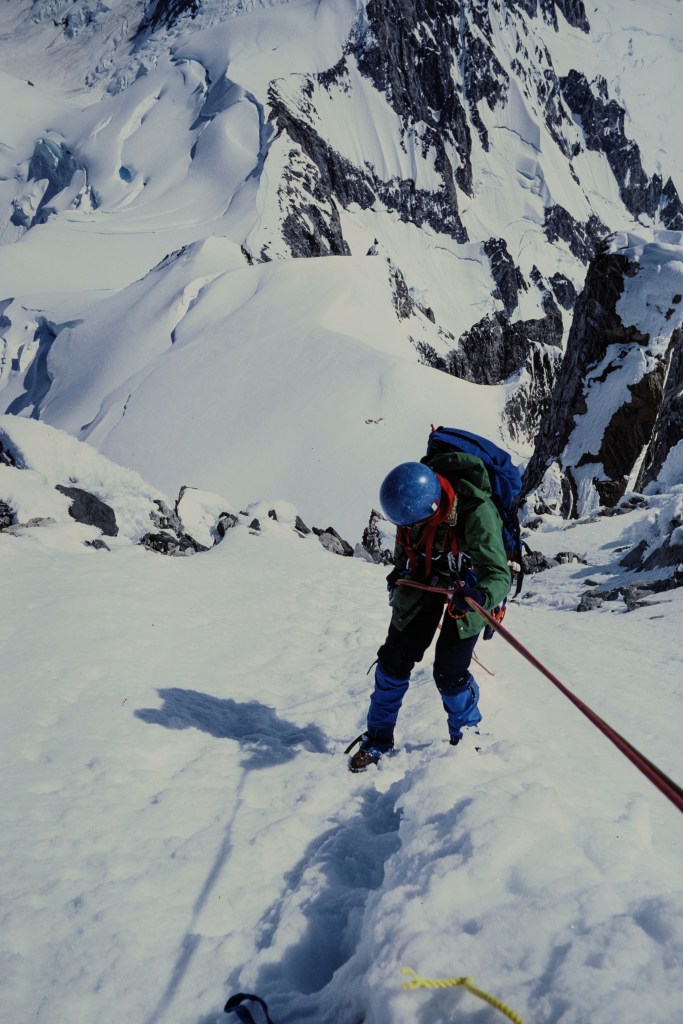
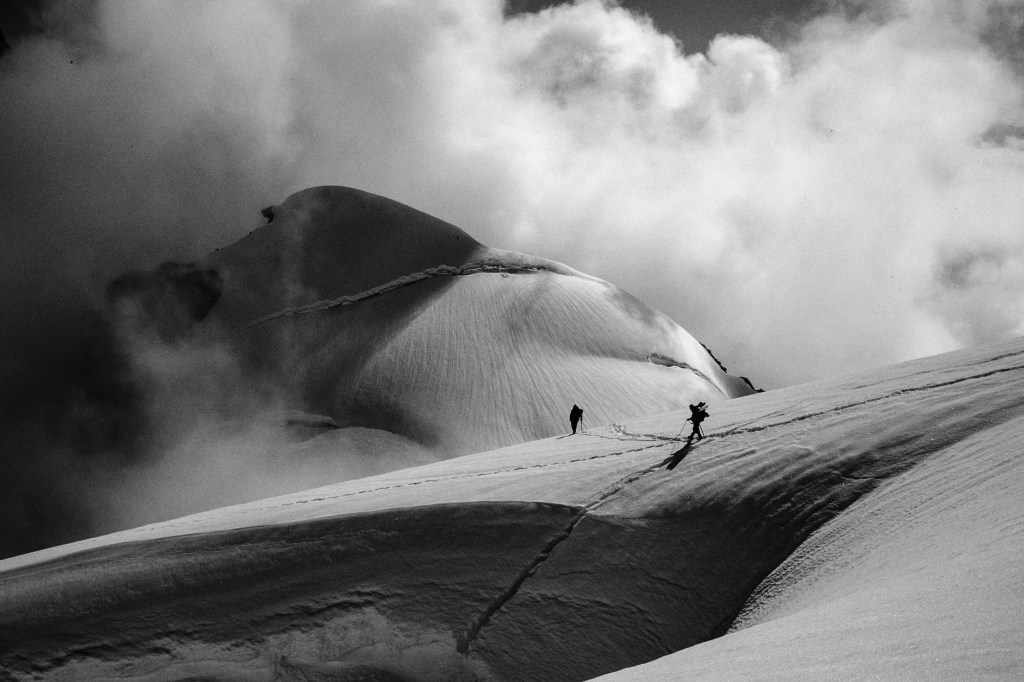
I climbed Whitney again in June of 1981, using the East Face Route. Before the climb I was lounging near my tent at Iceberg Lake, reading Wilderness and the American Mind by Roderick Nash. Another climber strolled up to me and I felt miffed that my reading was interrupted. That stranger was Bart O’Brien and soon we were discussing Nash’s book and other areas of interest that we shared. We went on to become close friends. We’ve done more than 160 climbs together on 4 continents.
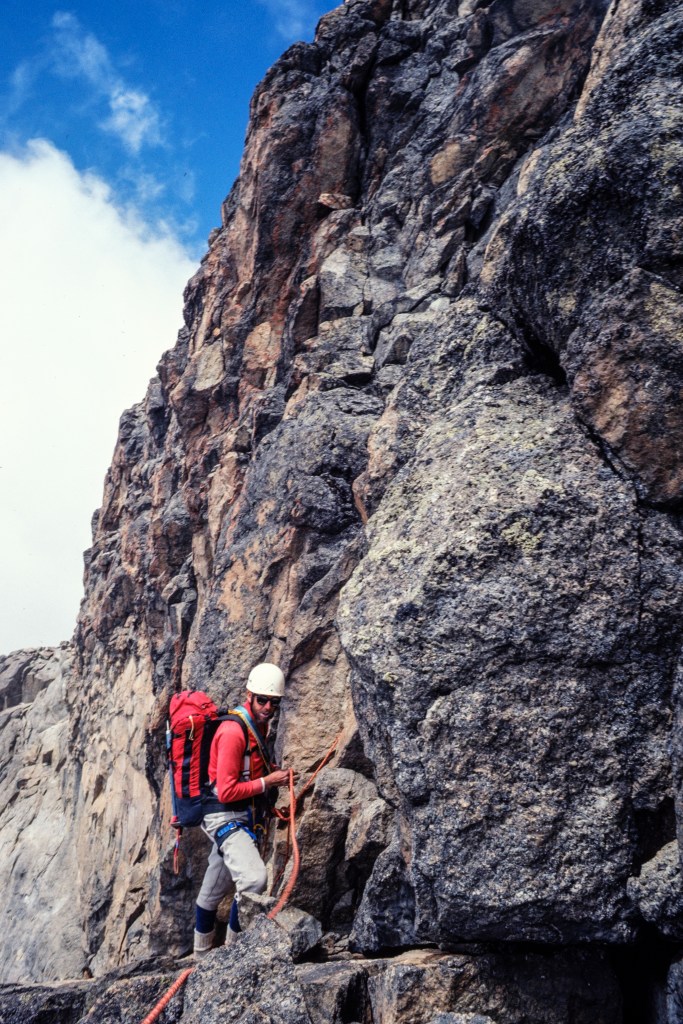
In 1982, Roberta decided to climb Whitney. We did a 6-day hike, first up the trail to Consultation Lake, then over Arc Pass to Rock Creek. We used the PCT to reach Guitar Lake on Whitney’s west side. On September 12 we reached the summit before anyone else, then we descended the usual trail.
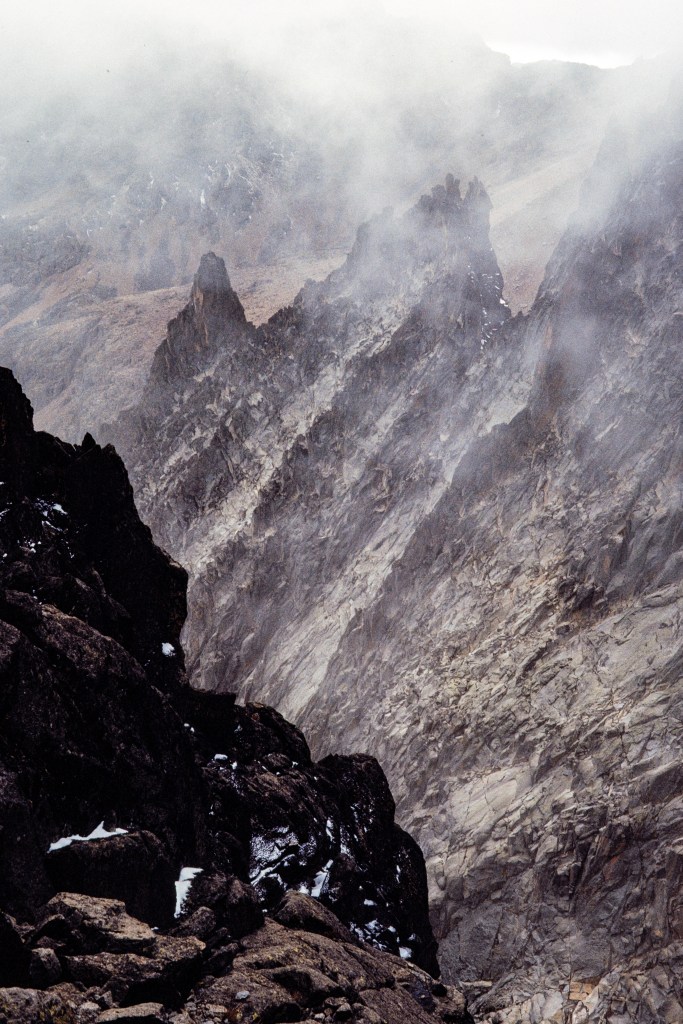
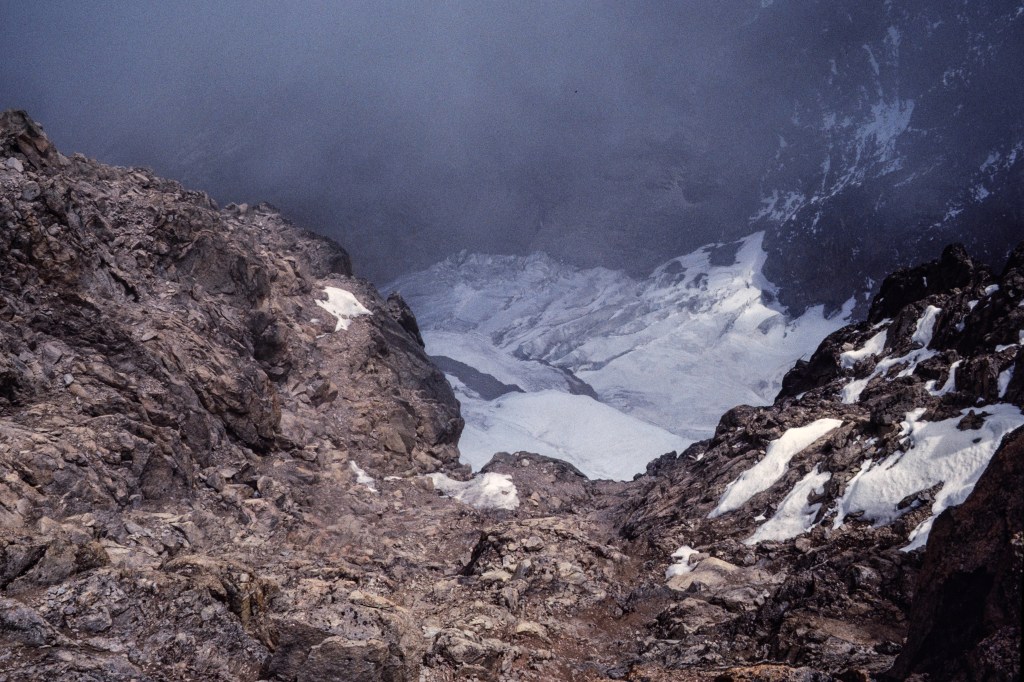
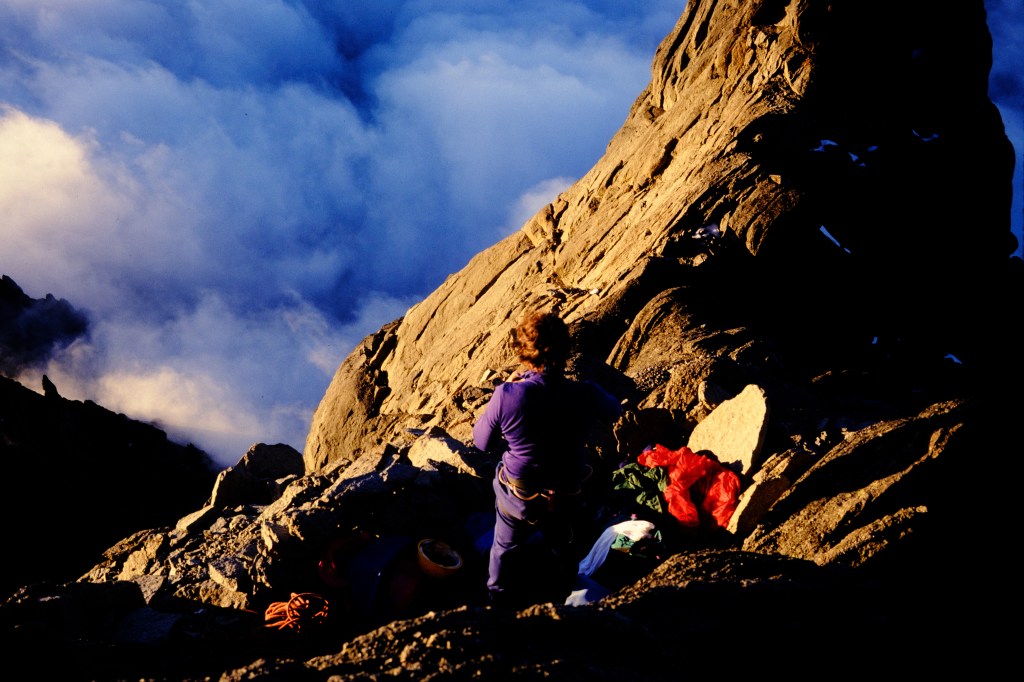
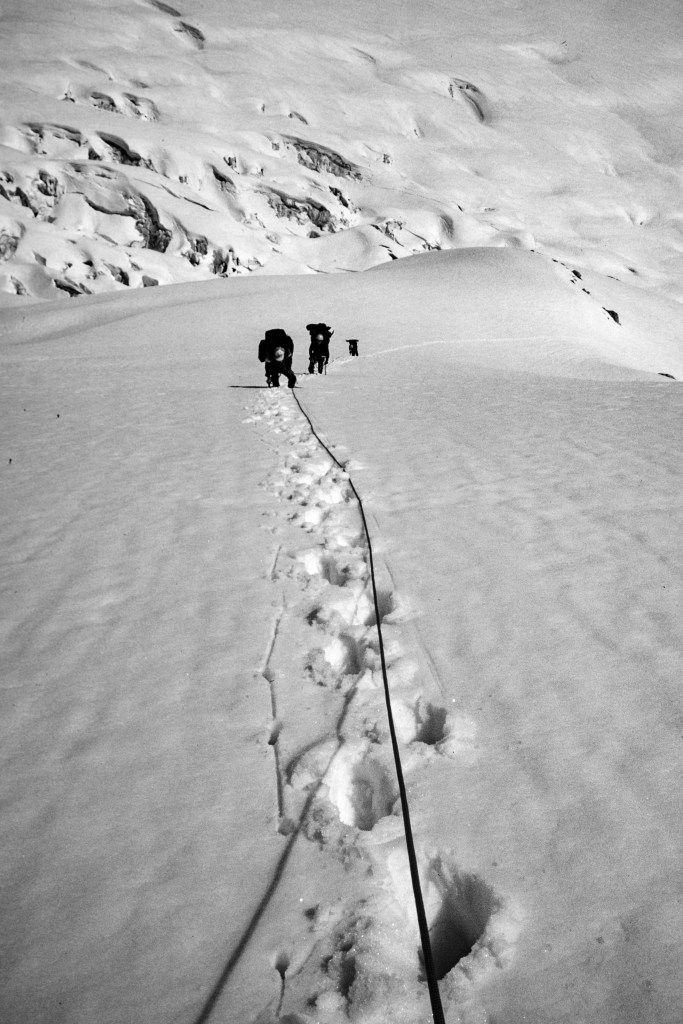
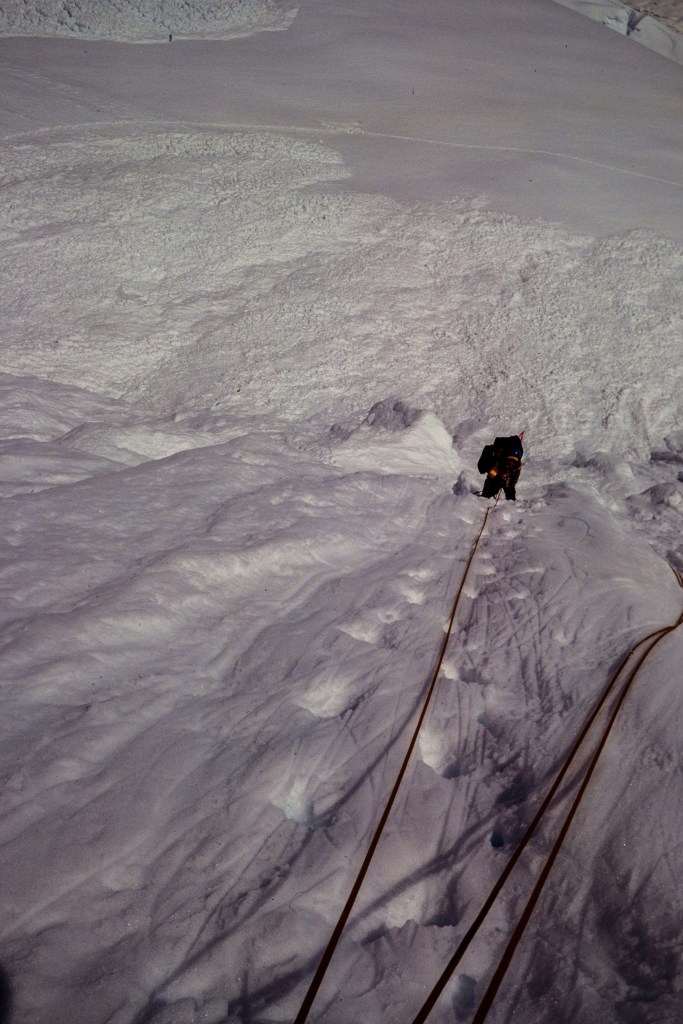
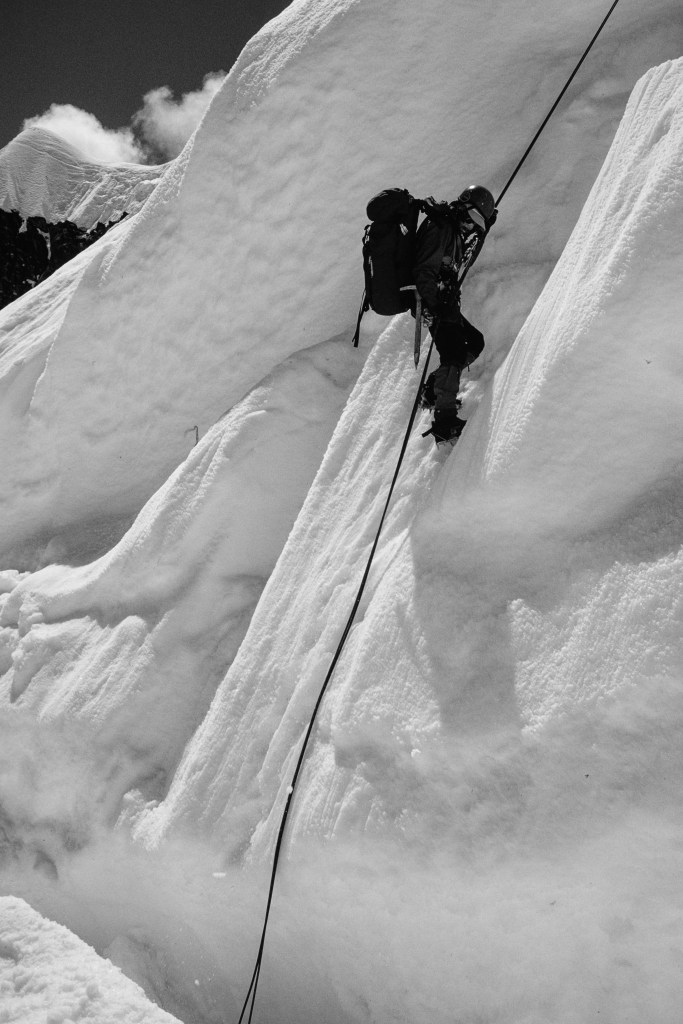
In January 1988, Leni Reeves and I climbed Whitney. Due to snow, we had to park at 6500 feet on the approach road. We took 2 days to walk and snowshoe to a camp above Consultation Lake. After a rest day, we climbed up a gully north of the switchbacks, then followed the trail to the top. A line of black clouds approached as we raced back to camp. High winds damaged our tent that night. After 4am we had to sit up and use our backs to brace the tent wall against the storm winds. At first light we packed up and hiked down to the car. We met no one else on this climb.